After achieving a certain skill level in 3D graphics we very often miss the opportunities to learn new and handy techniques that might come useful in day to day work. Shape Keys are one of those features in Blender that usually only animators are familiar with. In this short tutorial I'd like to share some thoughts and ideas on how you can use them more often and make your work with 3D models more comfortable.
Shape Keys allow you to keep multiple different shapes within a single Object in Blender. You're not only able to quickly switch between these shapes but also blend them together in order to achieve completely new looks.
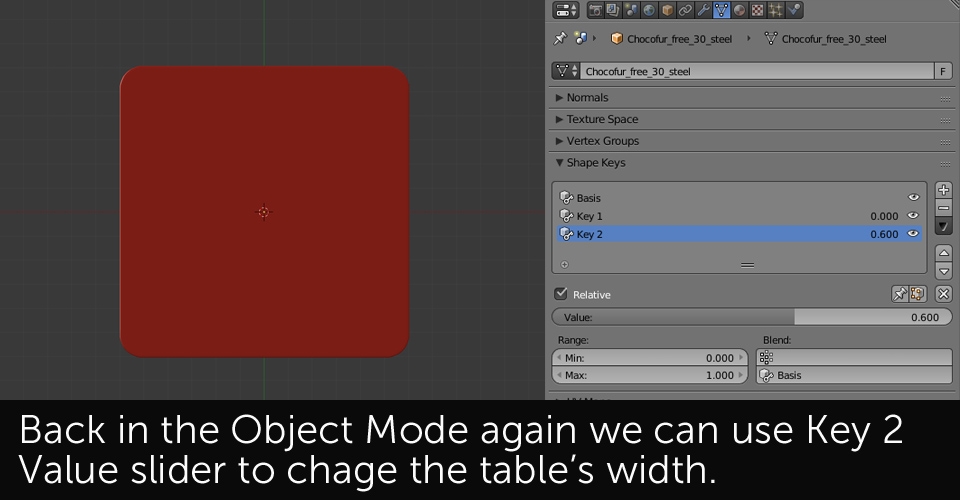
How many times were you in that situation, when in order to change basic model dimensions, you needed to enter the Edit Mode, hand select the elements you want to change, adjust them only to go back into the Edit Mode few seconds later, selecting the other elements again and again... I think it sounds familiar to many of you. Now imagine you don't even need to enter the Edit Mode but are able to change the model's look just by a single click, or using few sliders which allow you to adjust its height, width or depth.
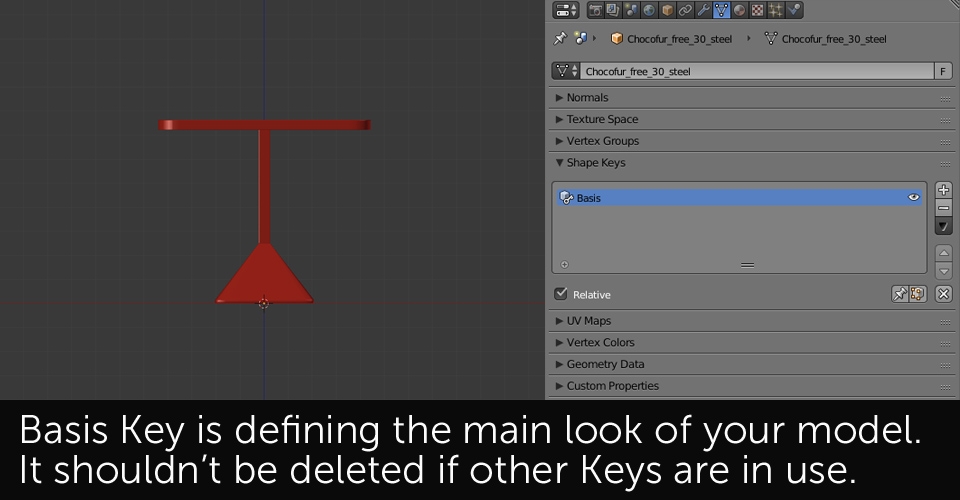
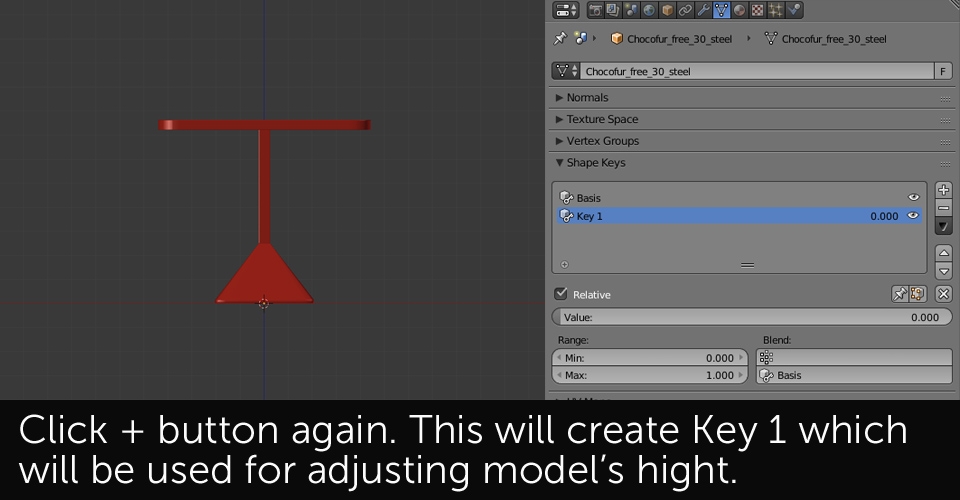
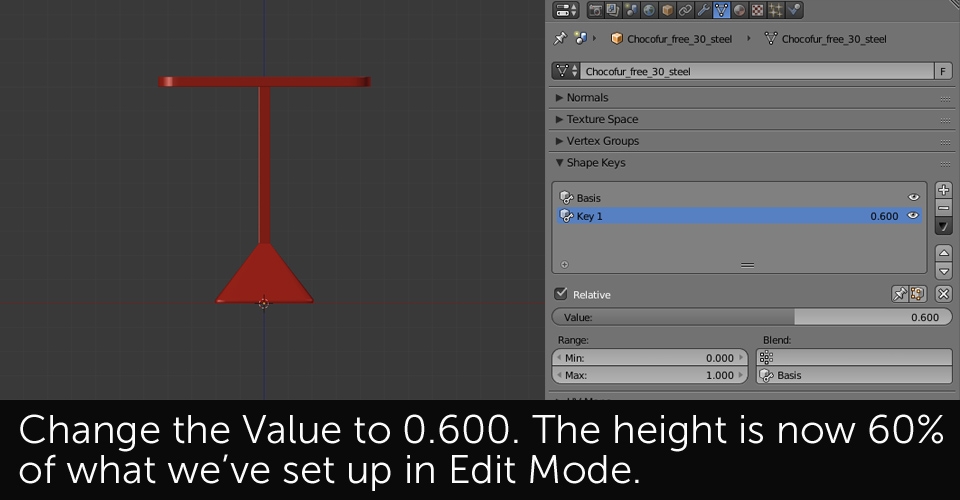
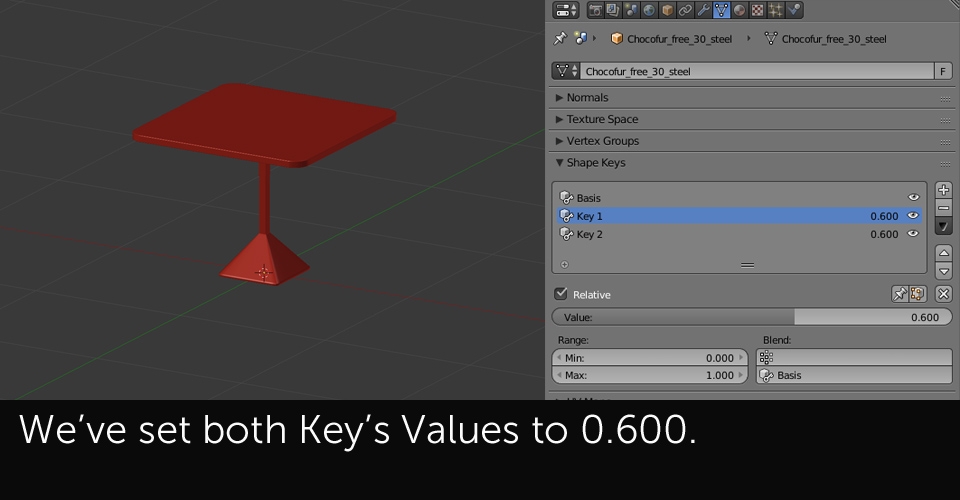
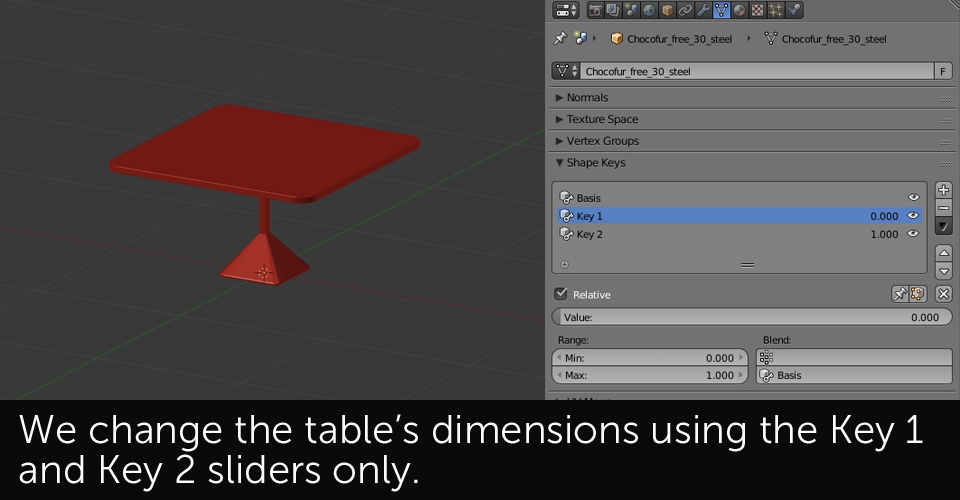
This is where Shape Keys come into play. From the technical point of view, Shape Keys allow you to save multiple different vertice positions you independently set up in Edit Mode, in order to quickly change them later in Object Mode. It probably sounds confusing that's why I'd like to show, how you can quickly do it yourself!


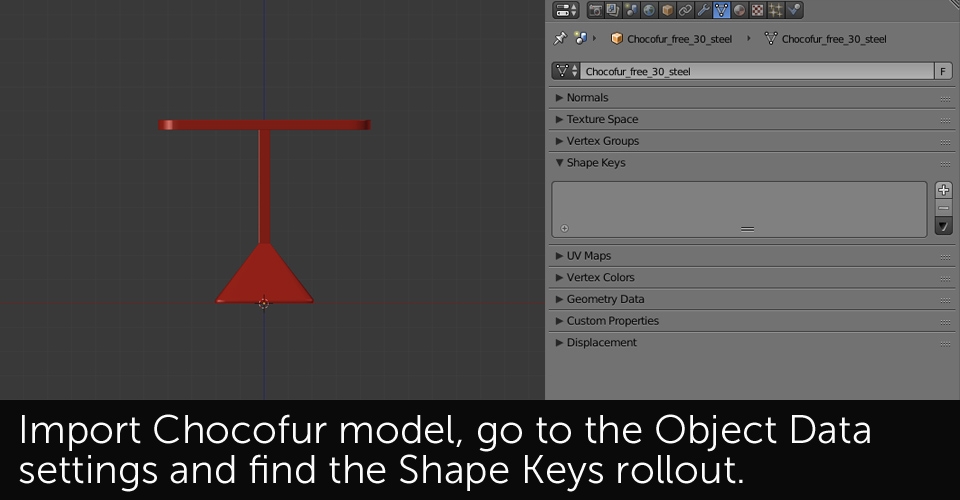
In the few steps below I'll use free chocofur table model which can be downloaded after registering and logging in to your chocofur account. I won't be covering all possible Shape Key options as they're pretty straightforward and I'm sure after grasping the main idea you'll be able to discover them by yourself.

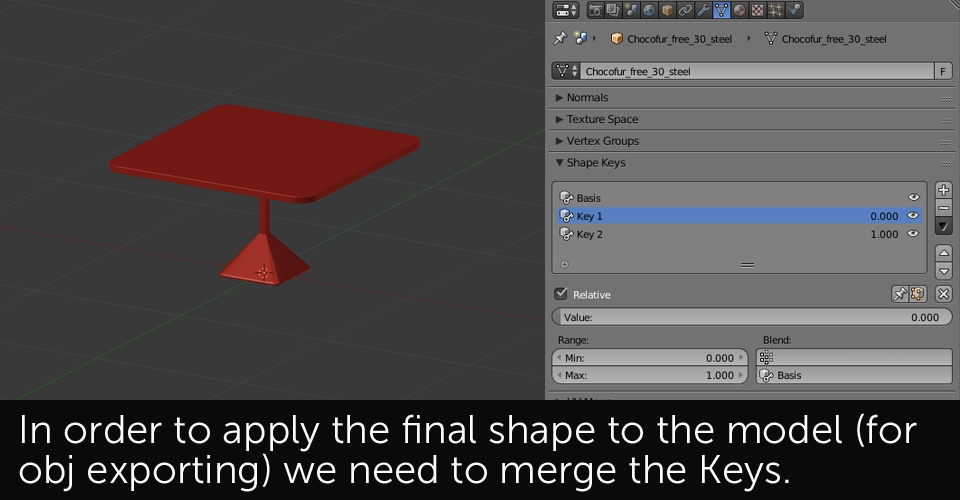
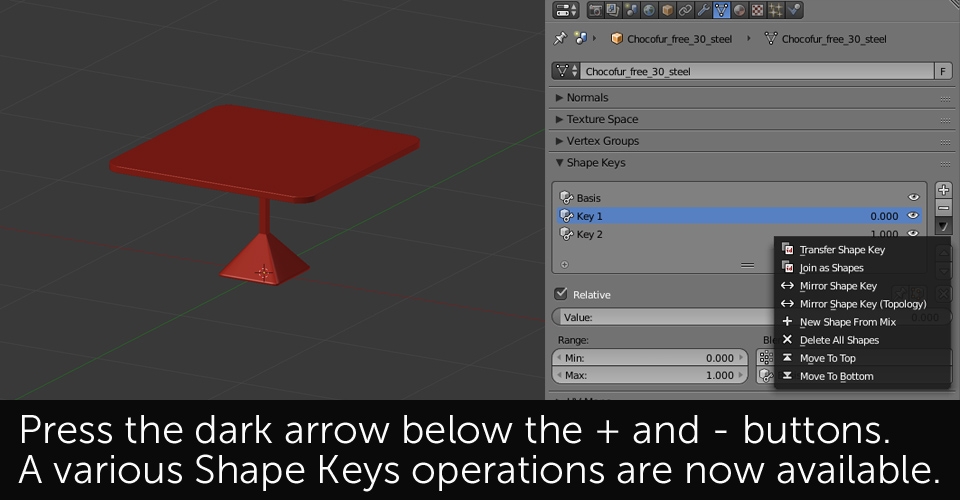
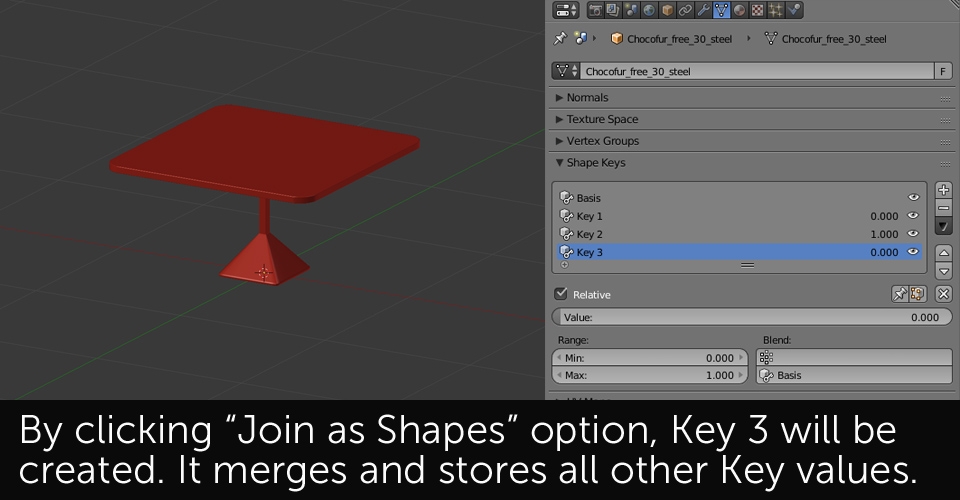
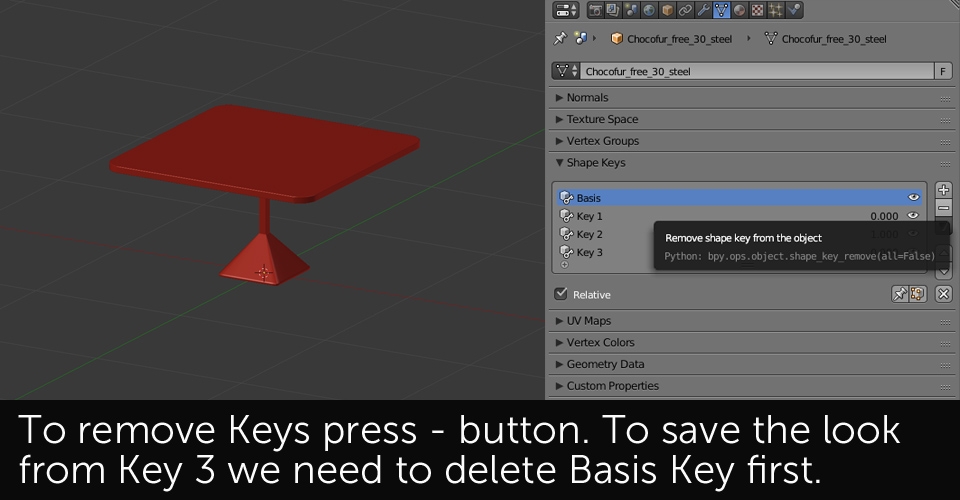
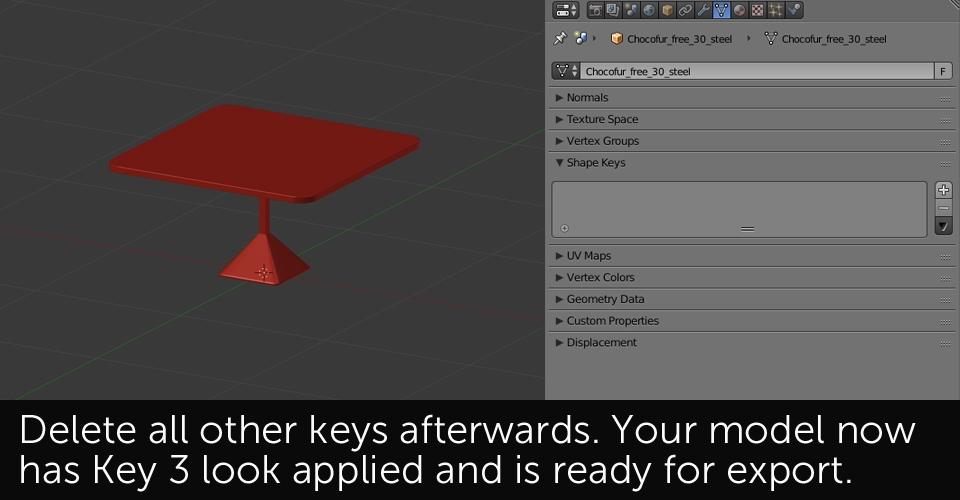


Shape Keys become very handy if you're exporting your models in different dimensions to other softwares. Some formats like .fbx or .collada support the Key Values whereas the most common .obj require you to apply the final look of your model. To do that, you need to merge all your transformations to one, single Shape Key. The process is covered in steps 15 to 19.
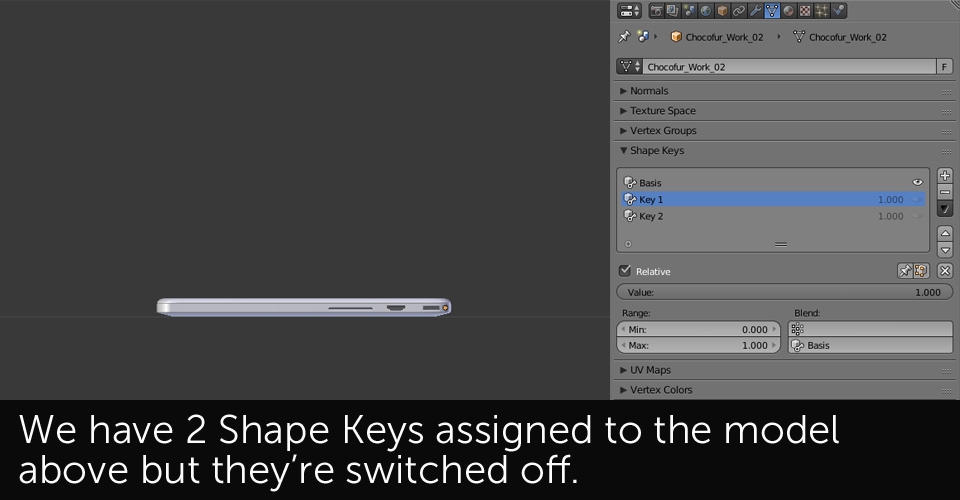
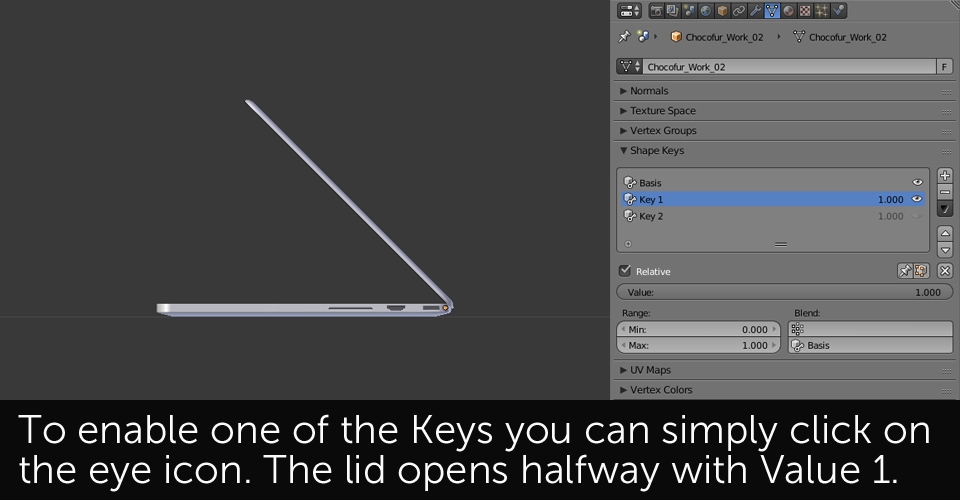
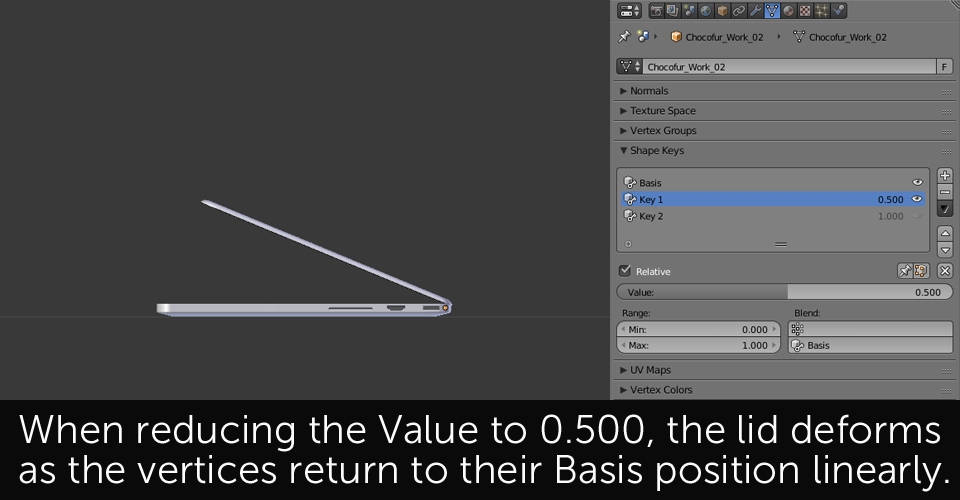
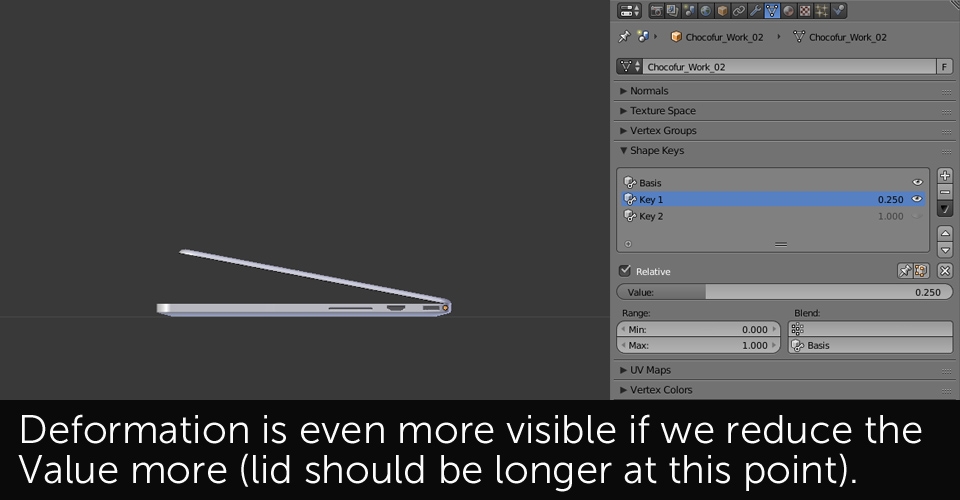
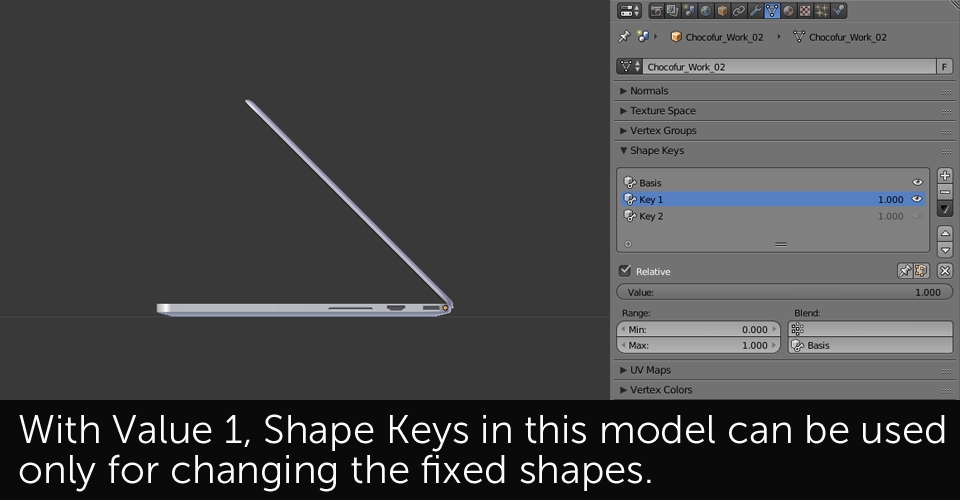
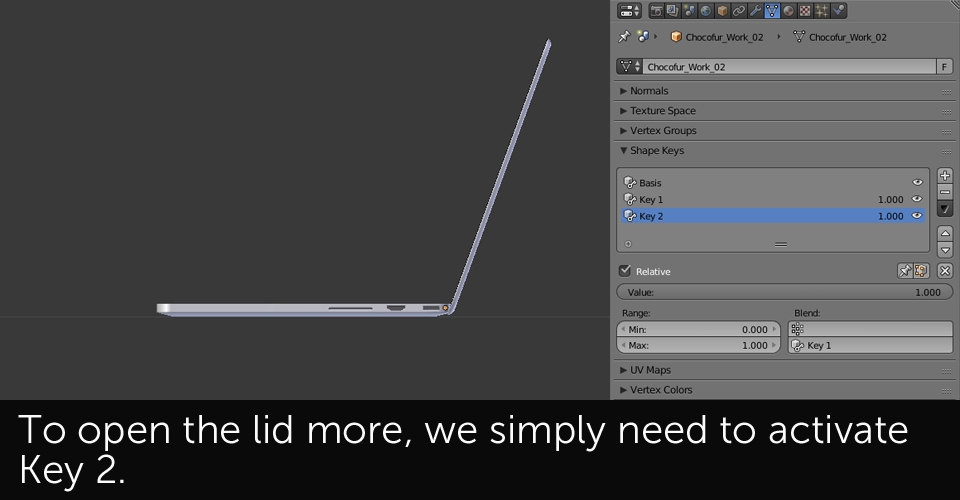
Unfortunately Shape Keys have one awful limitation - they don't work well with rotation transformations. The idea behind Shape Keys is simple - to save different verticle positions within a single geometry. This means Blender won't be able to understand, we'd want certain verticles to "travel" to their destination point along arch - it will always move them in straight line. This makes it impossible to correctly create Shape Keys for door or lid opening types of motions. However, it is possible to save the "open" positions within your object and simply enable them when necessary. You can for instance save different opening angles within your model and smoothly switch between them:
Below you can find few other examples how Shape Keys can be used for significant speedups in model editing. Yes, it may require some work in the beginning when you're setting everything up, but that definitely benefits in a long run, especially if you're reusing your assets throughout multiple projects.
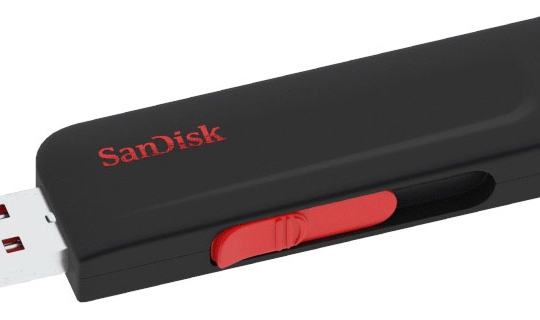
Shape Keys can be used for adding useful features to your furniture models. All types of drawers, sliding doors etc. are perfect examples of how much usability can be added to your 3D model just by empowering it with some basic Keys.
 Standard doors
This types of doors can't be directly animated using Shape Keys but you can always save the independent opening steps as individual Keys. Models below have separate Keys for 45 and 90 degree openings. This way I can open them much faster instead of rotating the elements manually in Edit Mode.
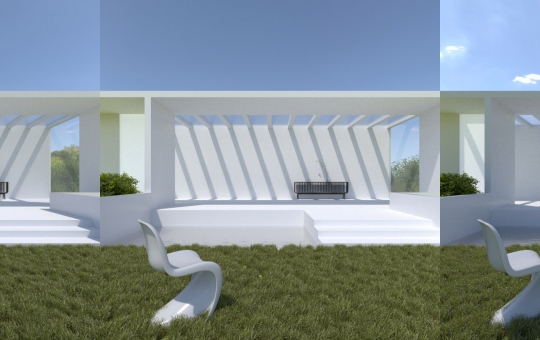
 Adjustable windows
Very often 3D elements like windows or doors have to be manually adjusted for an individual project. Models empowered with Shape Keys for width, height, depth adjustments are much quicker to use as you can match them perfectly using sliders, without entering the Edit Mode and doing manual selections. Shape Keys also allow you changing the details like window borders in the example below.
 The above models used in this tutorial can be found below:


I really hope you find the Shape Key technique useful in your day to day work. If you have any questions feel free to ask them in our small forum in Network section above. You can also visit chocofur store for more samples of nicely done models using Shape Keys for their adjustments.
Happy Blending!