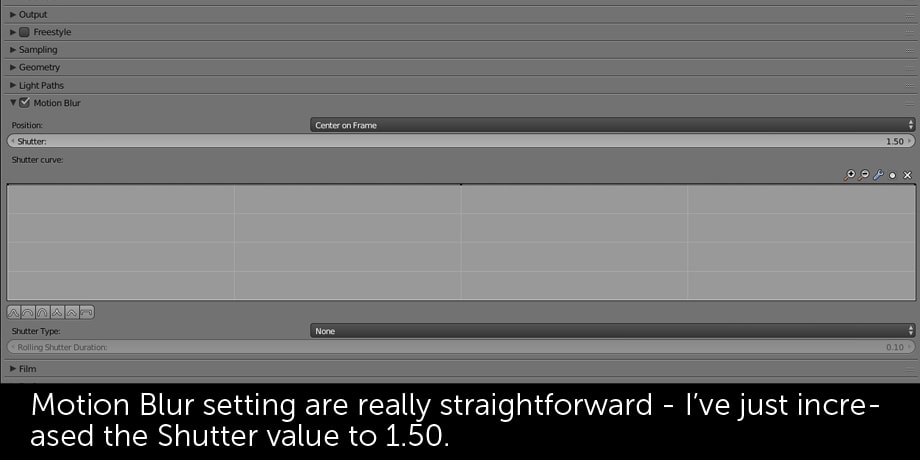
Sometimes when you're working on the exterior visualization / still picture there are cars appearing in your shot. When it comes to cars in motion, a very nice touch you could add in Blender is the motion blur effect on the wheels. It's not hard to be done but requires some basic knowledge of animation, and that's why it discourages many people of applying it.
In the video tutorial below I'm showing you how to create the car rig system using an Empty object and Blender's Drivers system. The video is 10 minutes long, I'm also explaining the way our Chocofur Cars models are managed for better scene usability. Enjoy watching!


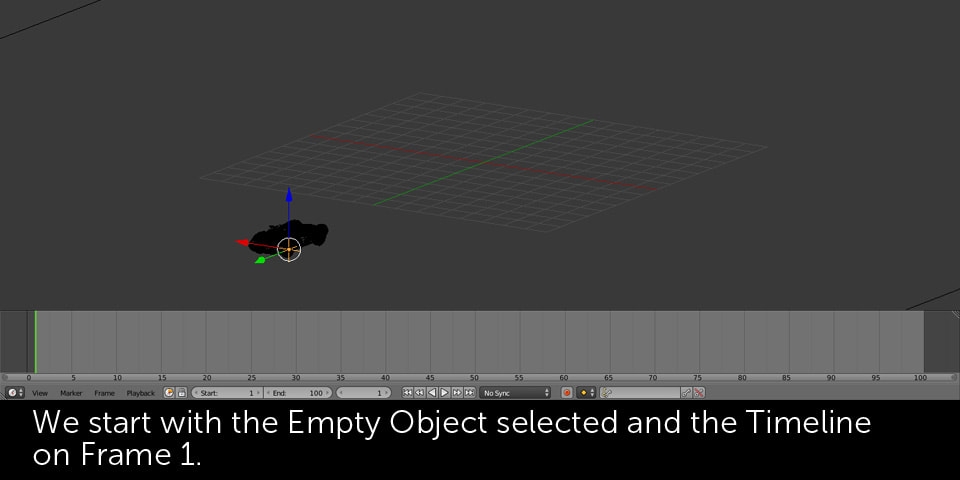
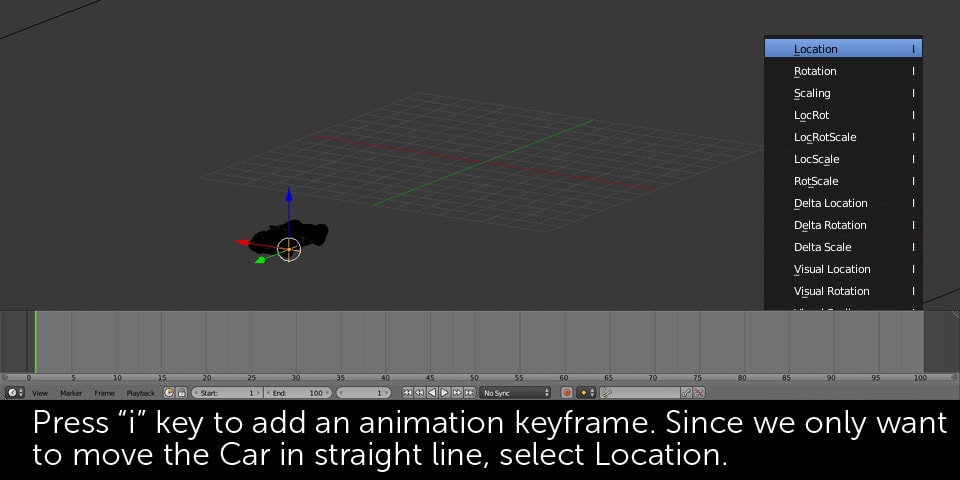
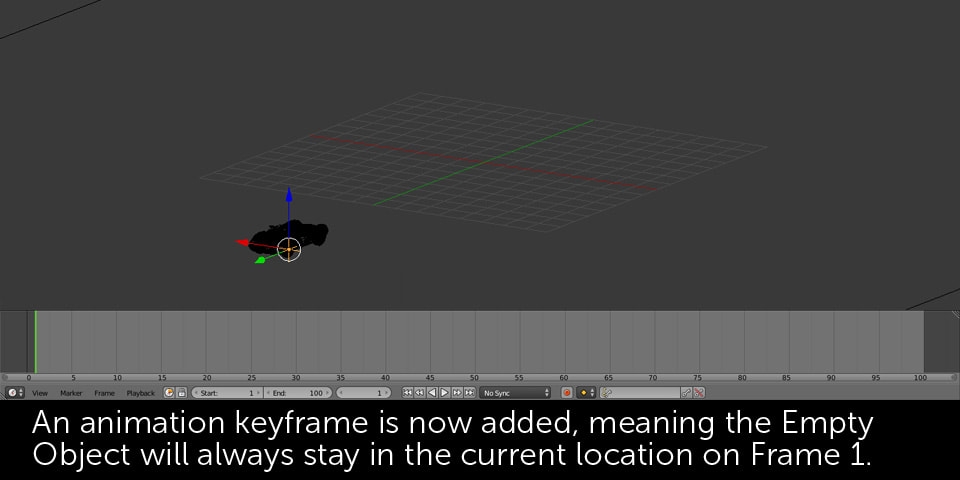
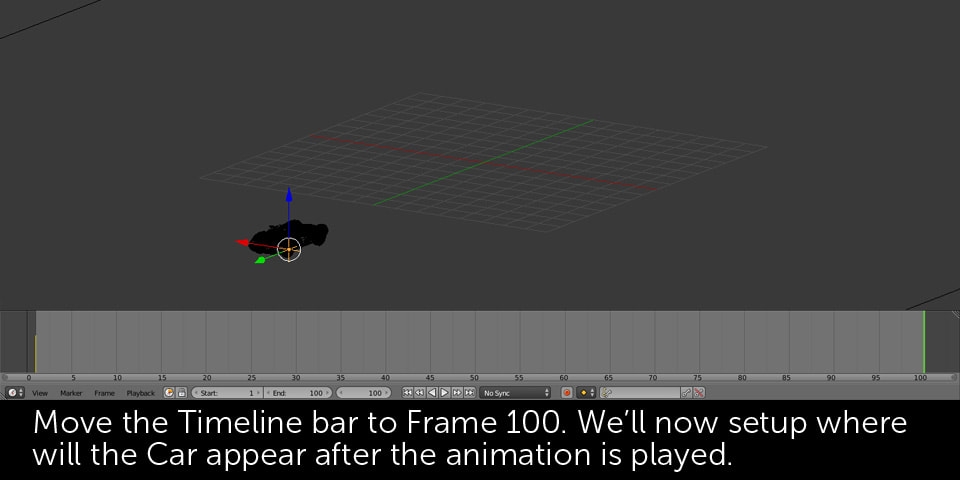
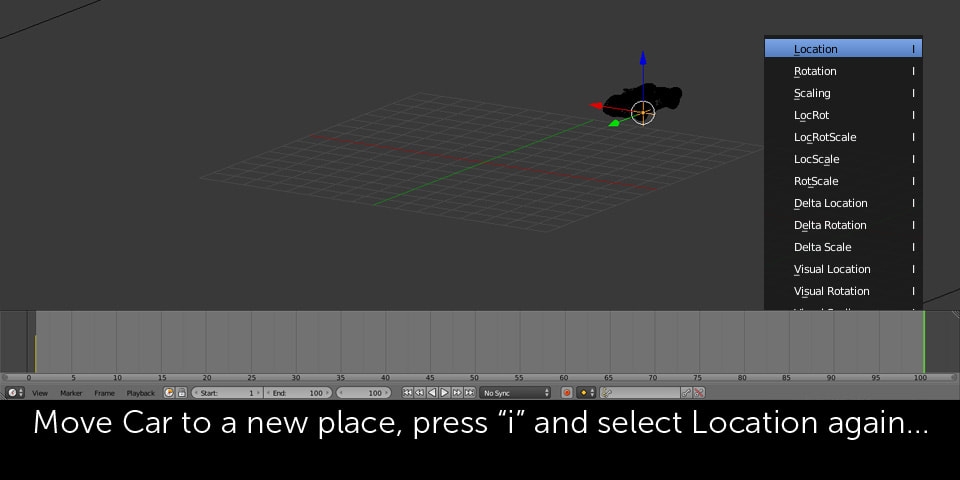
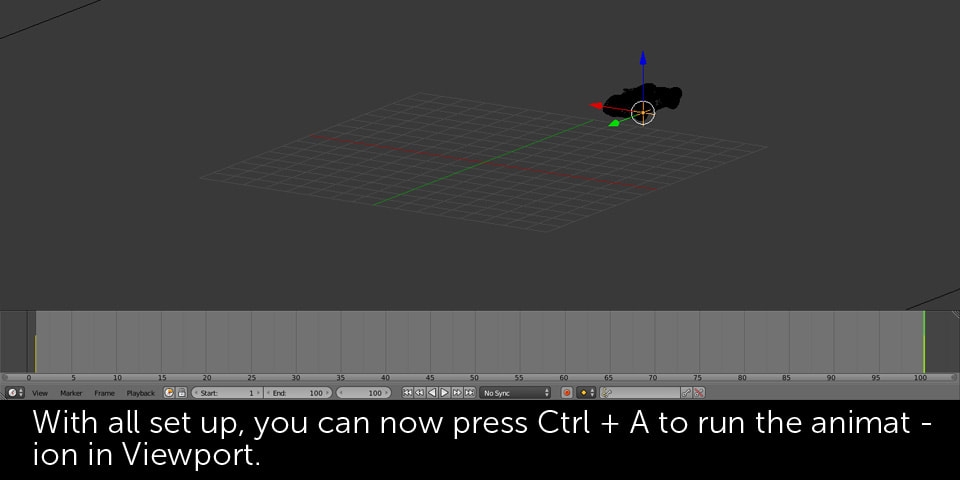
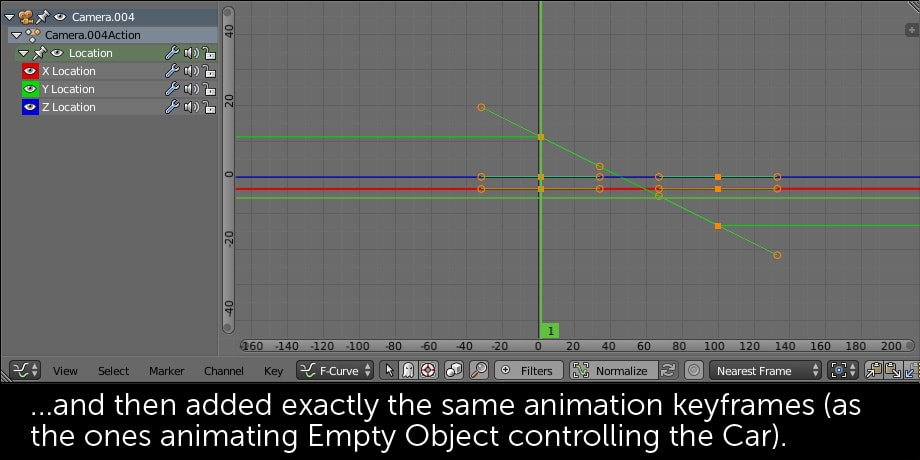
With the entire car geometry linked to the Empty object, we now only need to animate it and all the pieces will follow. Please follow the slideshow below to see how I've done it.


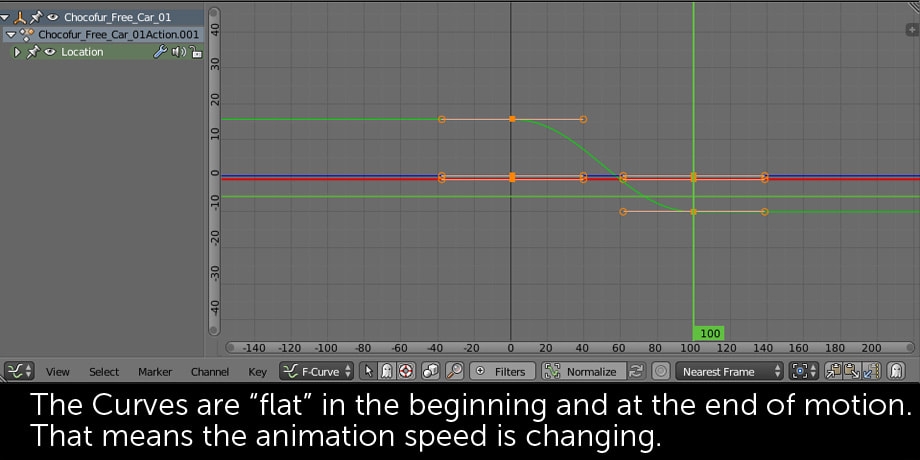
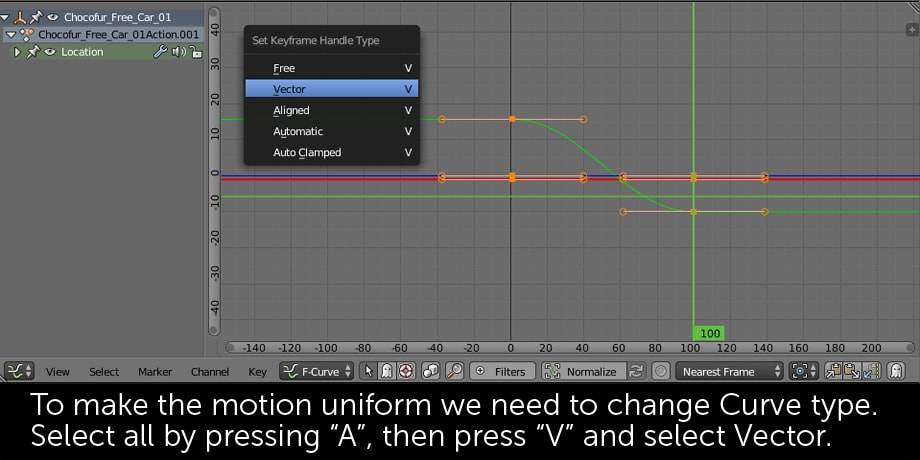
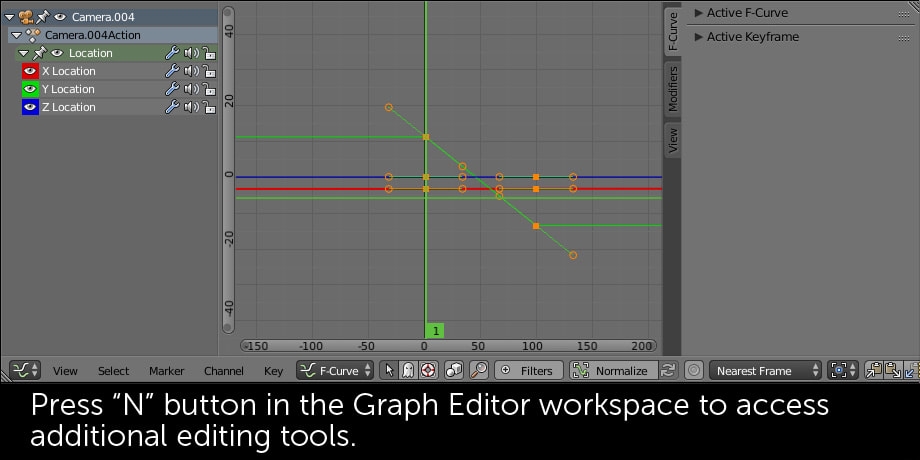
As you can see above, the motion is starting slowly and the car is also loosing speed towards the end. That means our wheel rotation speed will change during the animation and we want to avoid that. To change it, we need to modify the Motion Curves and make them linear.
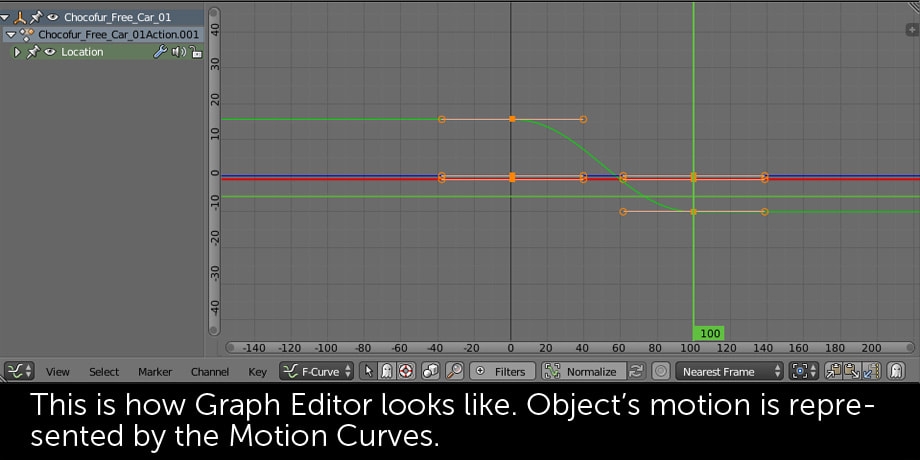
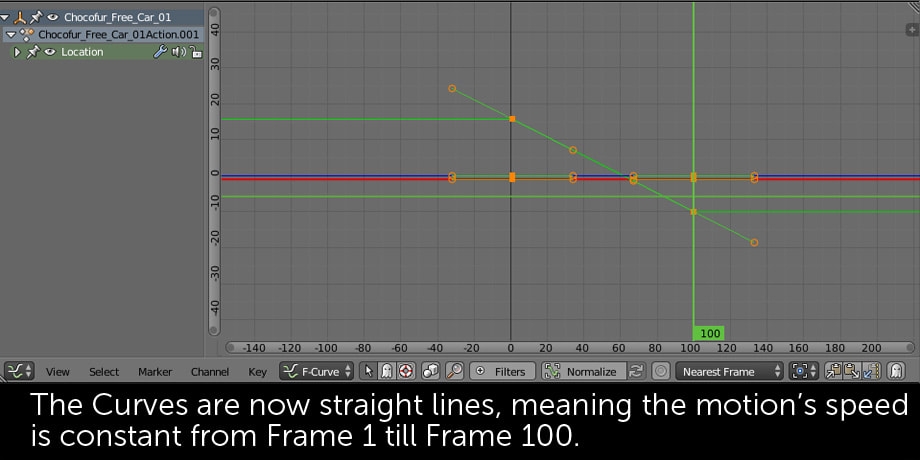
Each Curve in the Editor represents a single transformation axis (X = Red, Y = Green, Z = Blue). In our example above we've only created keyframes for the Location transformation - but you can also add them to rotation, scale and many other attributes! Feel free to experimenting yourself!
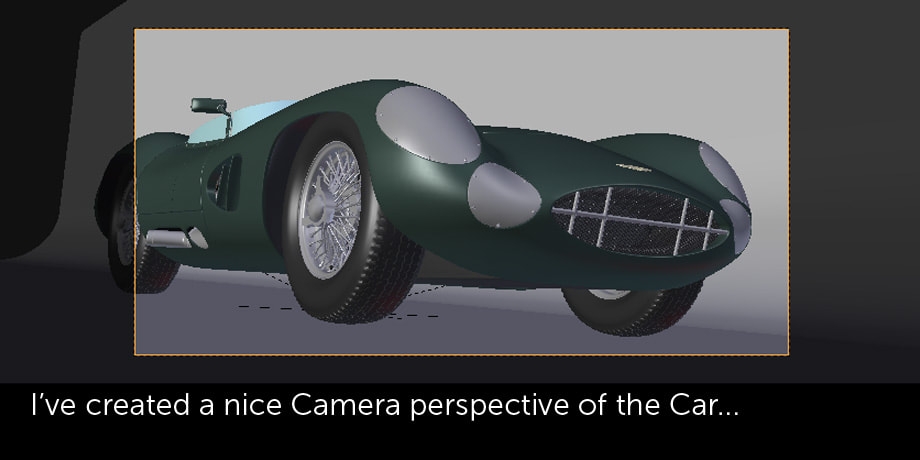
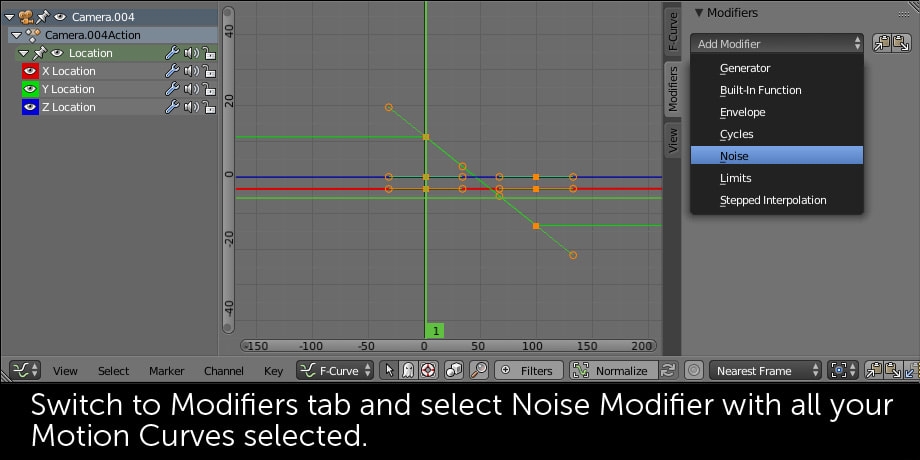
The best look of the intro clip wasn't my main focus, that's why the Camera Shake effect was created in a "quick and dirty" way. There can probably be more efficient and better ways to do it but if you want to know how I did it just follow the slides below.
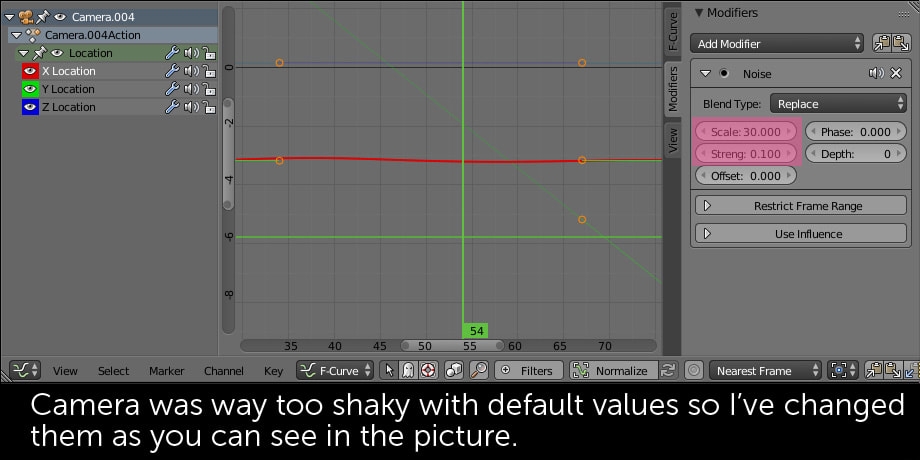
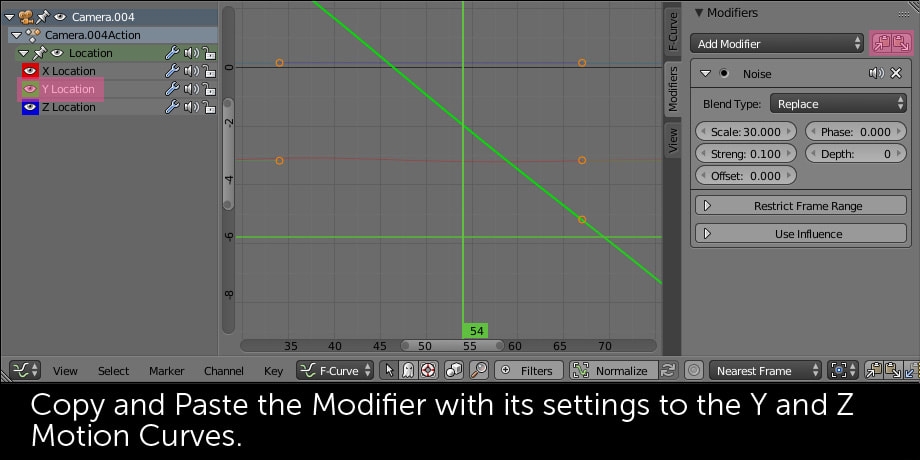
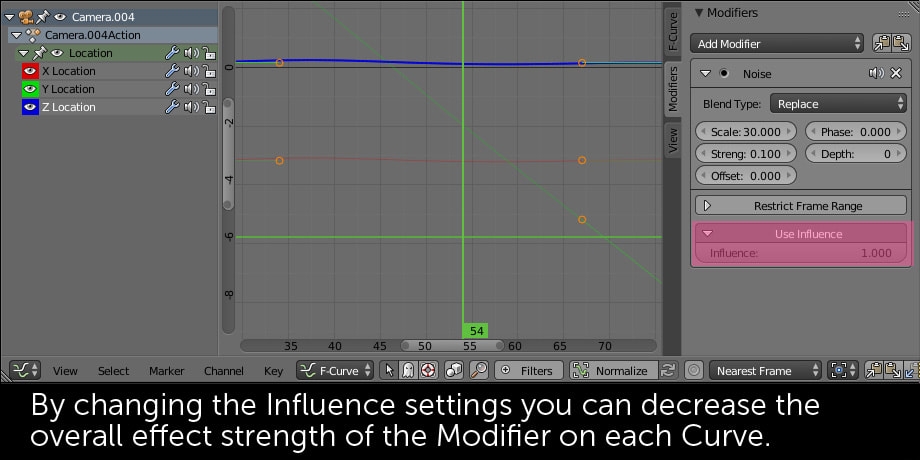
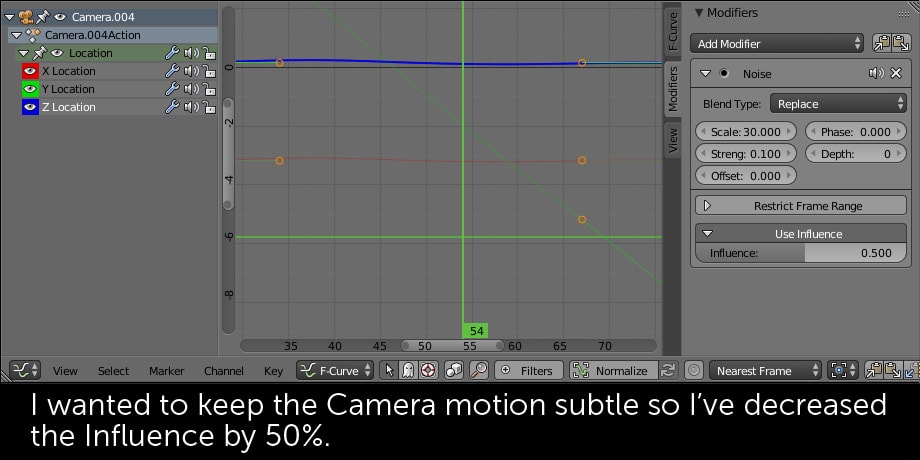
The most important setting for controlling the Noise behavior is Scale - increase it significantly from 1 to at least 20 to make the camera shake effect more realistic and start fine tuning from that point.
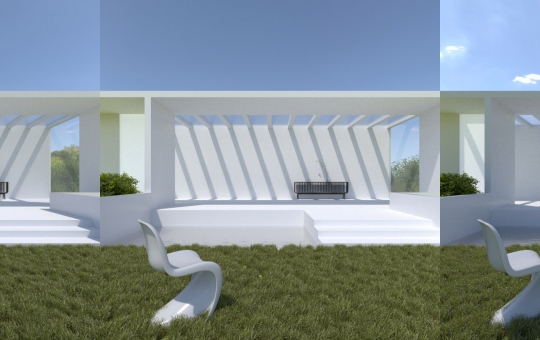
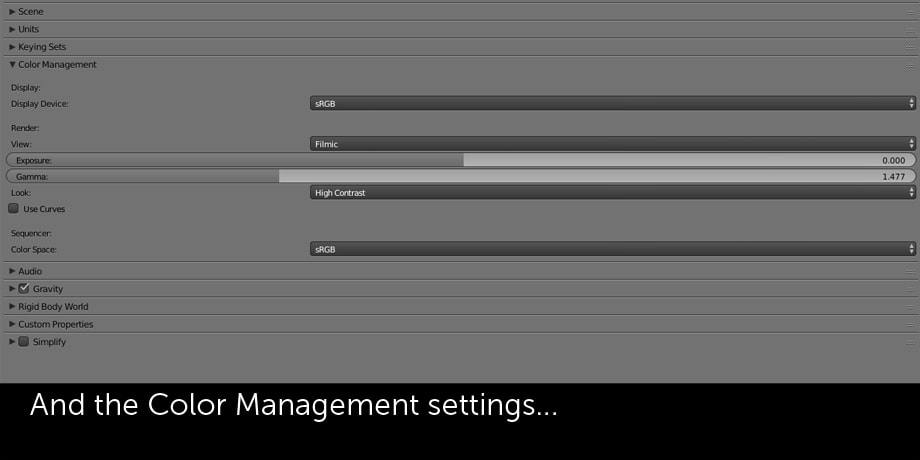
The setup used in animation was very standard - a Chocofur HDRI map + bent background plane (you can read more about creating similar setup in tutorial linked below). We've also used Filmic Color Management with 1.5 Gamma value and High Contrast.
10/07/2017 News
Photorealistic HDRI setup in Blender
In this short guide I'd like to show you a cool and quick way to setup some very realistic global illumination, in just a matter of seconds with Chocofur HDR maps or minutes (when you have to do things yourself).


I hope you found this tutorial interesting and informative. You can find much more cars to play around inside Blender in the Chocofur Store (lot's of free assets to try!)
Happy Blending!