In the video included to this short tutorial I wanted to share my technique for creating base glossy shaders, based on a single texture map only. The trick with separating Red, Green and Blue channels for different shading effects is as old as the modern gaming industry, however I have a feeling that not many 3D artists actually use it in their daily work.
I hope you'll find it useful in your daily work!
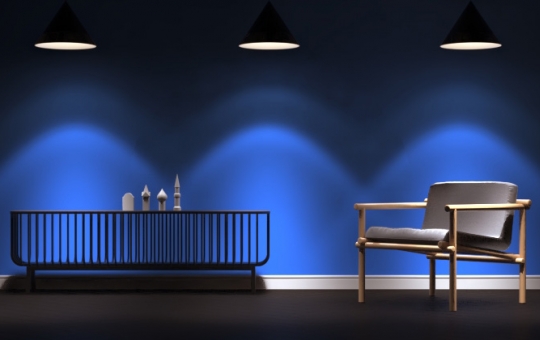
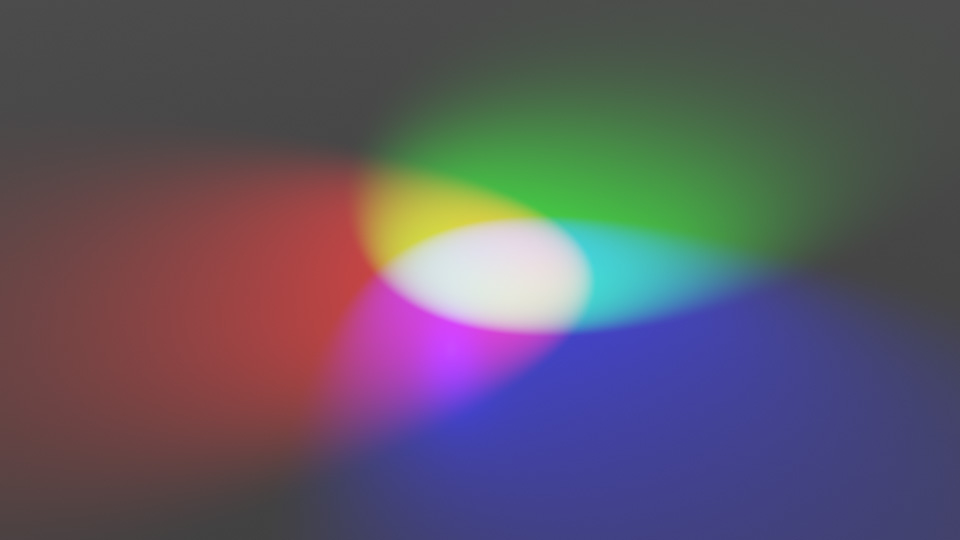
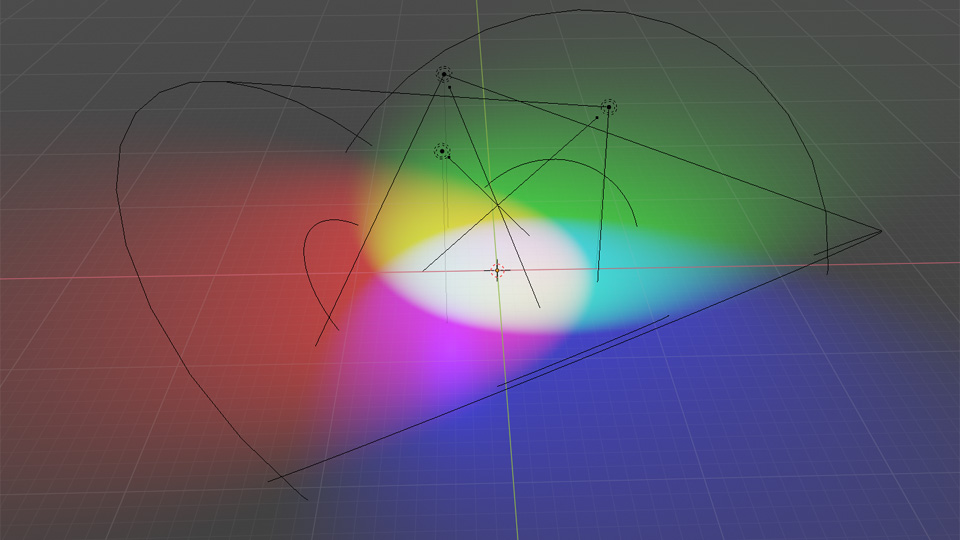
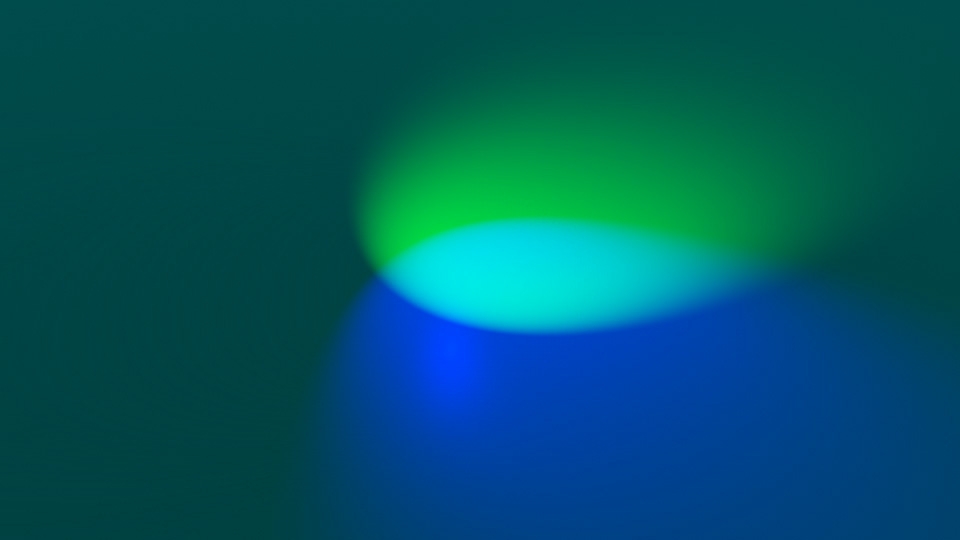
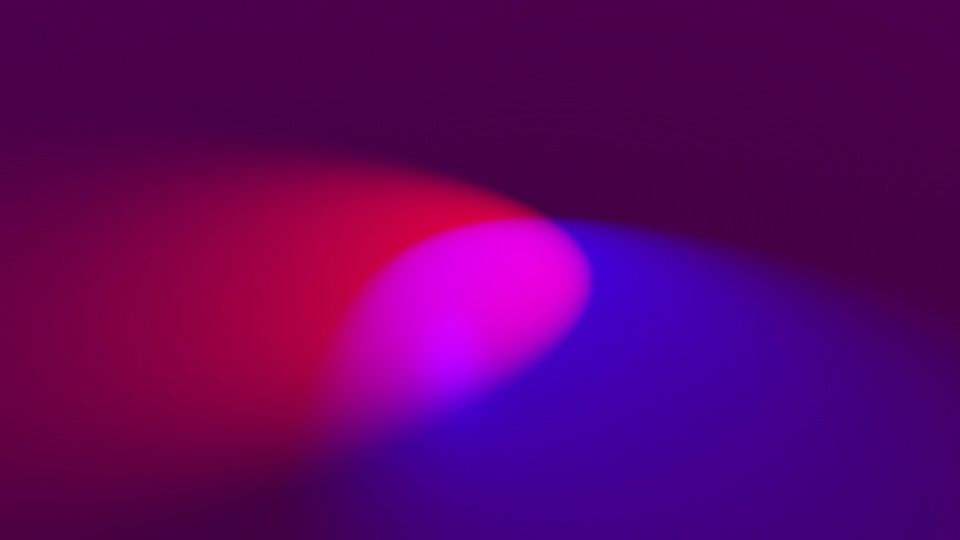
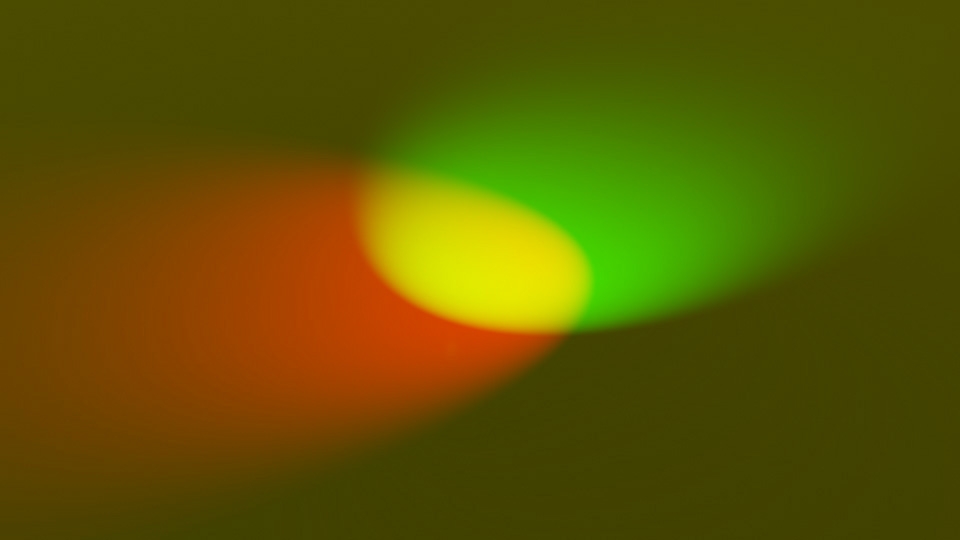
Red, Green and Blue are base, additive colors, meaning that by mixing them all together we can achieve any other color without the visible spectrum. This effect can be even simulated in Blender by creating three Spot Lamps, each casting 100% Red, 100% Green and 100% Blue light beams:
Back in the days the computer monitors (and TV's) were black and white. That doesn't mean they displayed two, 100% black and 100% white colors only - there were multiple shades of gray in use in order to make the image more realistic. Without getting into technical details, a black and white spectrum in most of the modern computer monitors consist of 255 tones, where "tone 0" is 100% black, "tone 255" is 100% white, "tone 128" is 50% black and 50% white (otherwise called 100% grey) and all of the remaining tones are different types of "greys". That's how the black and white spectrum works.
To add color to the image, the same 255 tone spectrum has been sepparately applied to Red, Green and Blue colors, in order to define their mix ratio. For example: "tone 0" for Red, "tone 0" for Green and "tone 255" for Blue will result in 100% Blue color. "Tone 255" for Red, "tone 255" for Green and "tone 255" for Blue will result in 100% White color etc. We call it a Color Channel Mixing and by applying 0 to 255 value to each Red, Green and Blue channels, we're able to reproduce over 16.5 million colors.


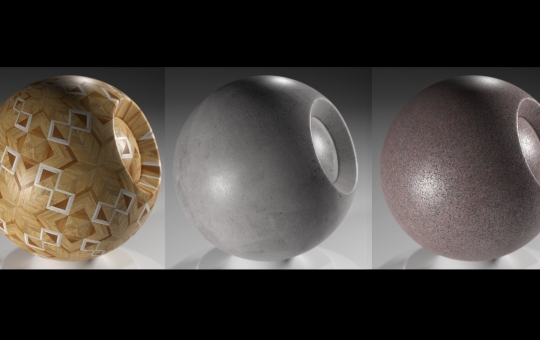
When you look at the colored image, in fact it's always a mix of three, different black and white images. Each one of them is associated with a separate color channel, defining what value between 0 to 255 of that particular color, is applied to a single pixel of the picture. If that sounds confusing, take a look at the slideshow below, where a diffuse texture is separted into a different color channels and then combined together but in a different order:
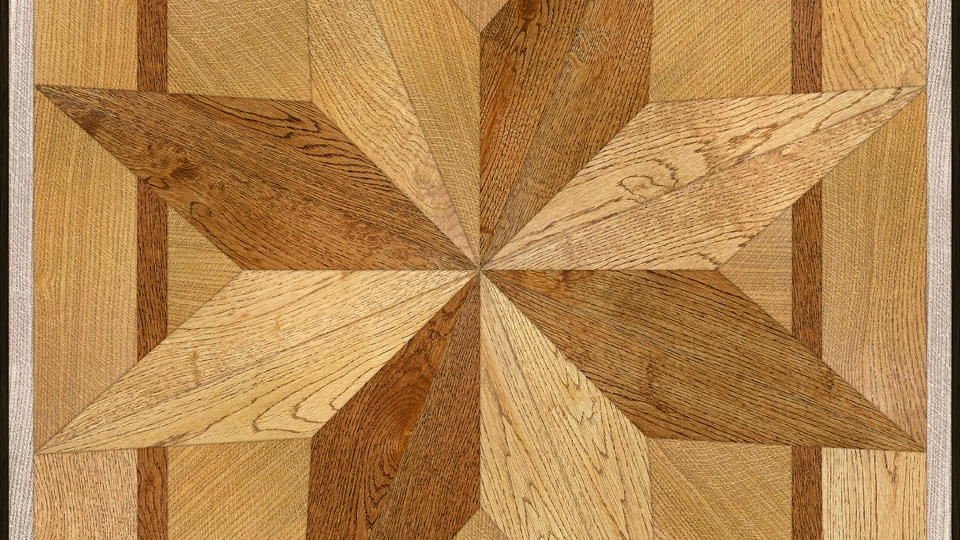
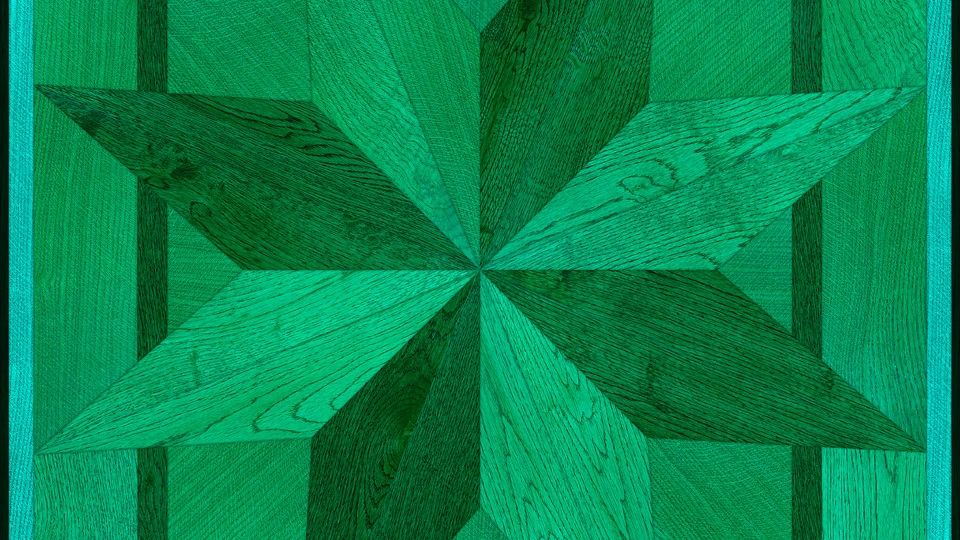
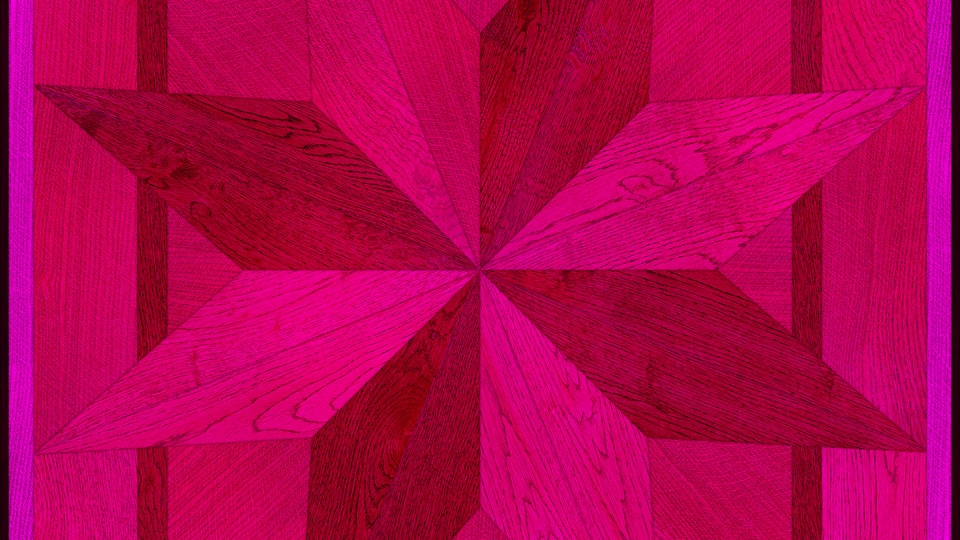
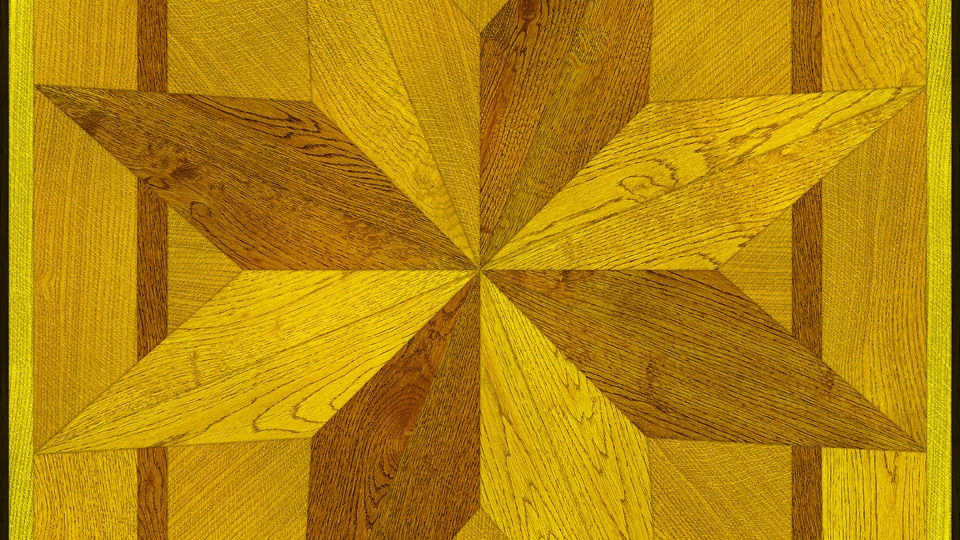
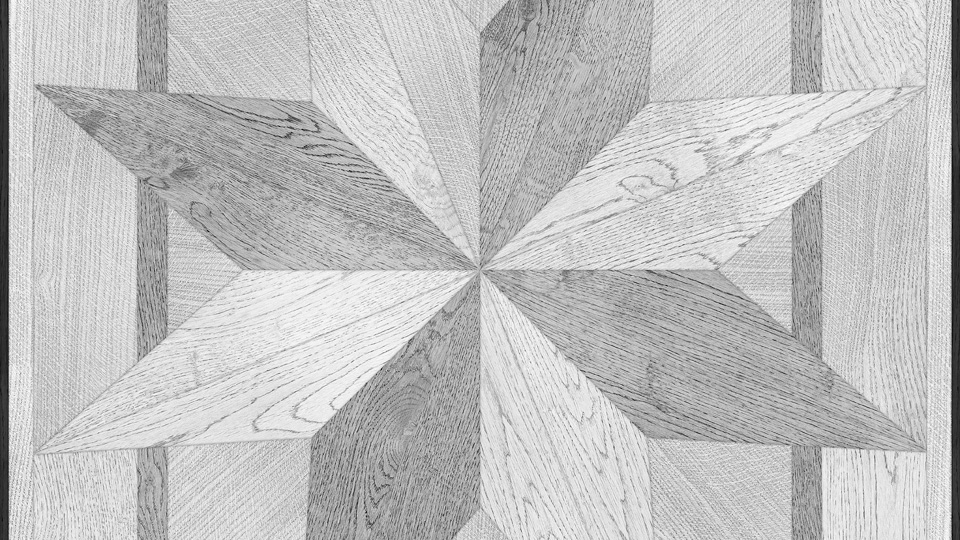

Since shader settings as Specular, Rougness or Bump are controled by numerical values (from 0 to 1) that means we can also define them by black and white color values (where 100% black = 0 and 100% white = 1). So, based on the image texture in the previous slideshow, Blue color channel should give us the sharpest reflections (dark tones = values closer to 0 = less roughness = sharper reflections) whereas Red color channel should be more suitable as specular input if we want our shader to be reflective (brighter tones = values closer to 1 = more specular = more reflections).
Feel free checking some of our free shaders linked below: