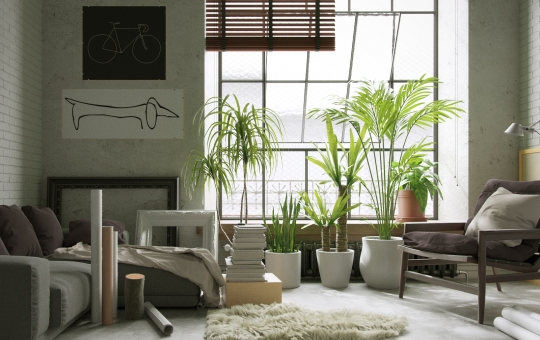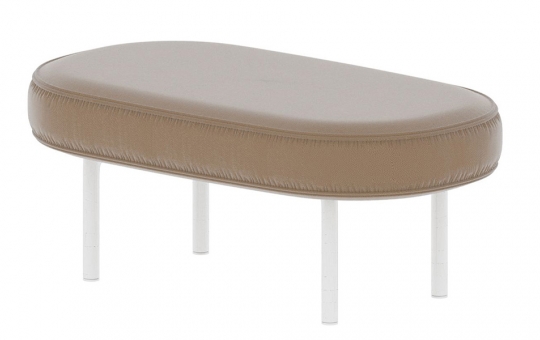
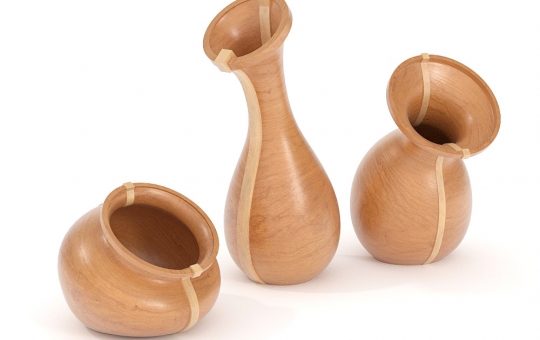
In this short tutorial we'll be explaining our approach to modelling wrinkles in 3D furniture fabric. Adding this level of detail can significantly increases the realism of your models and the technique is pretty easy to follow. After reading through this page you should be able to create models like the one seen above. So let's get started!
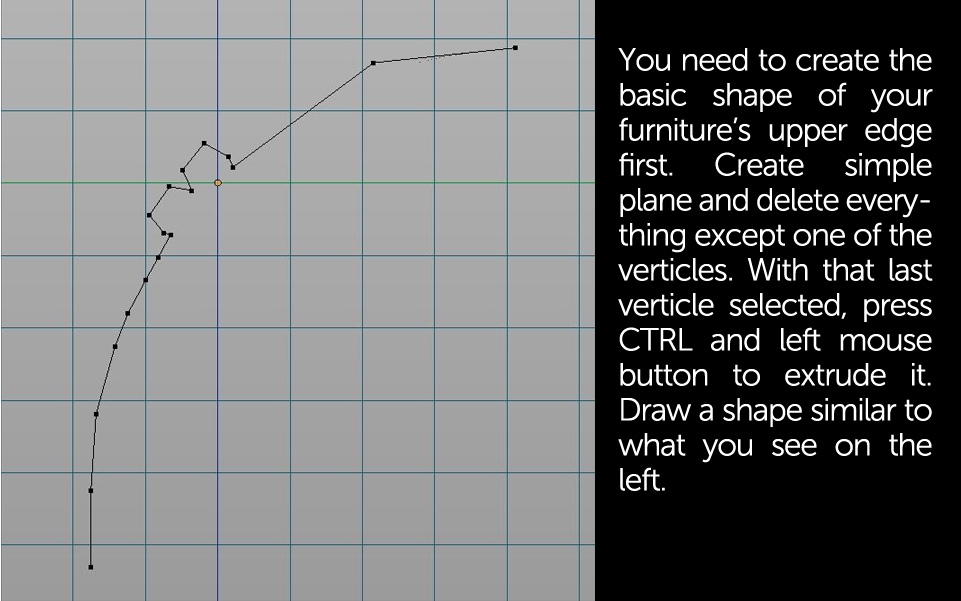
This technique requires a small fragment of the furniture surface to be modelled first. We'll be using the basic poly modelling techniques in Blender's Edit Mode. If you're new to the topic, I suggest you check the tutorial linked below:
04/03/2017 Featured
Subdivision Modeling Intermediate Techniques in Blender 2.79
In this part, we'll continue modeling sink and some other scene elements. You will learn a bit more about proper subdivision modeling and I will also show you how to create more complex furniture pieces based on photography and correct camera placement. Let's move on!
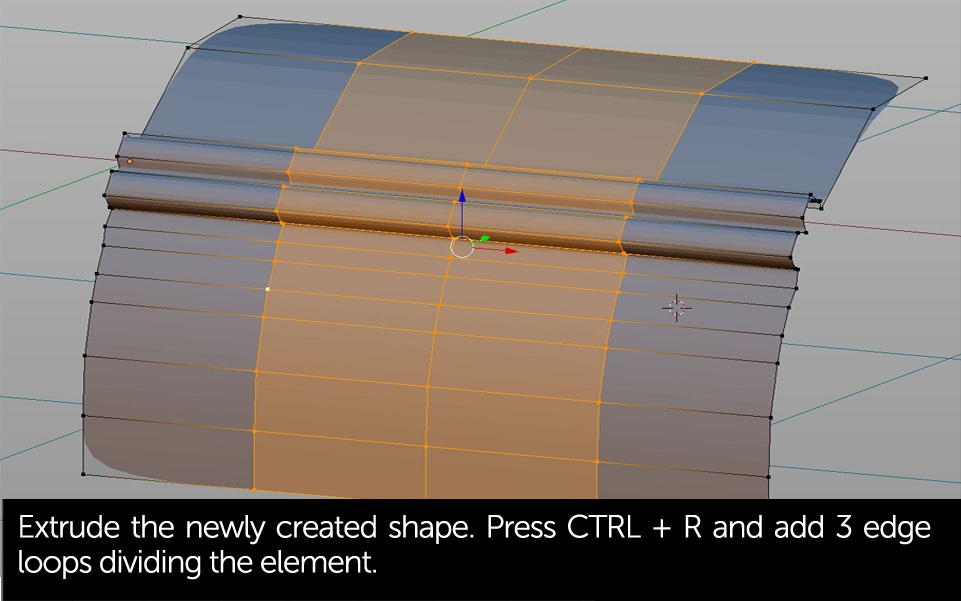
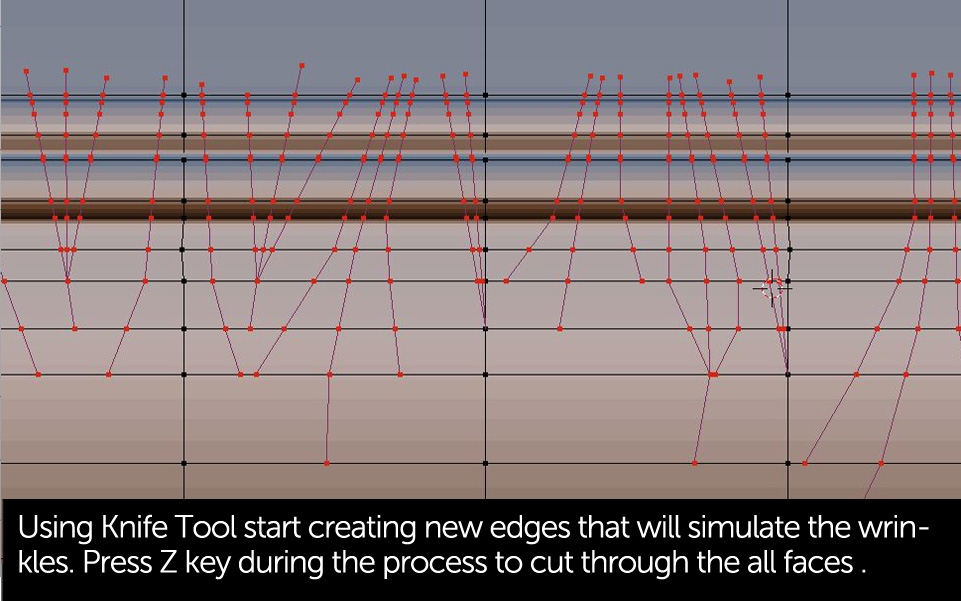
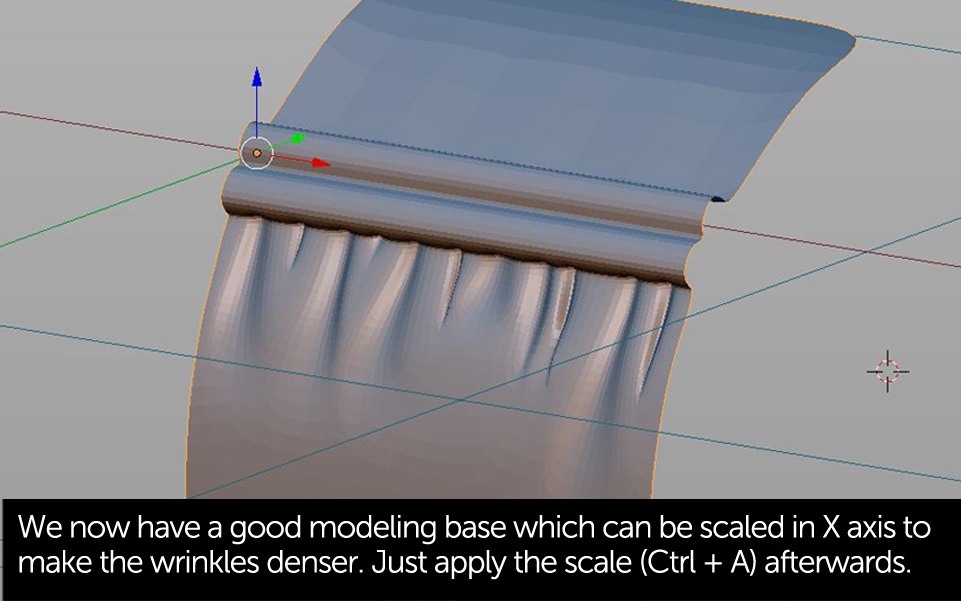


Remember, when creating the basic shape try keeping your geometry nice and clean. If some of the wrinkles look bad and have shading issues just spend a few more minutes aligning the vertices manually. After that, add Subdivision Surface modifier.
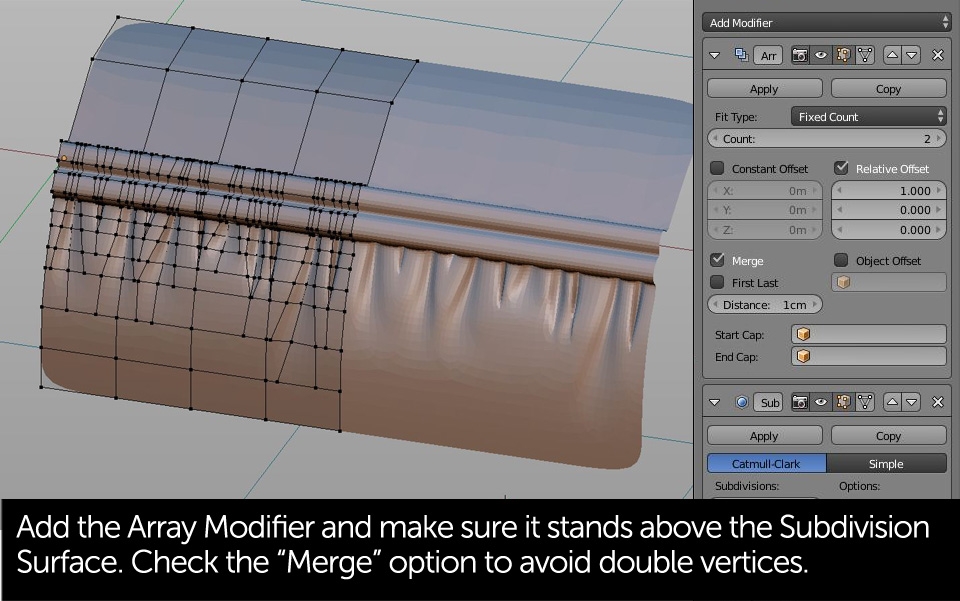
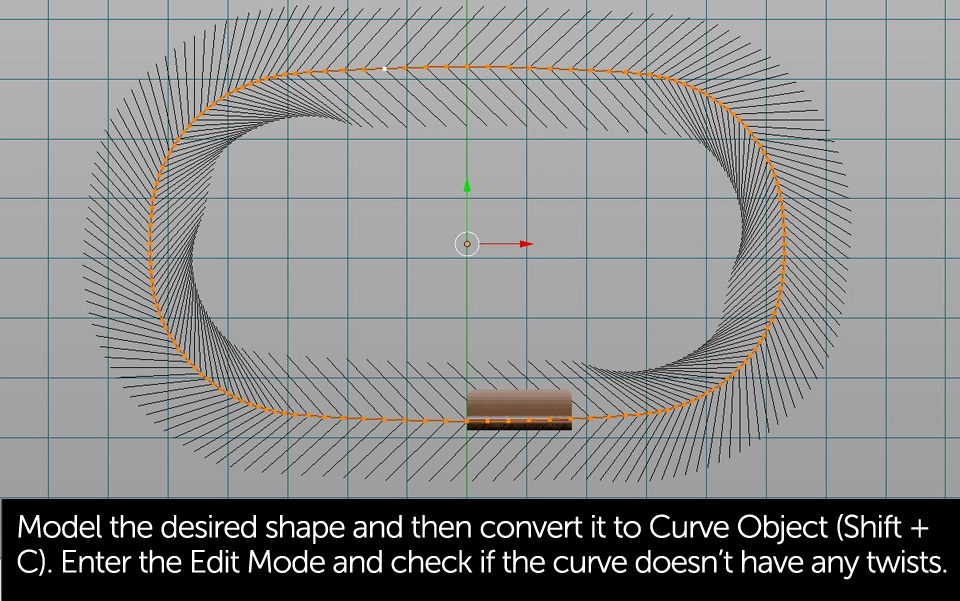
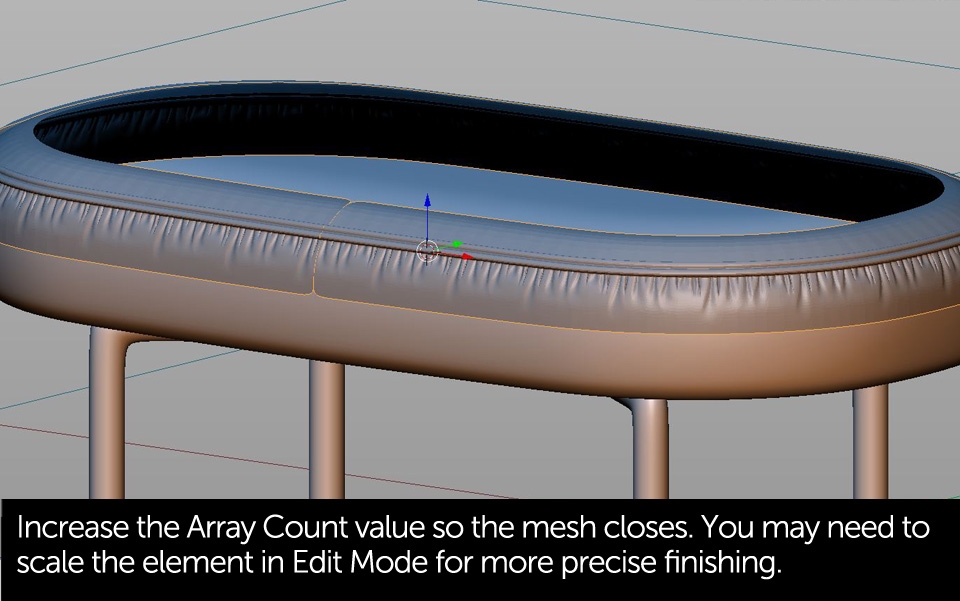
Most of the time details for more complex furniture models are made using Blender's sculpting tools. Since our model has a very uniform shape, we'll be using the Array Modifier and Curve object to distribute the wrinkles. We've been using a similar technique for creating the spring component in the "kitchen tap" tutorial. Check the tutorial below for more explanation
03/03/2017 Featured
Subdivision Modeling Basics Techniques in Blender 2.79
Subdivision modeling is a little bit more advanced and universal technique for creating 3D models and that's why I've decided to cover it separately. Here we need a bit different approach to modeling and I'll try to describe its basic principles.

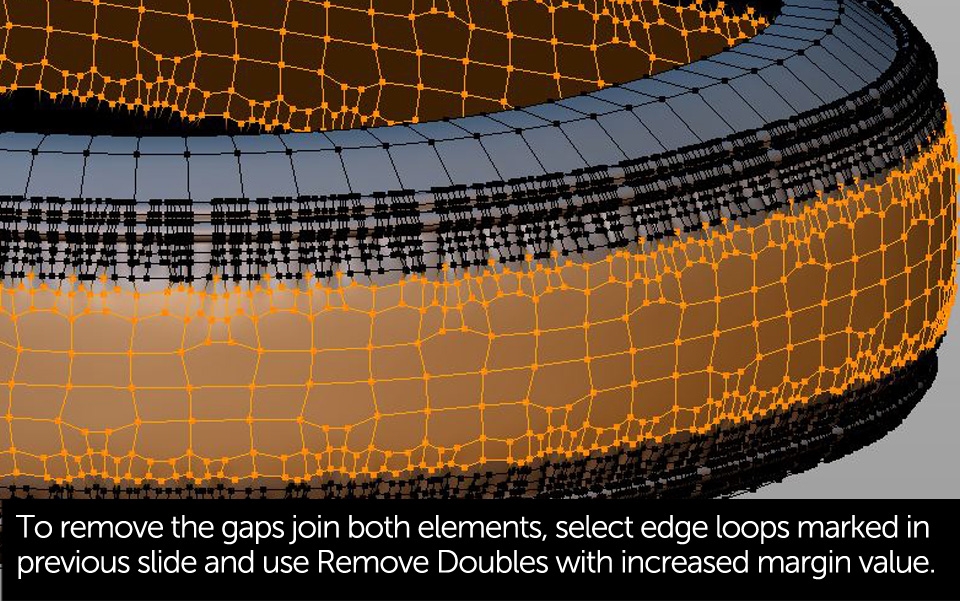
After merging the upper and lower parts you may need to soften the middle section of the model. Select the proper faces and after pressing the W key in Edit Mode choose "Smooth" option.
That's it! This technique is great for models where you'd like to keep the mesh simple but want to add some nice details. Unfortunately it also has some limitations - for instance it's not really a good solution for detailing elements with nearly 90 degree corners. However, you can model these manually and still use this method for detailing long, uniform edges of your sofa or lounge chair.
Hope you find it useful!