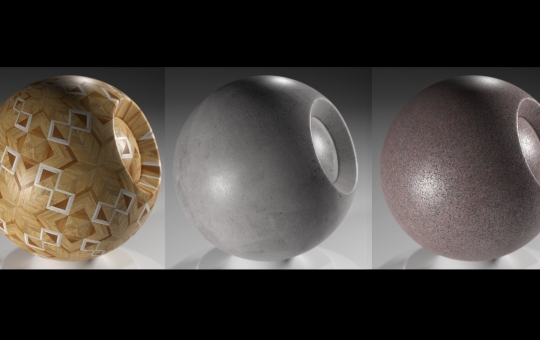
In this short guide I'd like to show you a cool and quick way to setup some very realistic global illumination, in just a matter of seconds with Chocofur HDR maps or minutes (when you have to do things yourself). Let's get started!
A well shot or digitally modified HDR map should generate nice visible shadows and contribute some of the sky color to all surfaces in your 3D scene. However, most of the freely available HDR maps from the Internet will cast blurry, poorly defined shadows and fill the entire scene with a strong color tint, usually blue. Most people think it's due to poor map resolution but the problem lies somewhere else. To avoid these effects you either have to shoot the HDR map with a very high exposure range, or adjust it manually in any 2D editing software and compare the results simultaneously in your rendering application.
With chocofur we strive for doing things right and delivering only the best quality products. This also applies to HDR Maps available in our store. Since Blender is all about sharing, we've released one of our HDR maps for free and you can download it after logging in to our website.
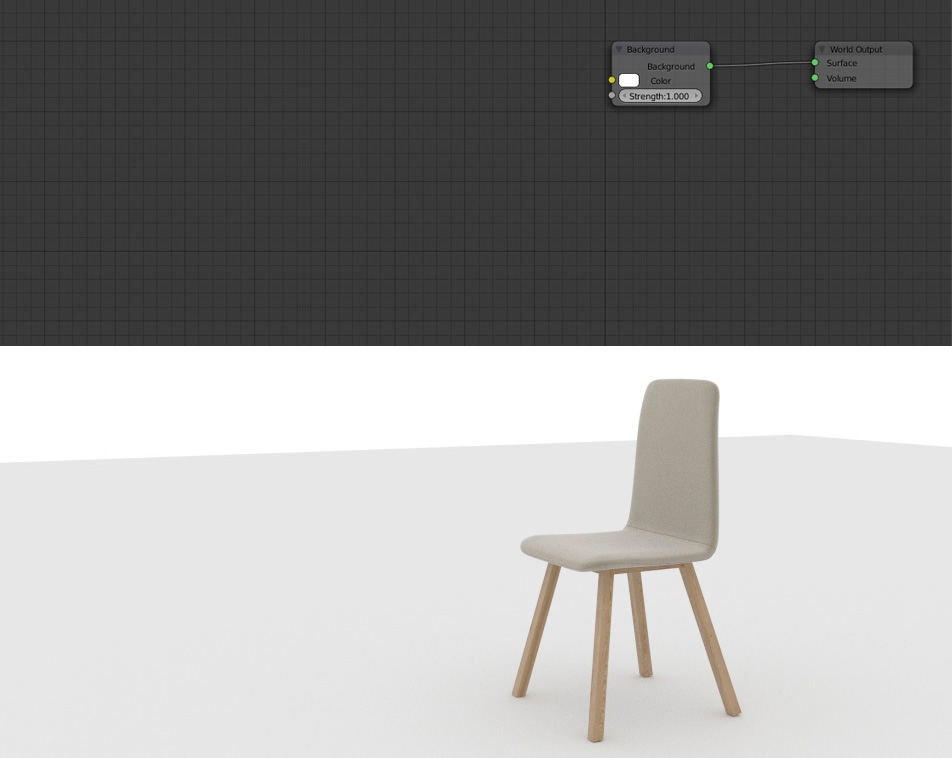
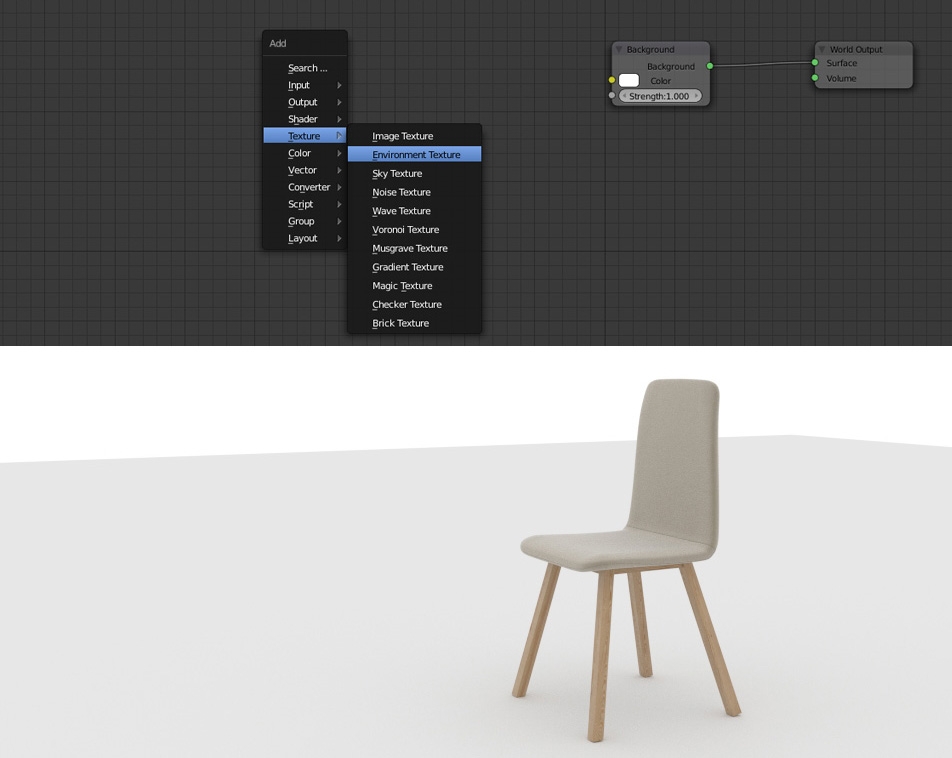
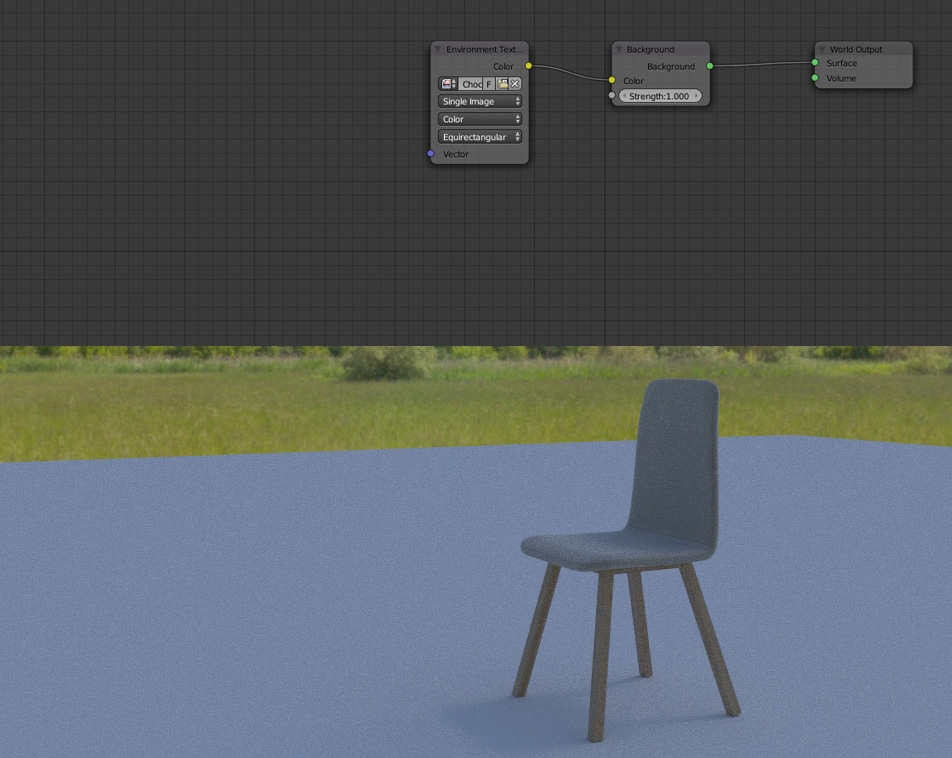
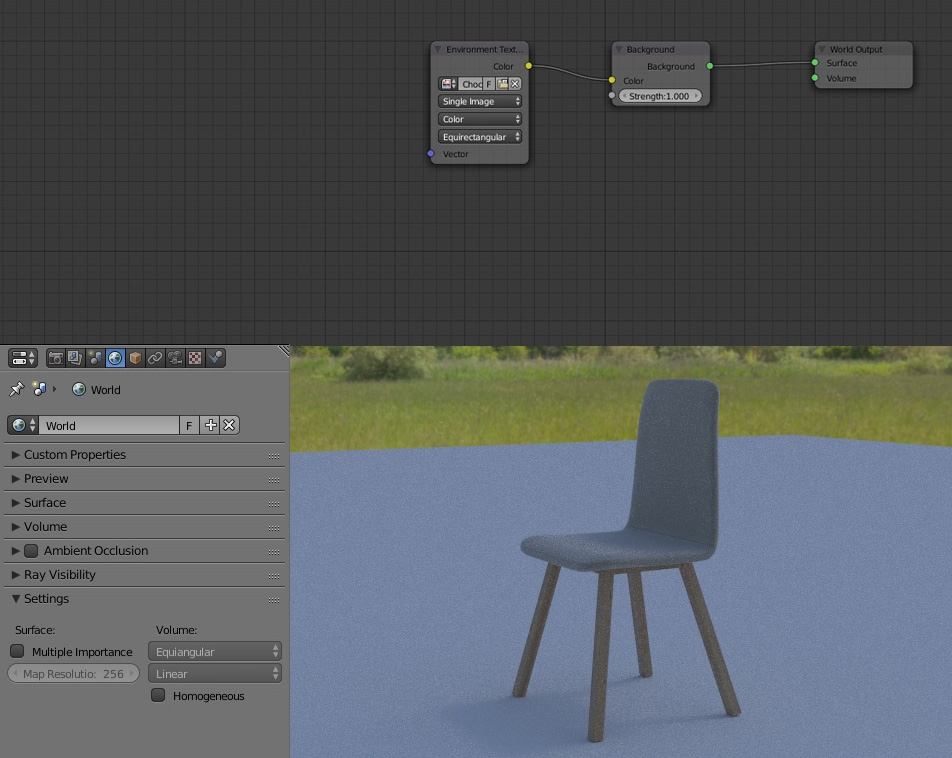
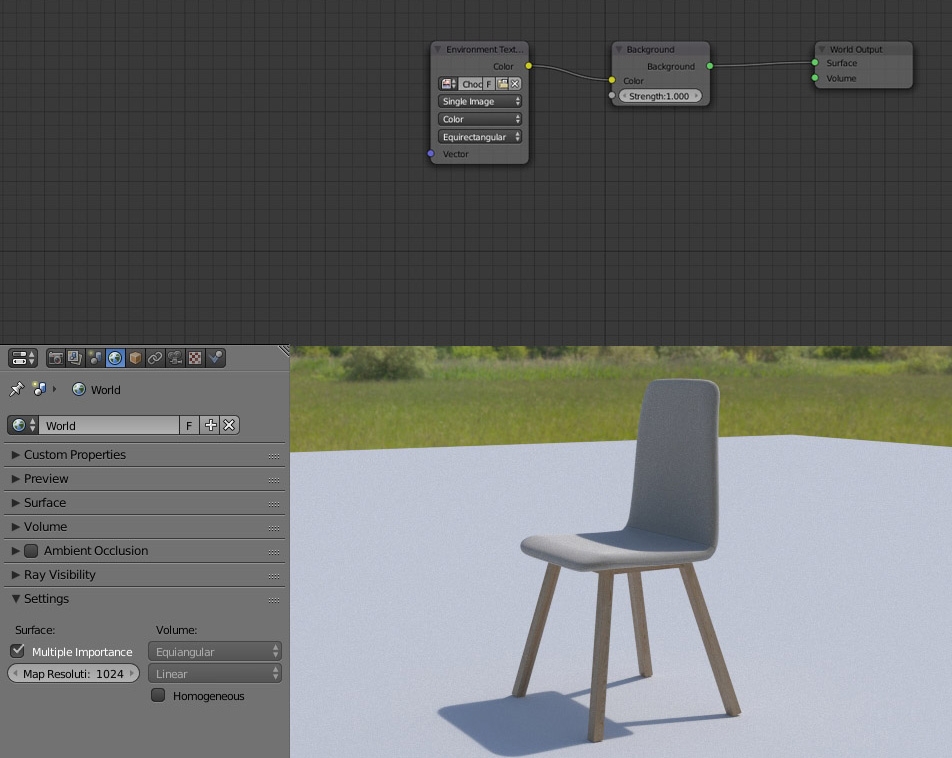
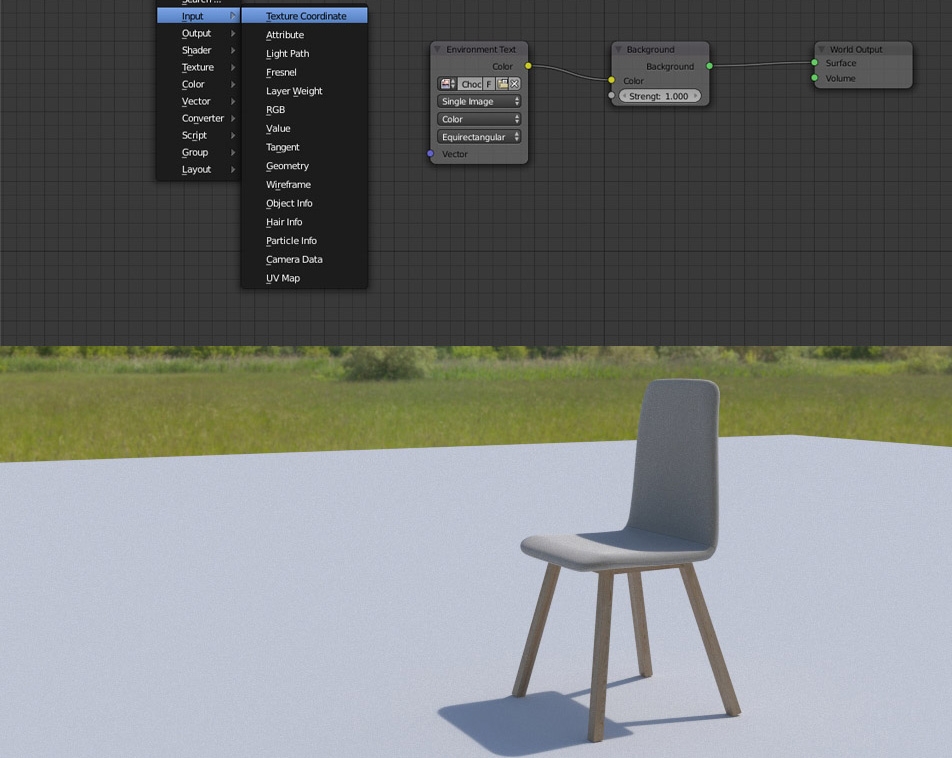
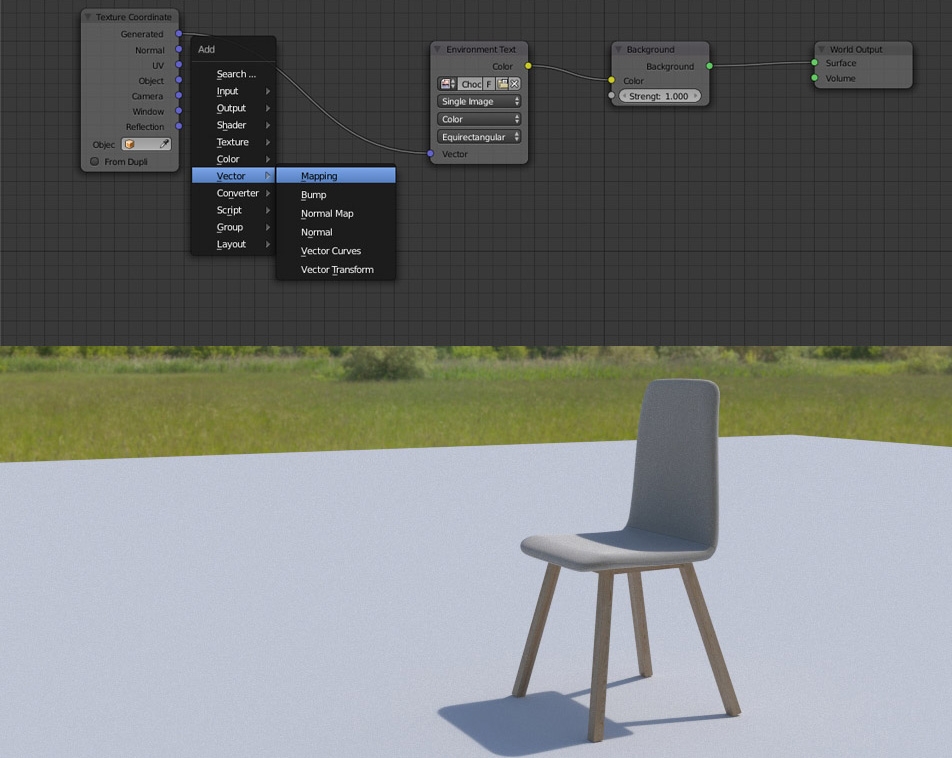
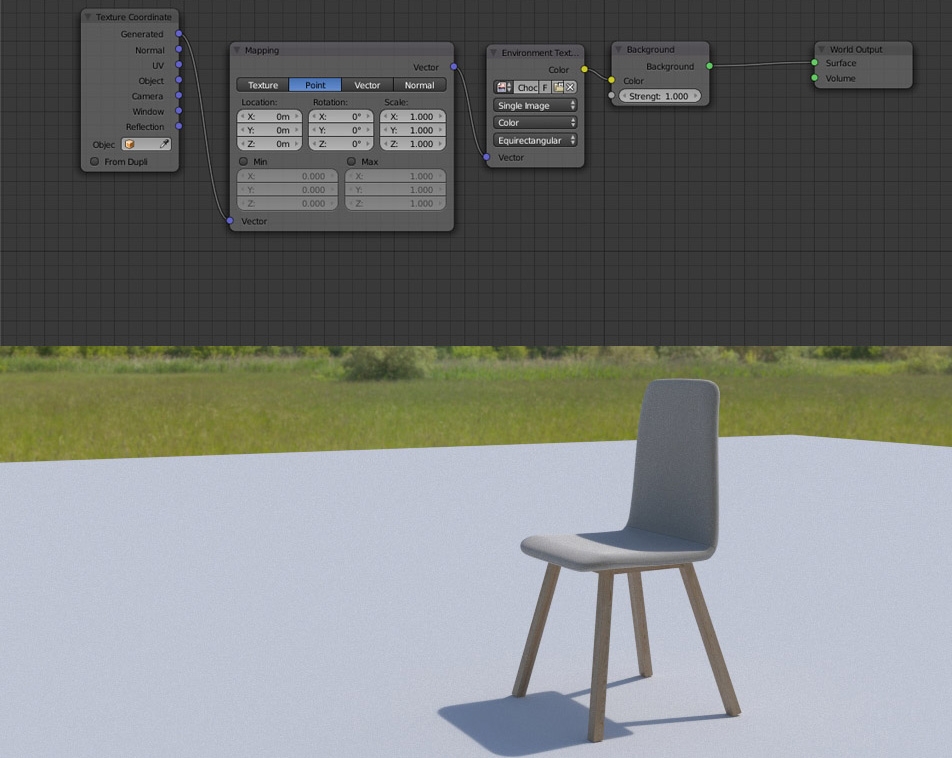
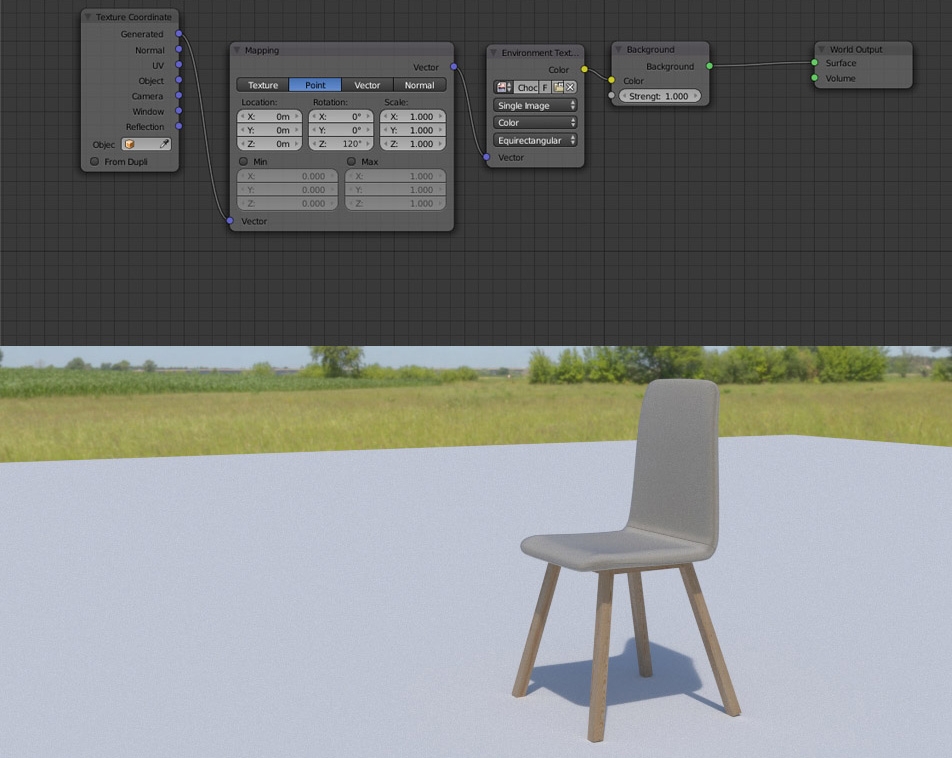
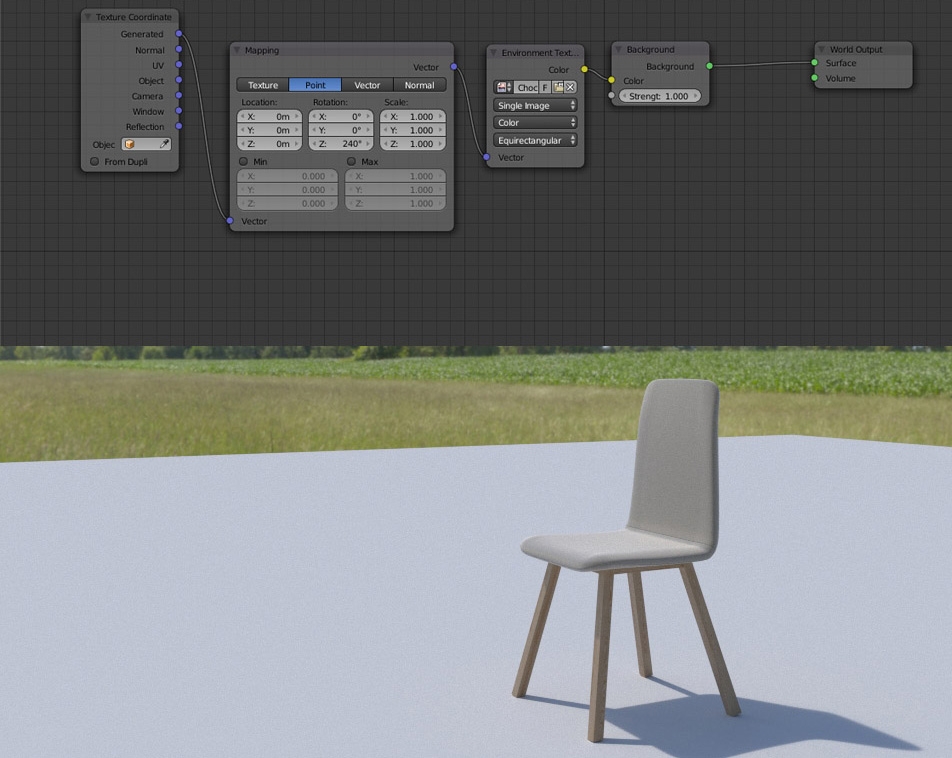
After downloading the map you still need to know how to use it properly. Below you can find a quick step by step guide on setting up our HDR maps in any Blender + Cycles scene:


Have you ever downloaded a free HDR map from the Internet and the render didn't look good? You may need to tune up the HDR manually - it may sound tricky but it usually takes just a few minutes to change poorly looking, unrealistic HDR map to a real killer. To explain the process more clearly I've divided it into a few steps.
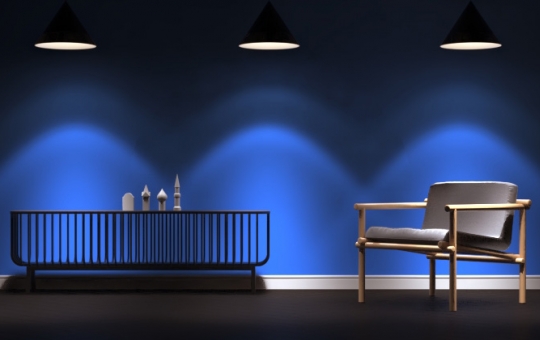
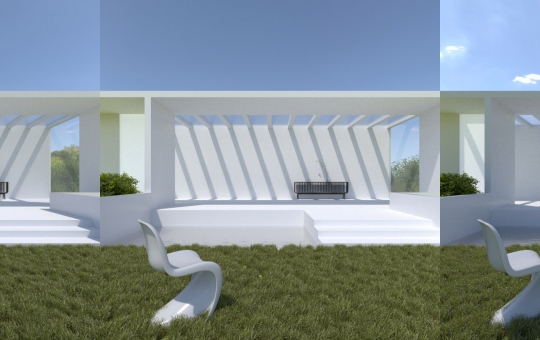
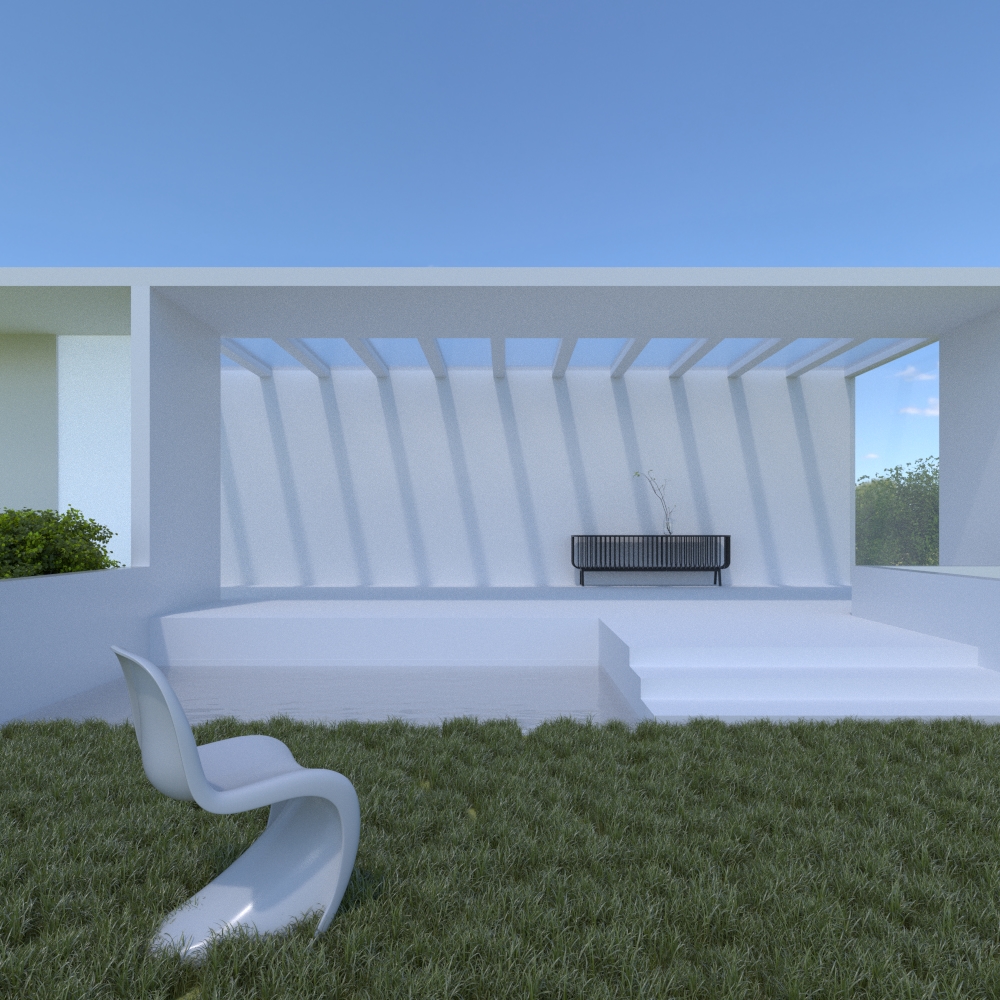
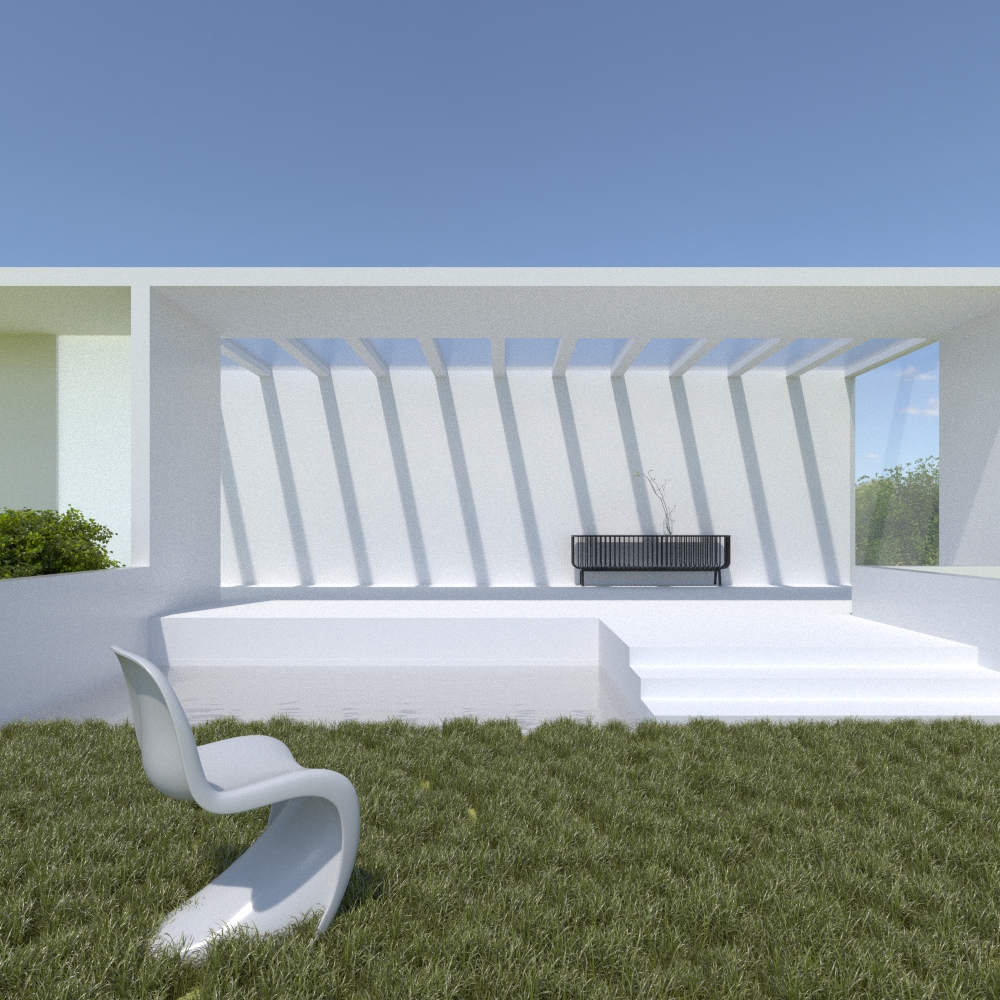
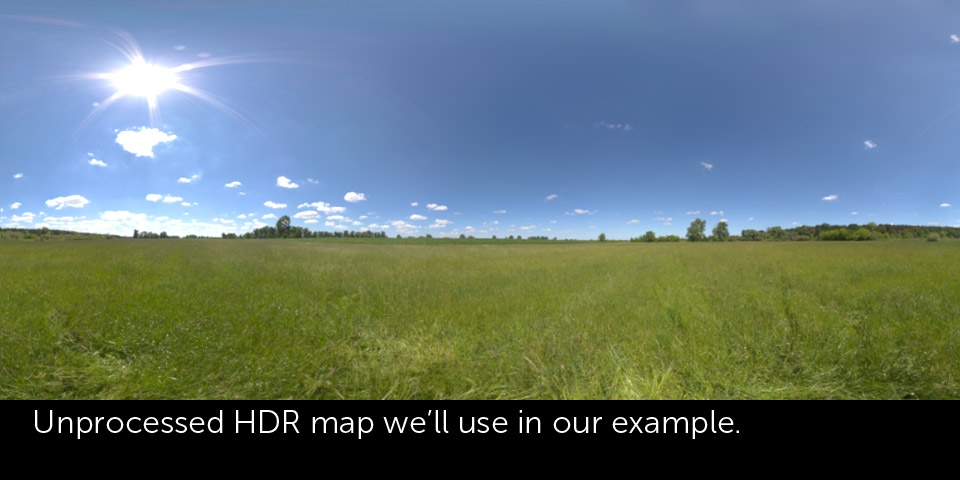
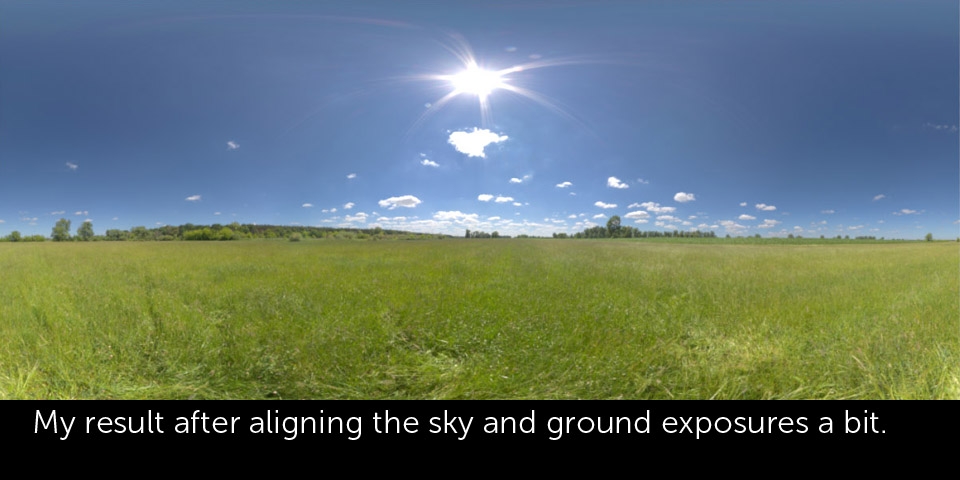
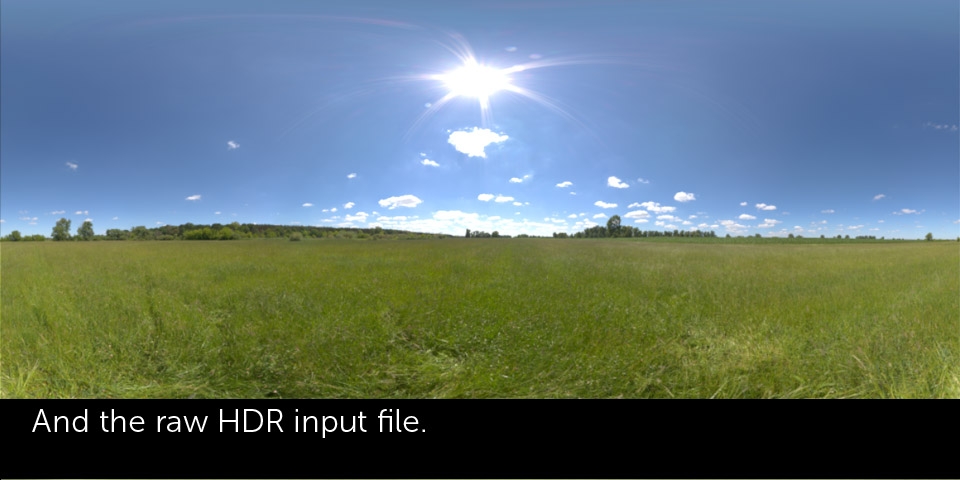
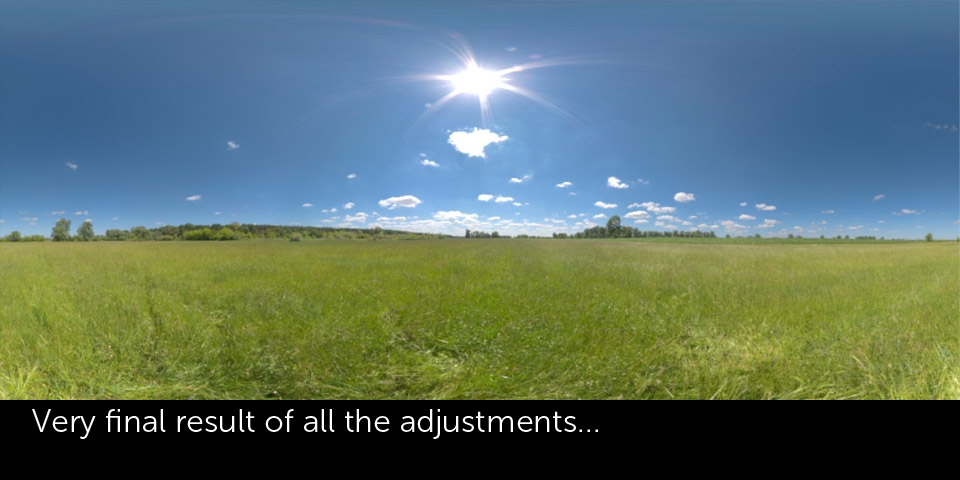
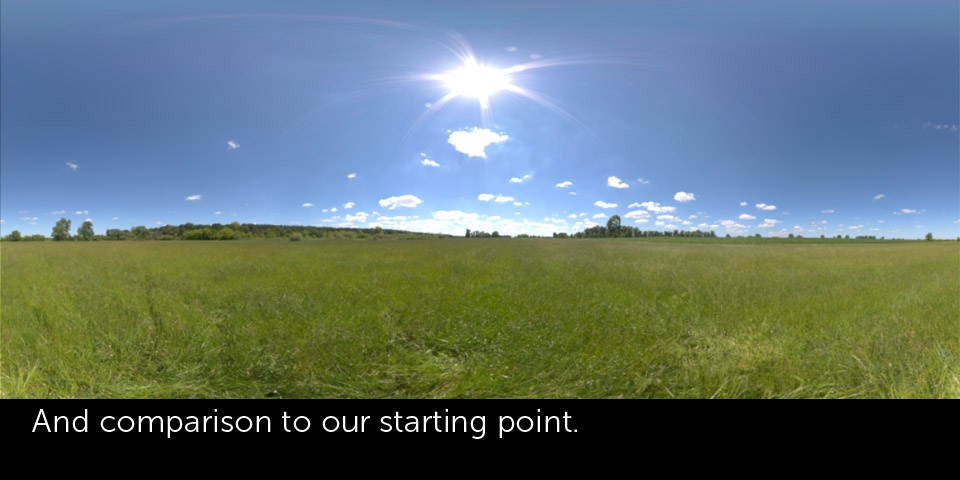
Comparison of the raw, unprocessed HDR map and the result of a few minutes of adjustments:
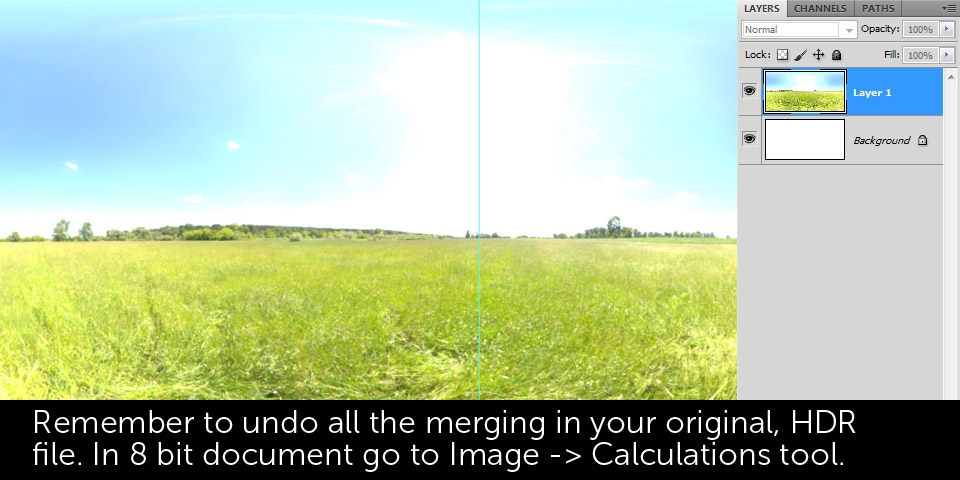
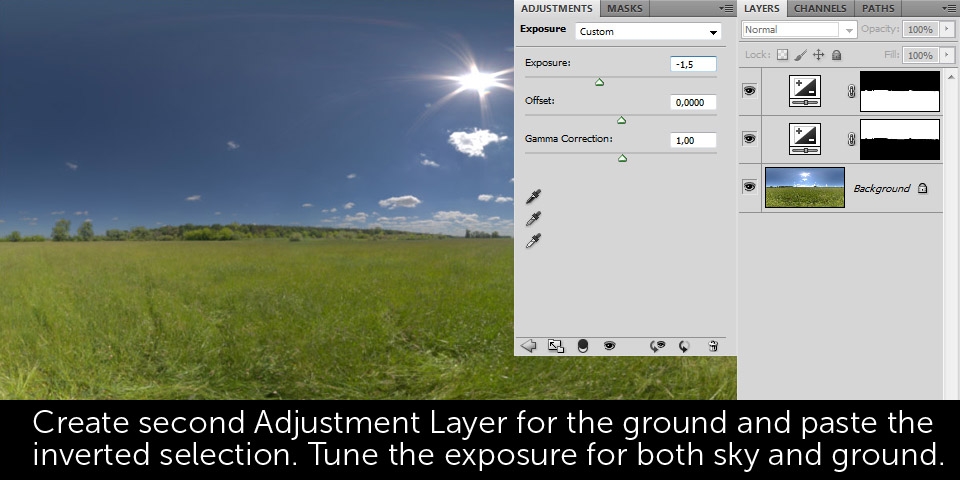
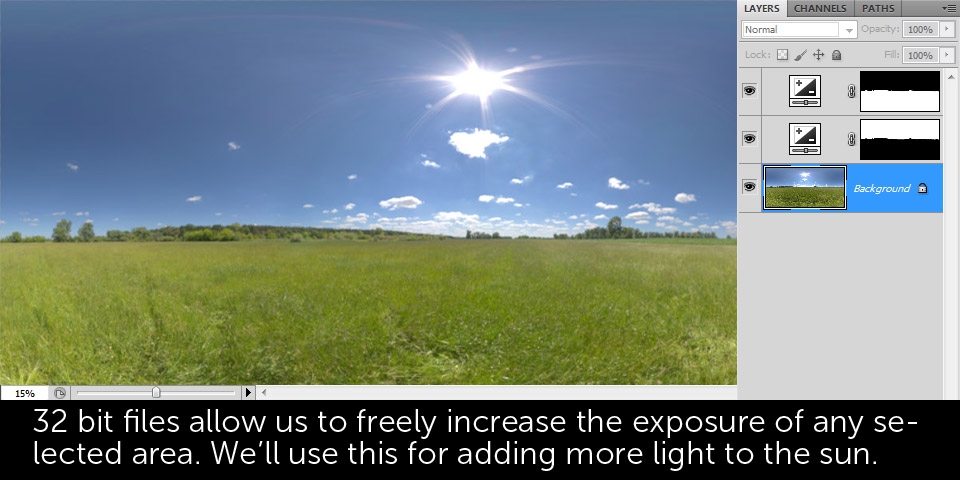
HDR maps are 32 bit files. This means they store many more colors above what we consider "white" and below what we think of as "black". With this amount of information it's possible to get more color detail from white overblown and black burnt-out spots. However, HDR merging software processes your picture and usually merges everything in a unified tone. The result may be a HDR map highly different in sky and ground exposure.
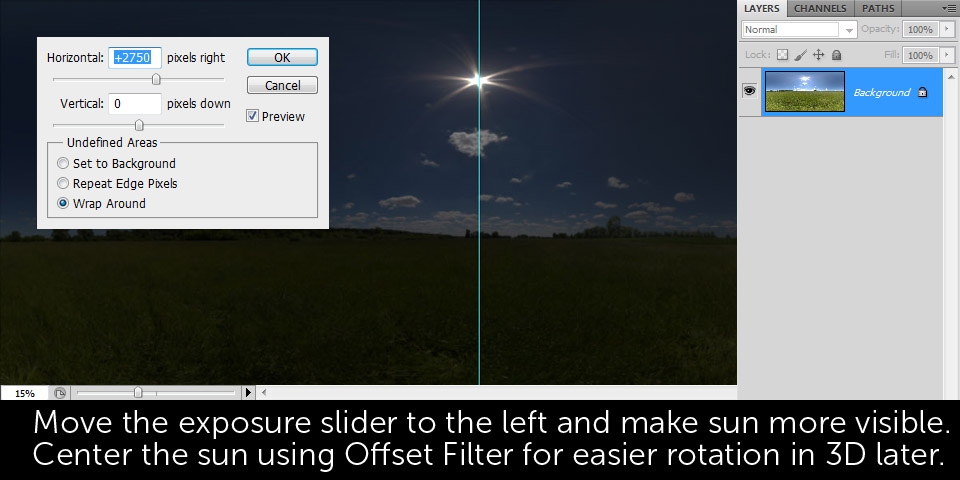
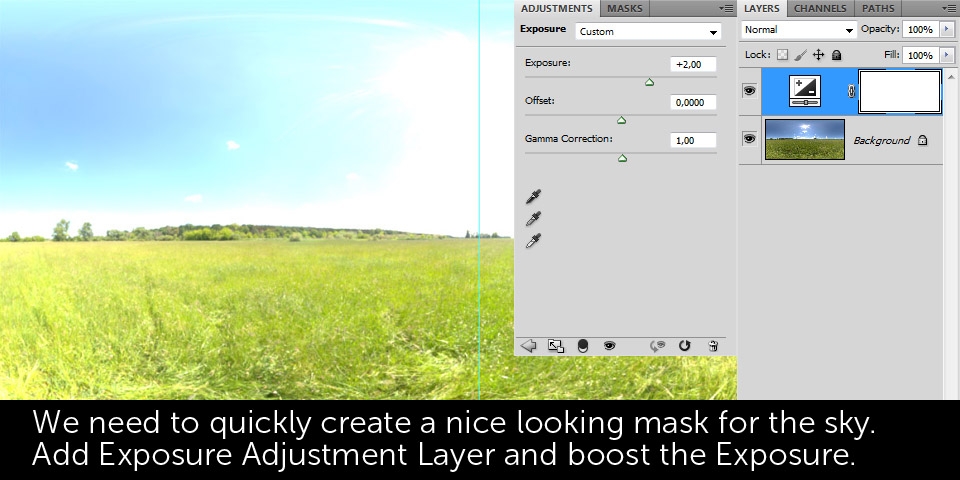
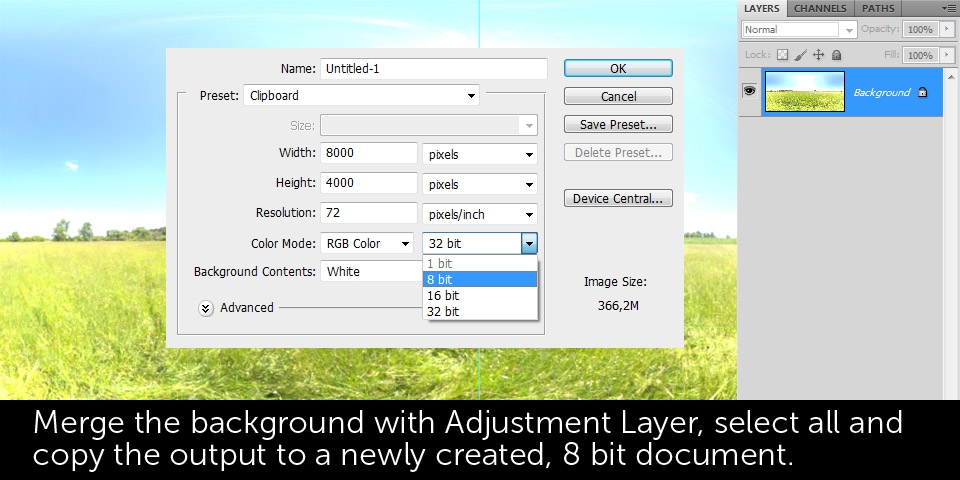
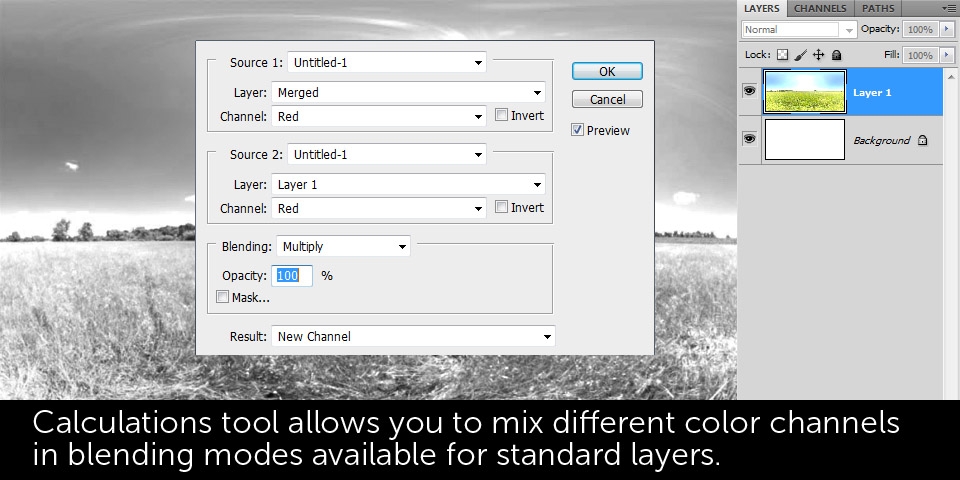
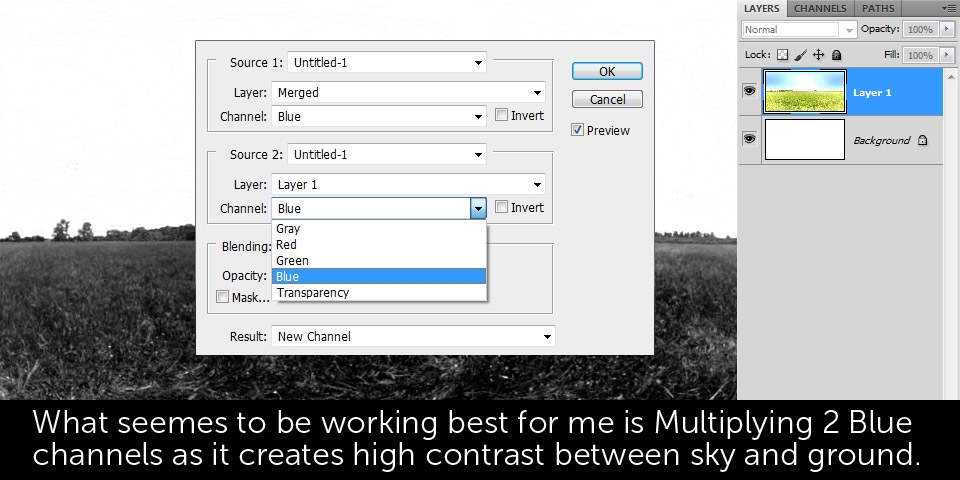
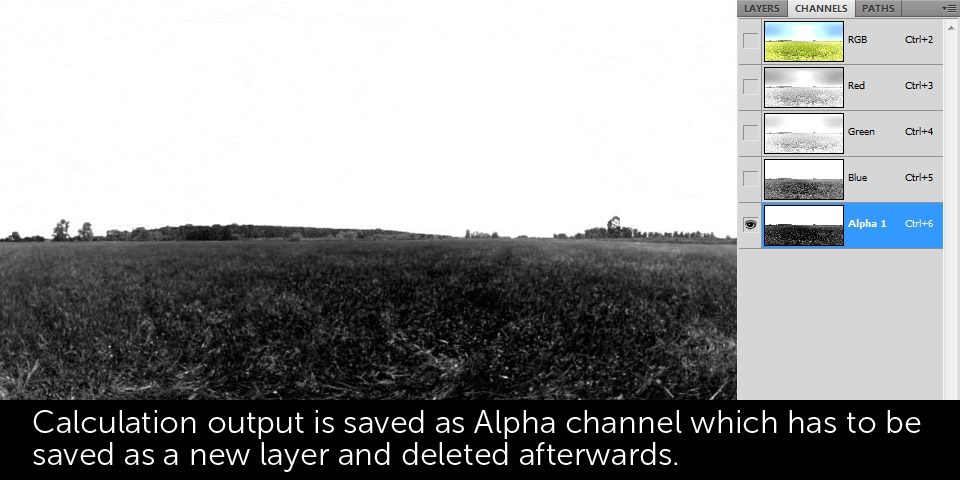
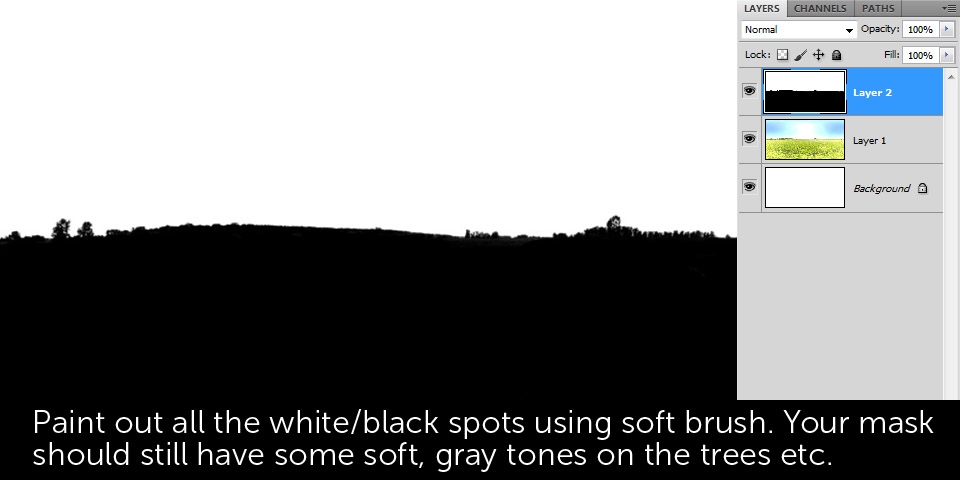
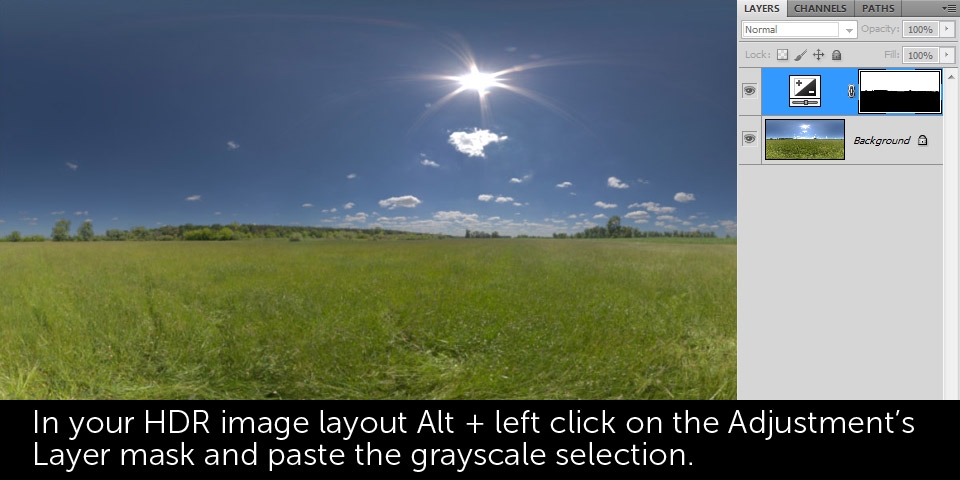
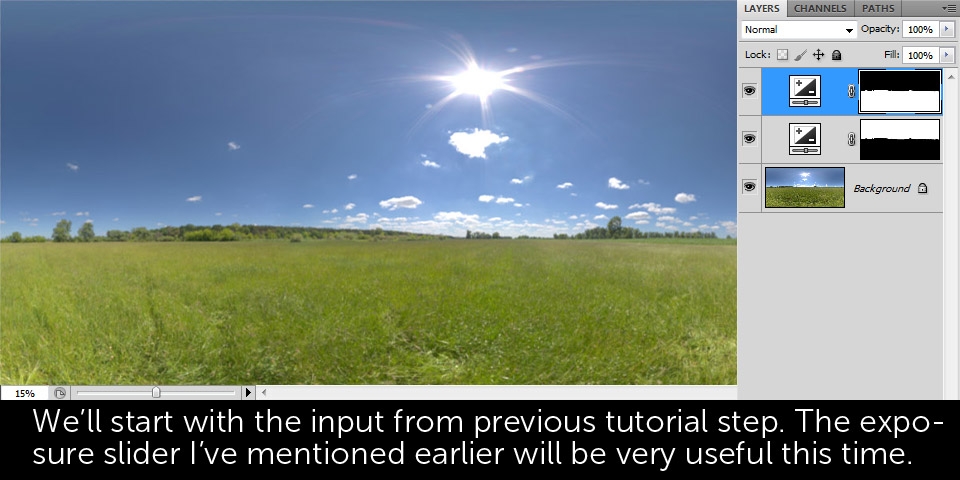
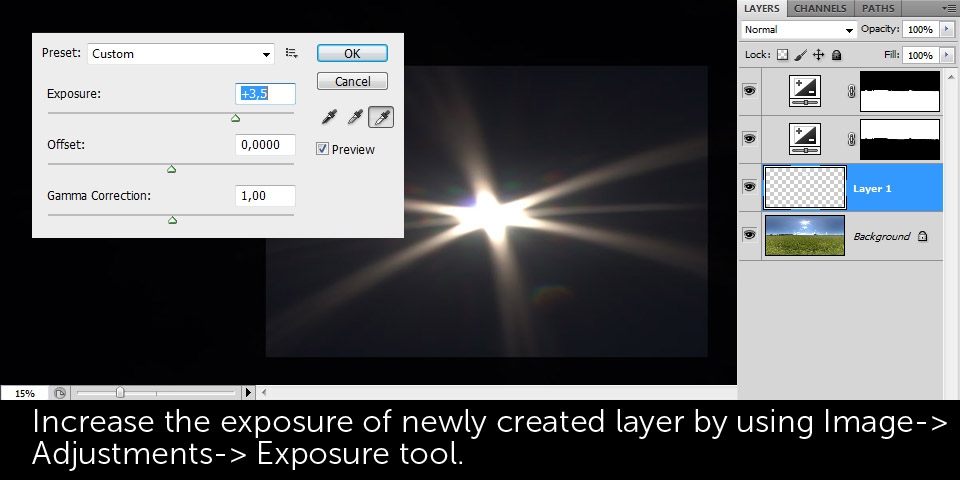
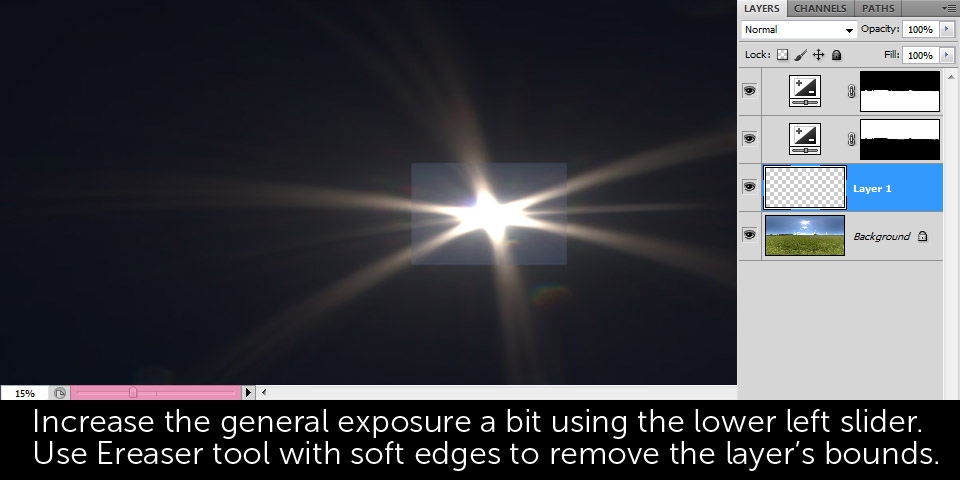
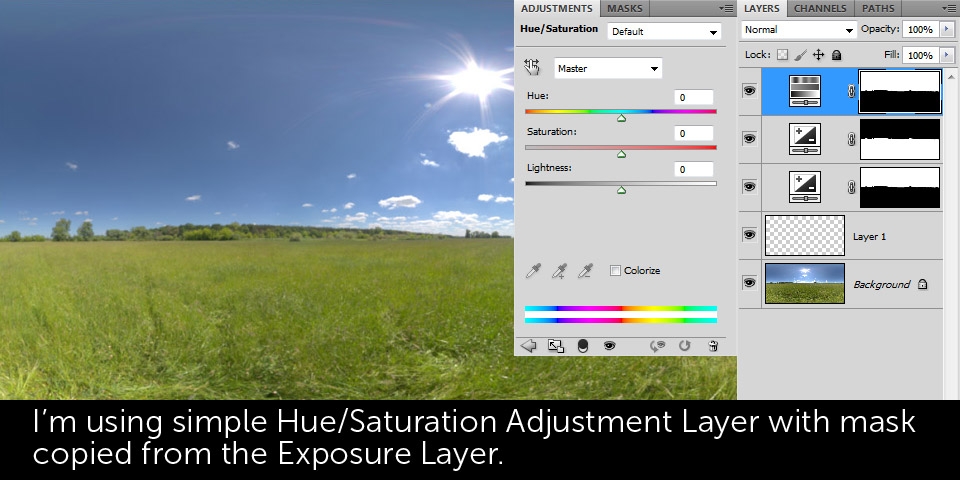
To make the map better with more correct illumination we need to mask the sky in a 2D application and adjust it separately. I'll be using Photoshop for that and describing my techniques in the slideshow below:

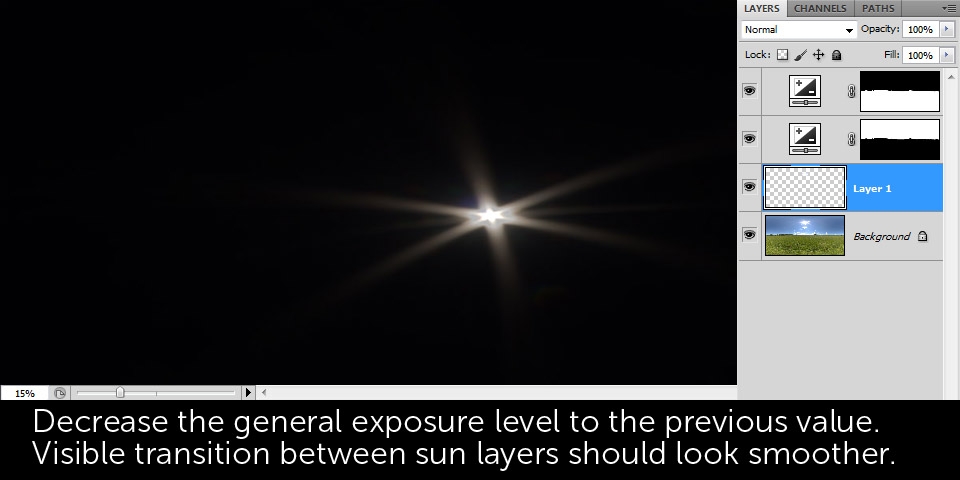
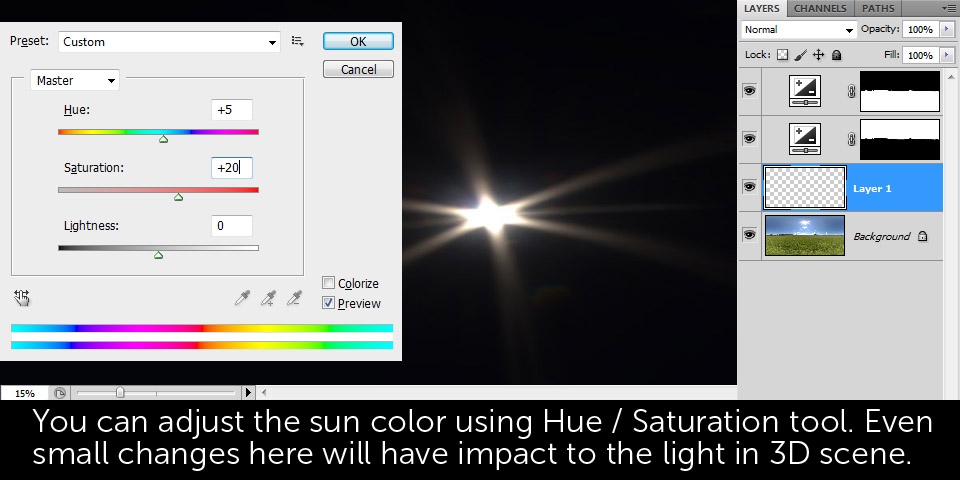
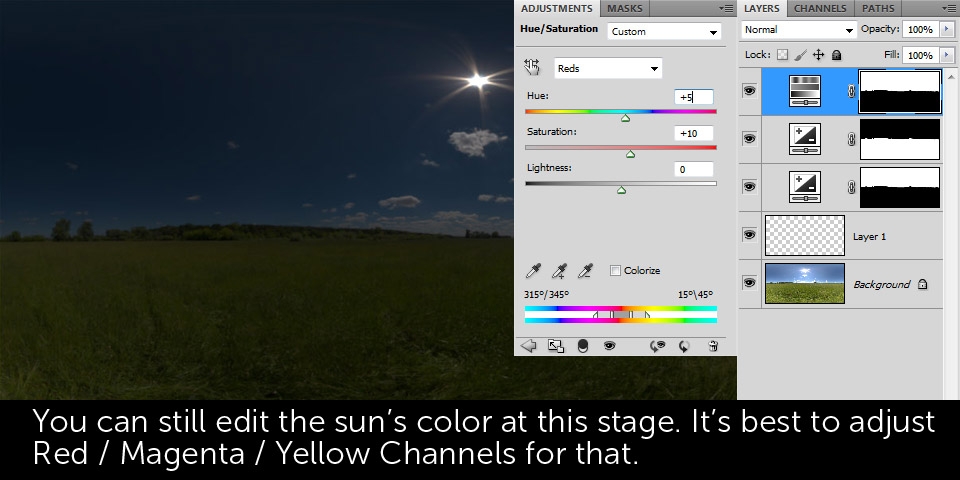
At this stage I'd recommend doing some test renderings and comparing the render generated by the adjusted HDR map. Sometimes you may need to soften/blur the sun on lower exposure levels if the shadow edges are too sharp (especially with sundown/sunset maps) or the light is too strong. Remember that editing the light source's color tint has a significant effect to the scene, even if the change is barely visible in a 2D editing application.
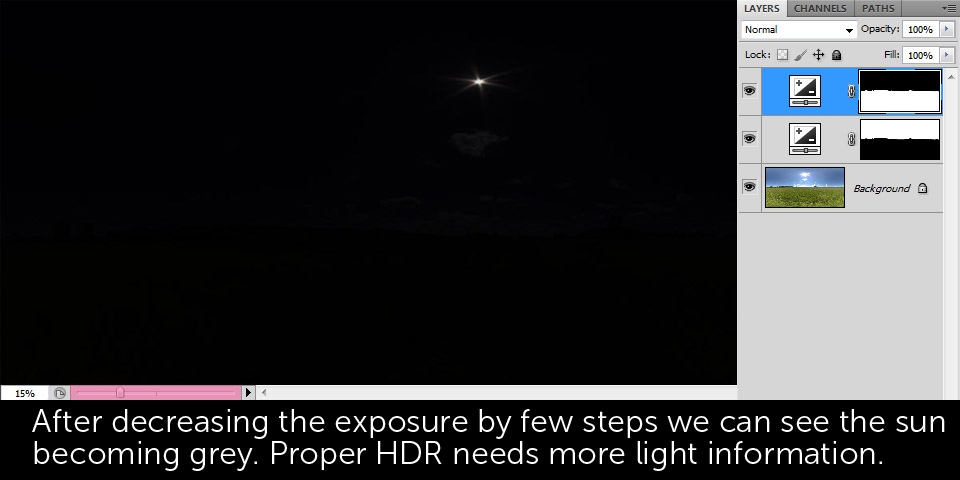
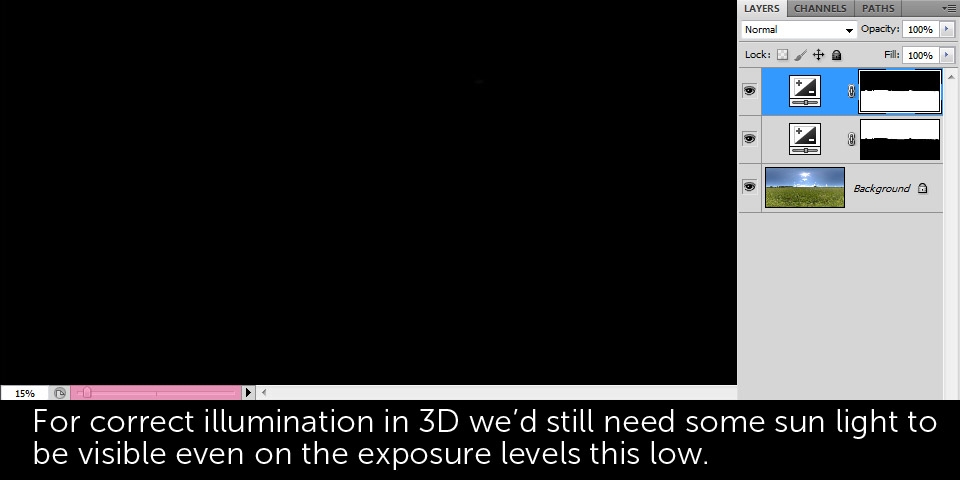


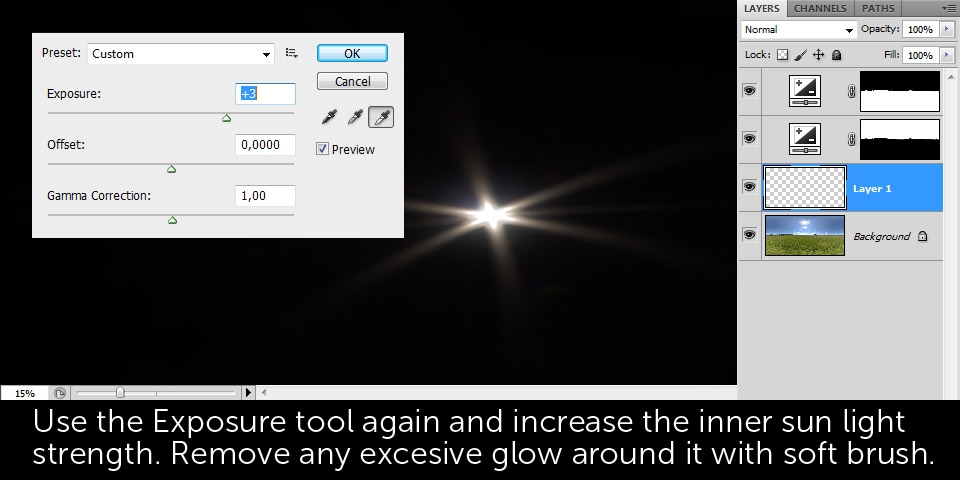
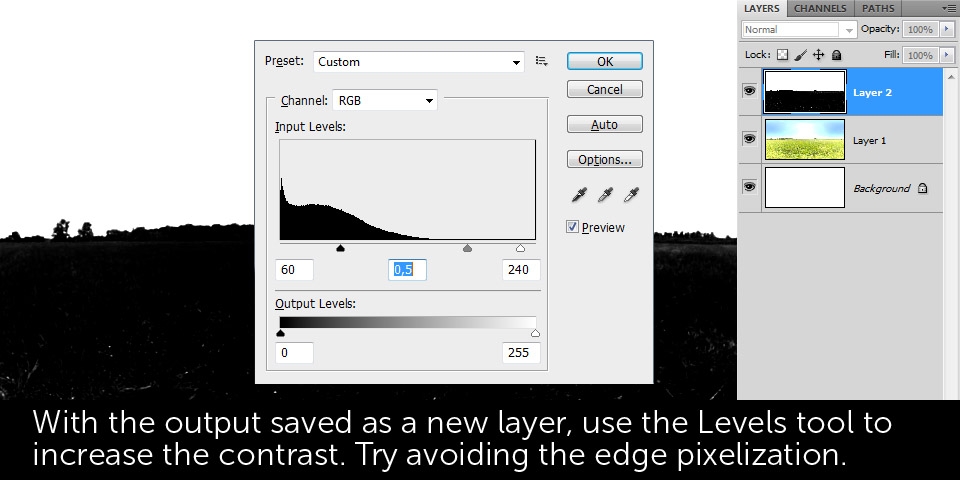
Poorly visible, low contrasted shadows almost always come form HDR maps that don't have enough light information on lower exposure levels. Fixing it is relatively quick and simple - since we're working with 32 bit files we can quickly adjust the exposure of the selected areas.
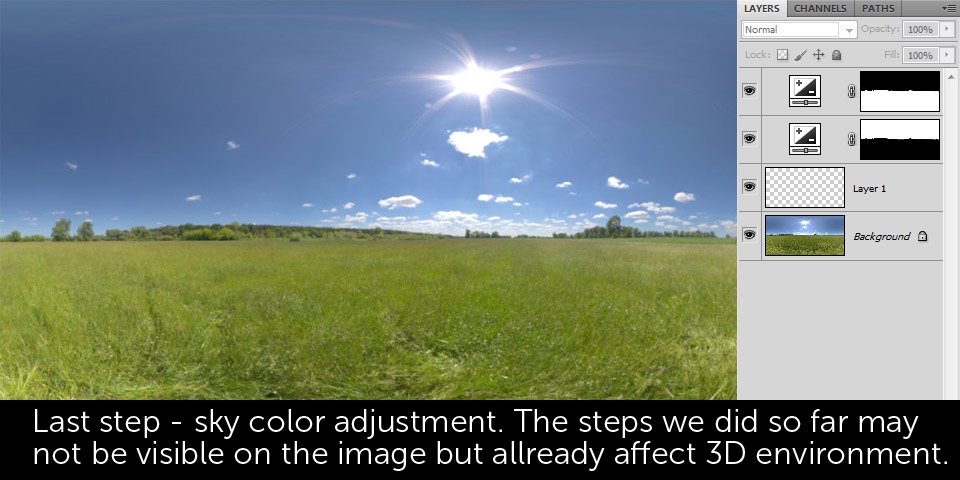
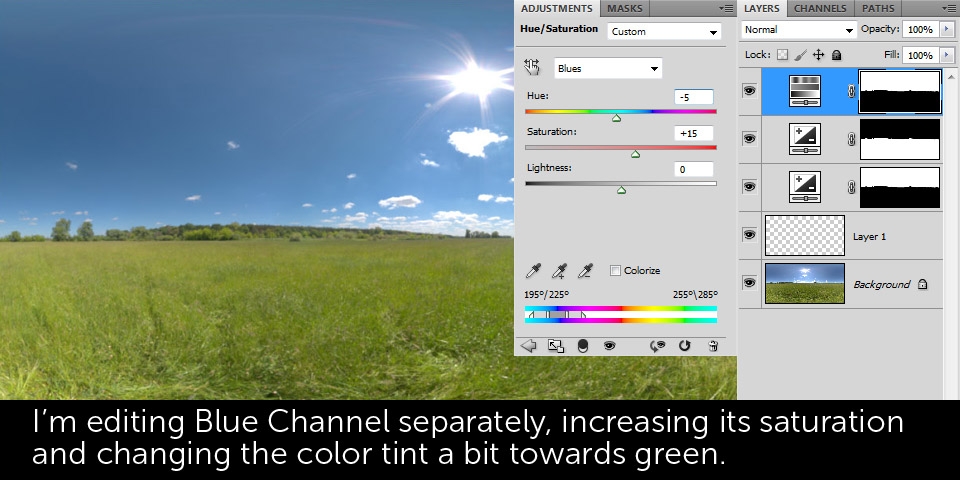
After defining sun and shadows we can now adjust the sky color. Using the mask created earlier, make another Adjustment Layer and play with the different color channels:
And that's pretty much it. After some practice I'm sure you will be able to do these adjustments in a matter of minutes. Remember, the test renders are very important. With certain light conditions, such as, overcast skies where the sun is not directly visible you may need to create a few different layers of clouds, each with different exposures, making sure the transitions between them are smooth. Checking the result accordingly in your rendering application is necessary to monitor if the changes improve illumination quality or not.
I really hope this tutorial was useful and easy to follow. If you have any questions, feel free to ask them below. You can download a free HDR image sample from Chocofur and check our other maps in the window below:
Happy Blending!