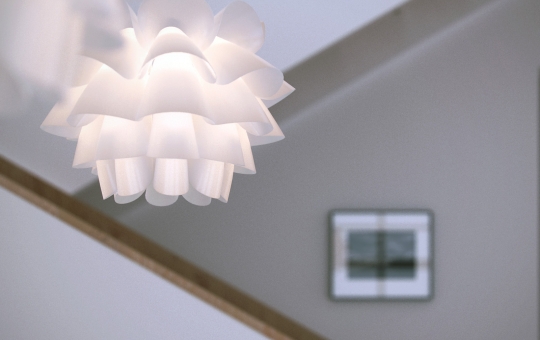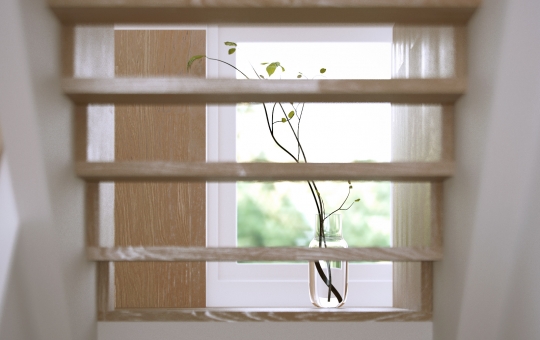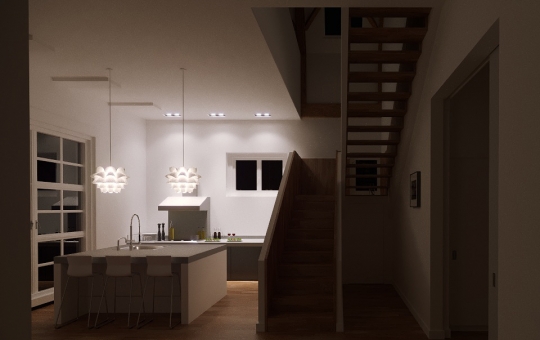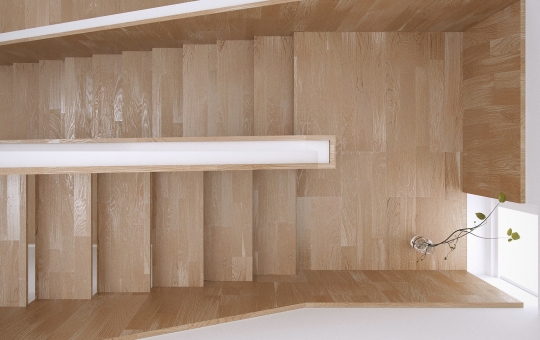
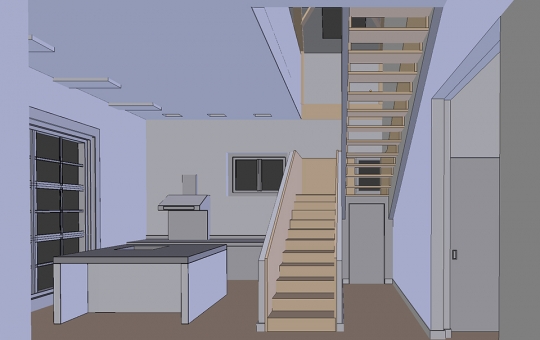
As you might have noticed, I'll be using already existing scene for creating this tutorial. If you'd like to know more details how it was made please check tutorial linked below. The complete 3D interior can be downloaded for free after logging in to your chocofur account (link is at the very bottom of the page). Feel free sharing it with others :)
02/03/2017 Featured
Basic Modeling Tutorial in Blender 2.79
In Basic Modeling I'll try to explain fundamental methods of creating interior geometry elements such as walls, stairs, windows, etc. By following the basic principles I really hope you'd be able to create everything necessary by yourselves. So, let's get started!
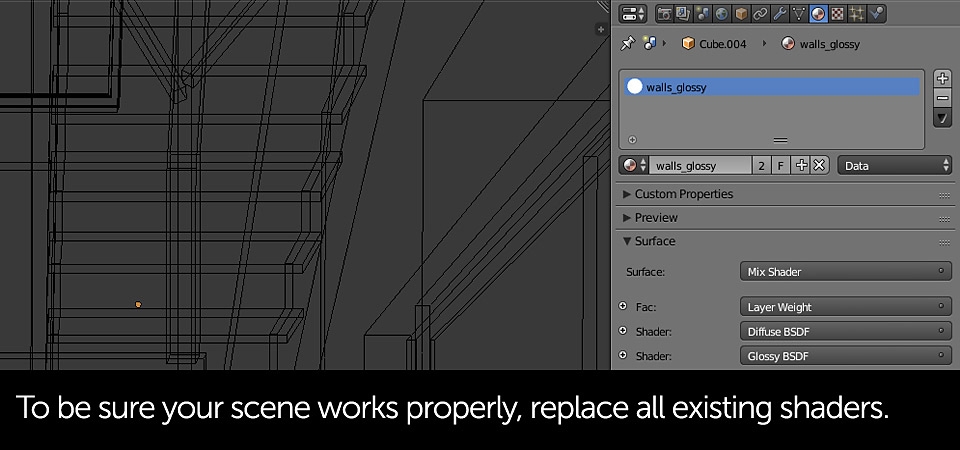
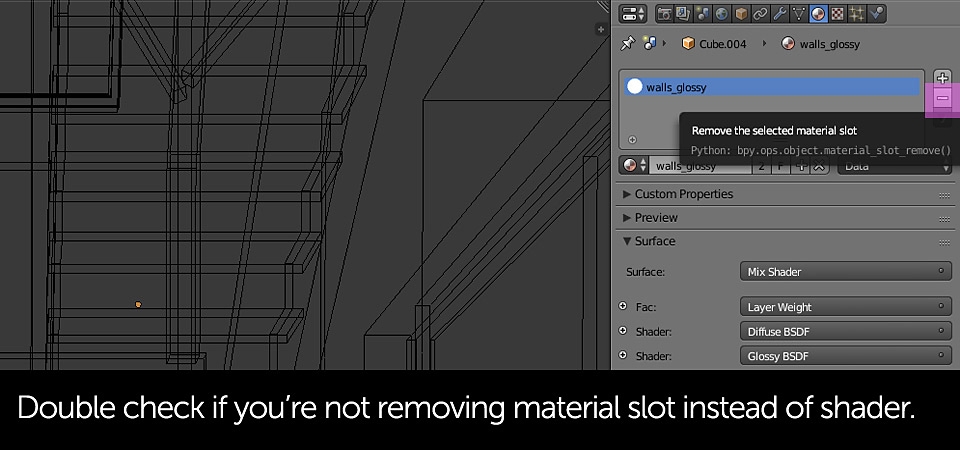
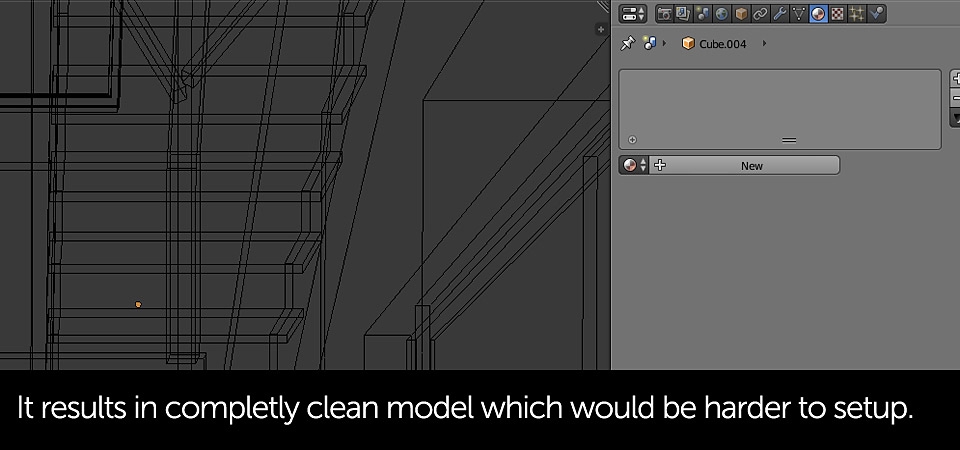
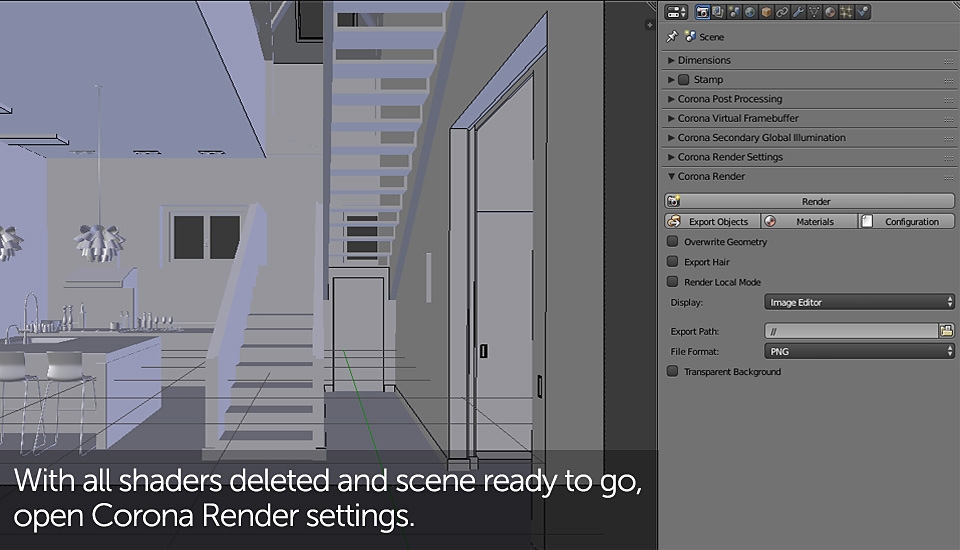
Regardless to what render engine you've used before, to re-use your scene with Corona I would recommend removing all the shaders and creating new ones from the scratch. There is option to automatically convert Blender Interial shaders to Corona but if you've used node setups created in Cycles, that won't unfortunately work. When deleting shaders please pay attention not to remove the material slots from your objects.!


Right now I won't be describing shader creating process in Corona as we're focusing on correct scene preparation. If you'd like to read about that straight away, please move to the part linked below. When working with Corona it's a good habit to export any changes applied to the scene geometry, including material modifications on your 3D meshes.
05/11/2017 News
Materials Setup for Corona Renderer in Blender
We're finally reaching the part which will be less technical and more creative. As you've probably noticed, Corona is not very complicated in terms of setting up either the rendering or the scene - there are just some basic rules you need to follow...
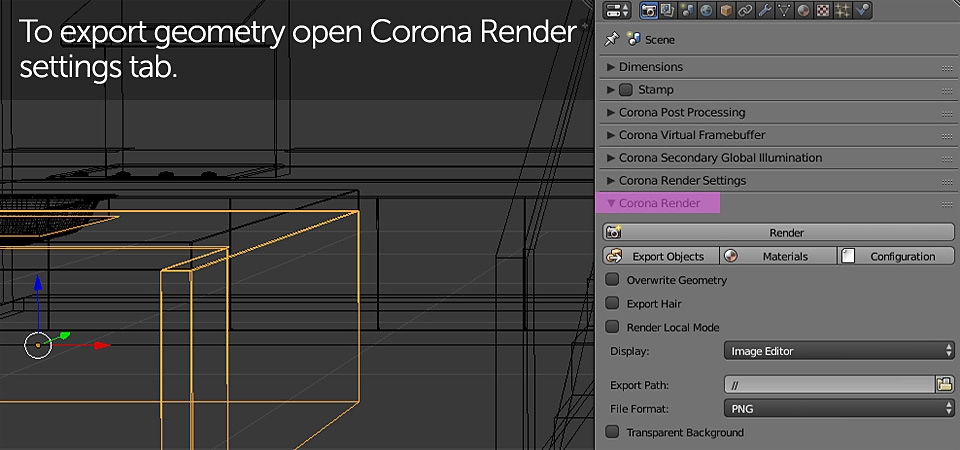
Another important note: keep your scenes clean - no loose vertices or edges. That's because before Corona starts the actual rendering, it exports everything to .obj files which don't handle "bad" geometry too well.
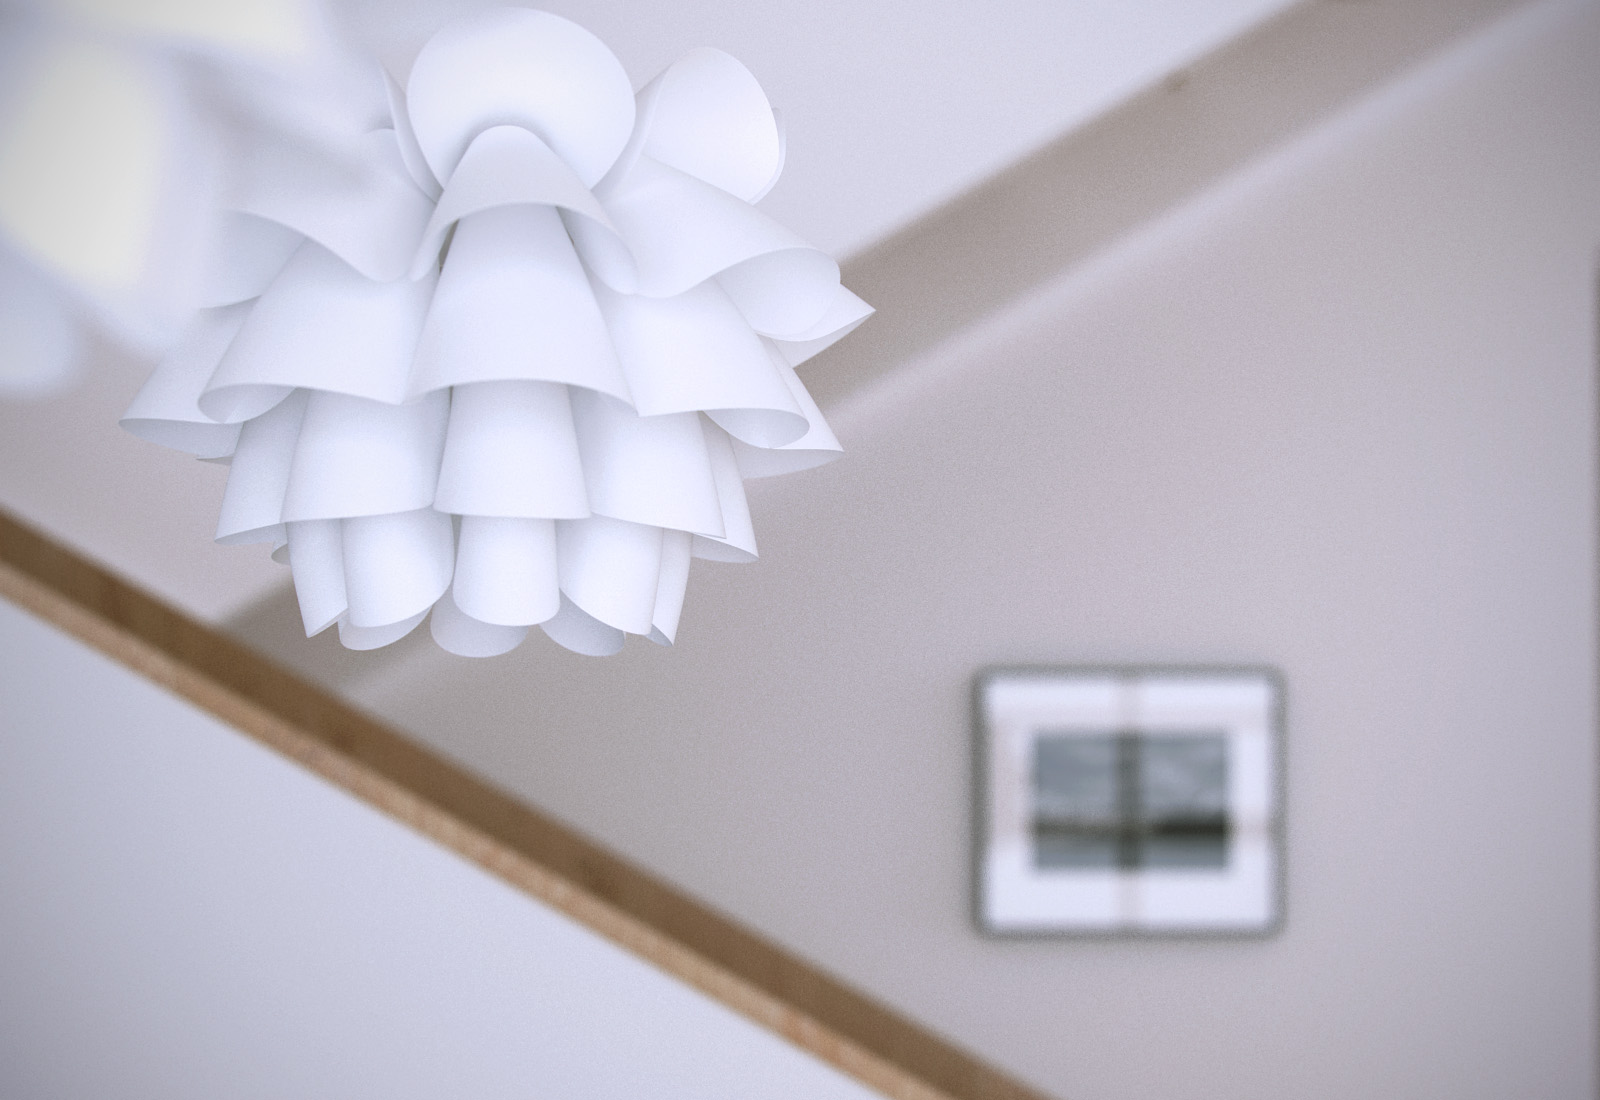
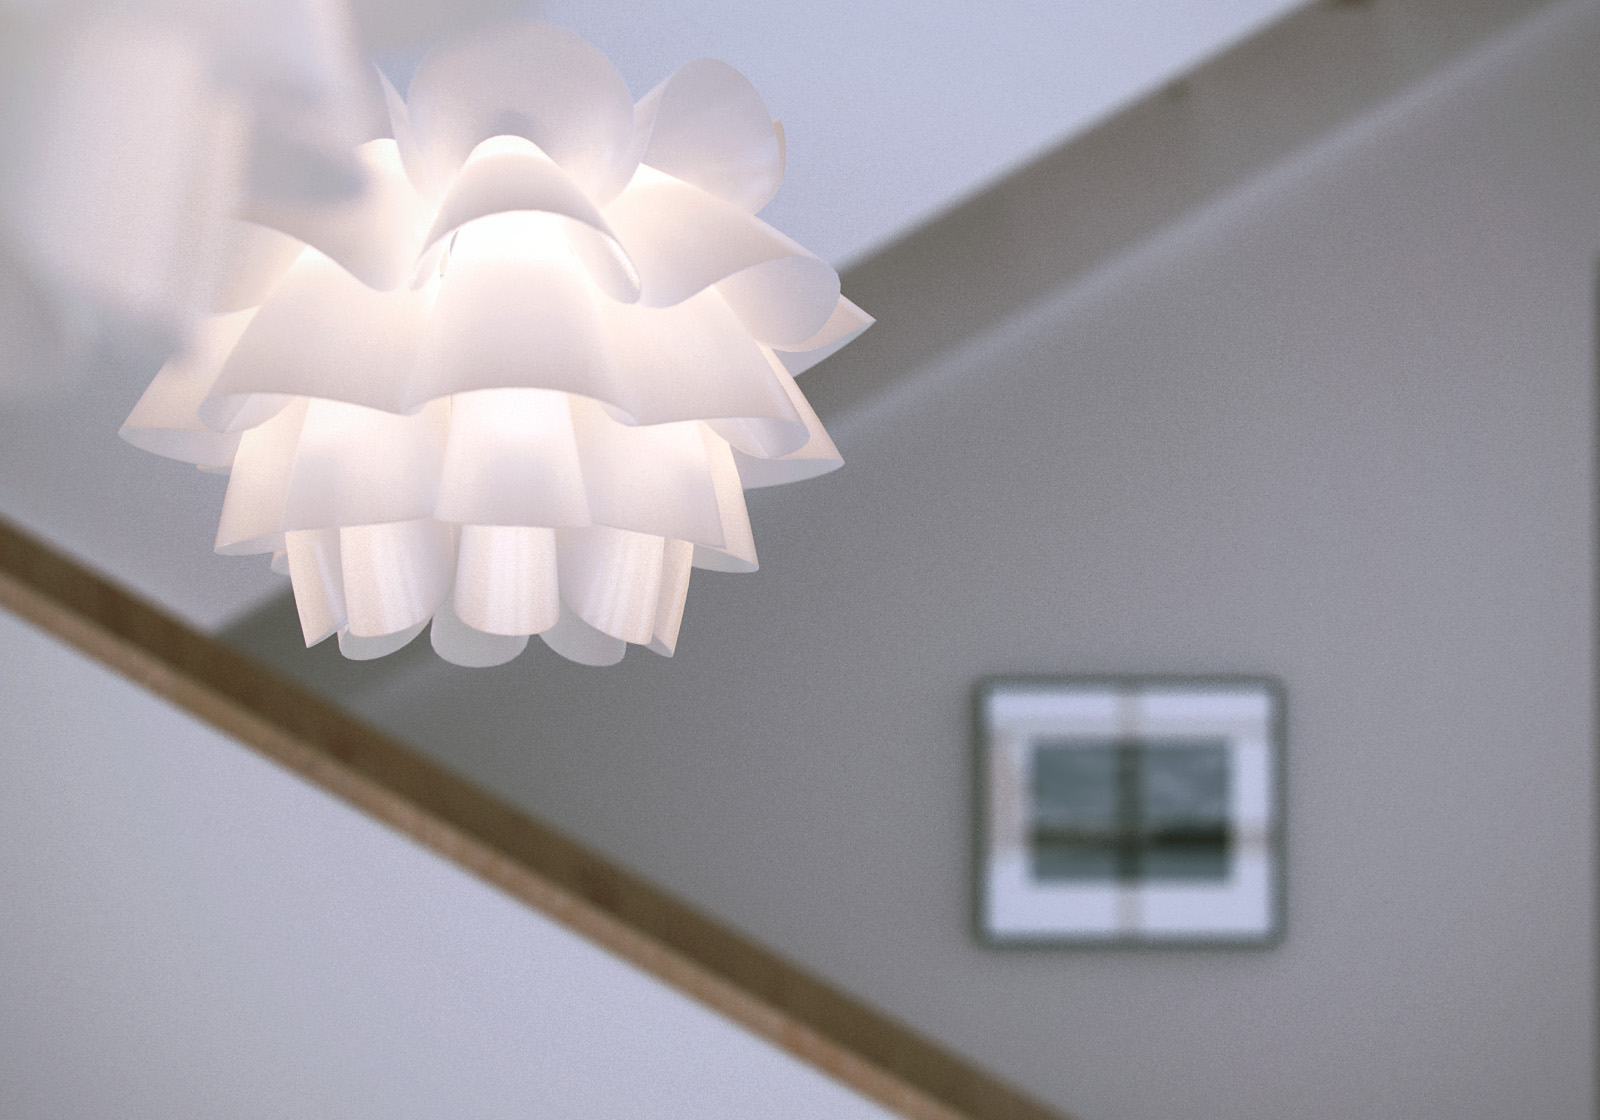
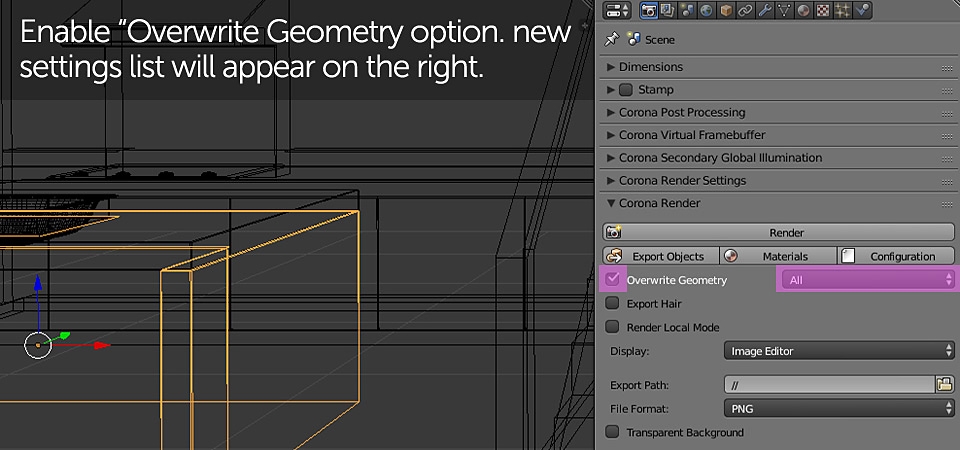
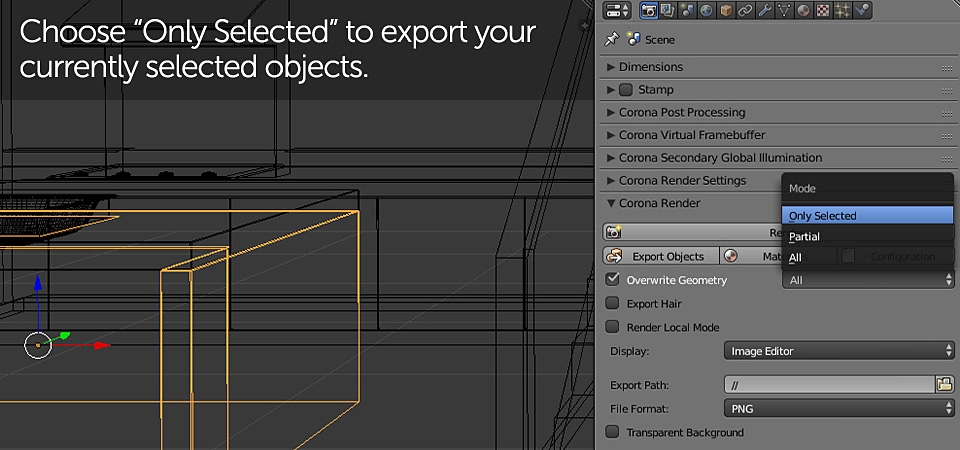
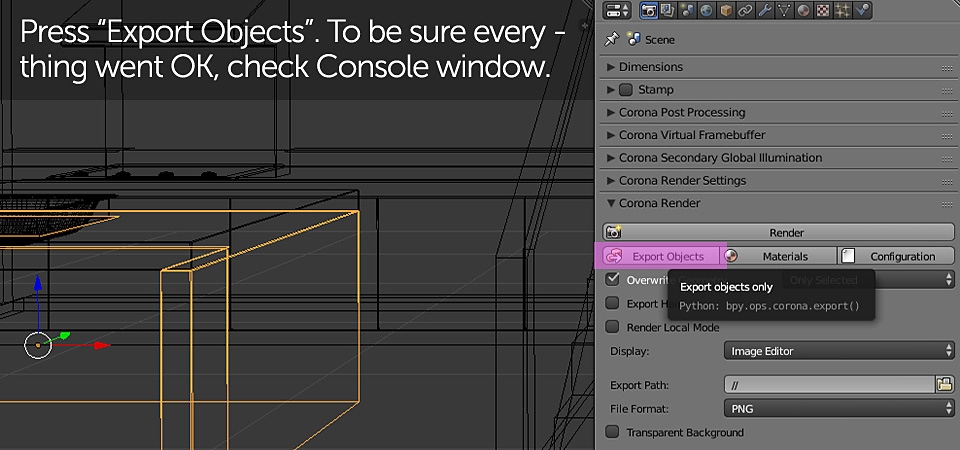
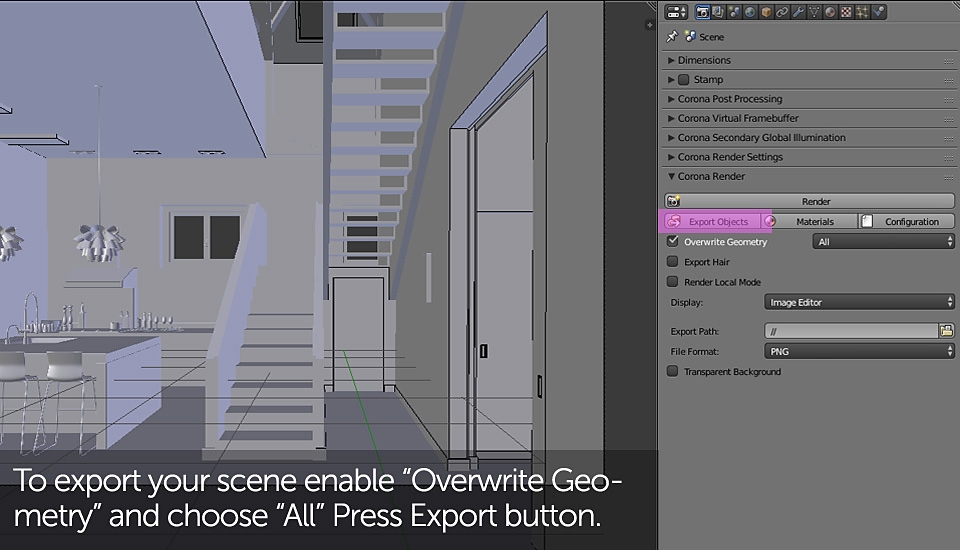
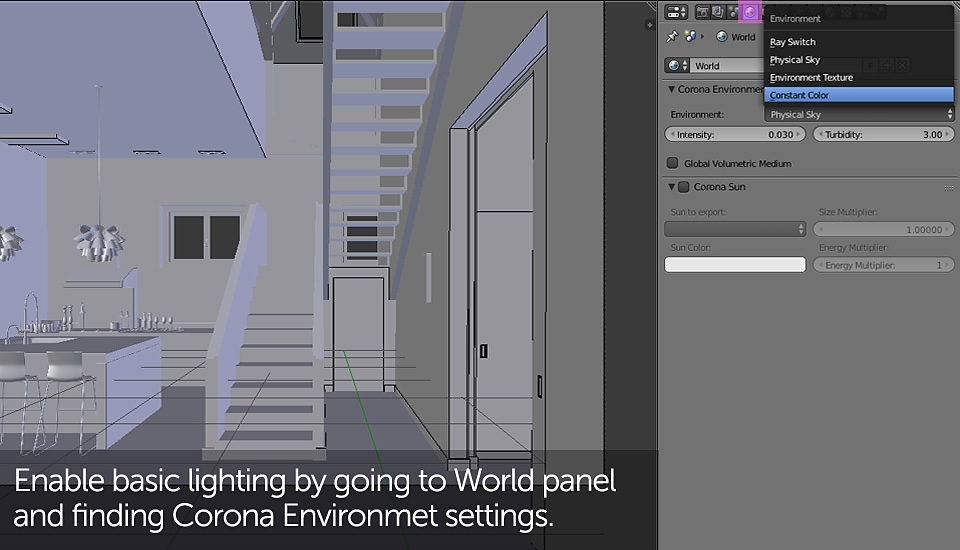
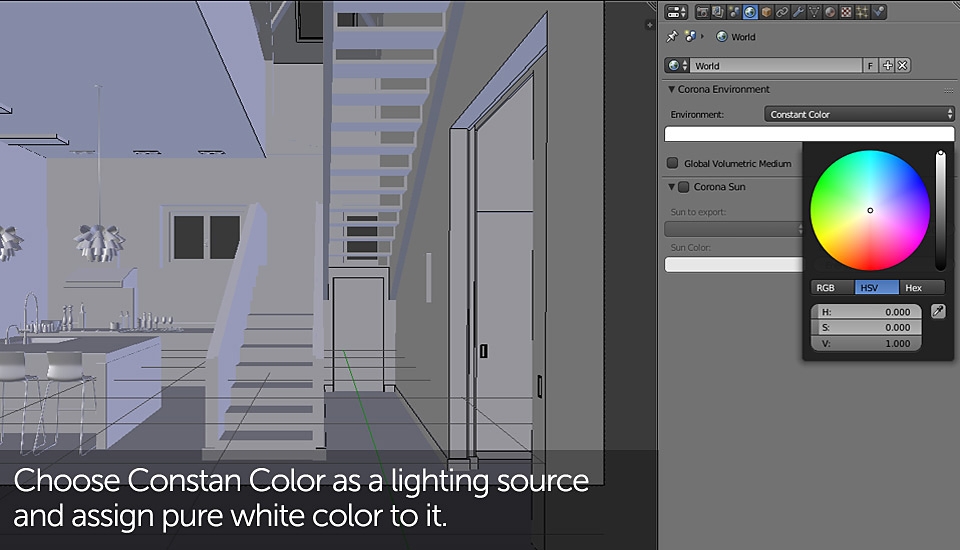
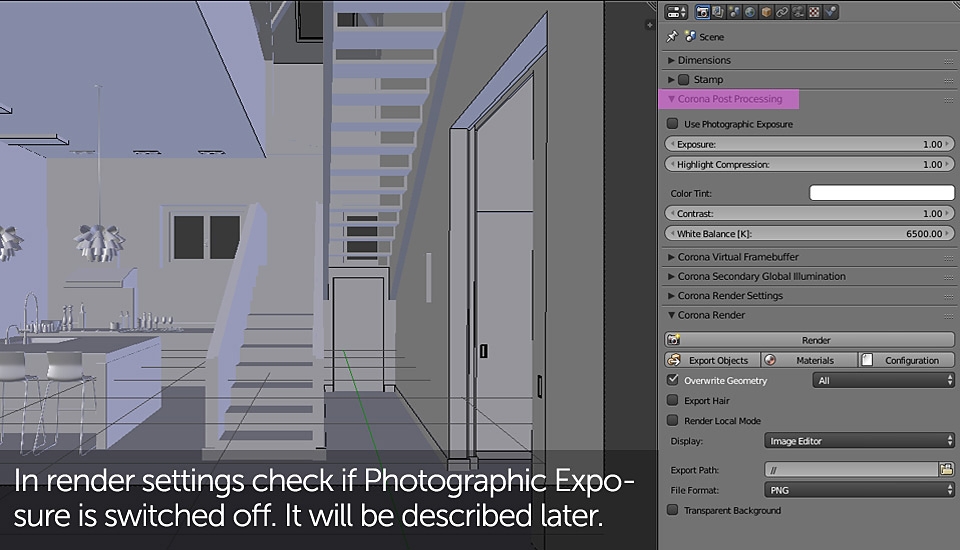
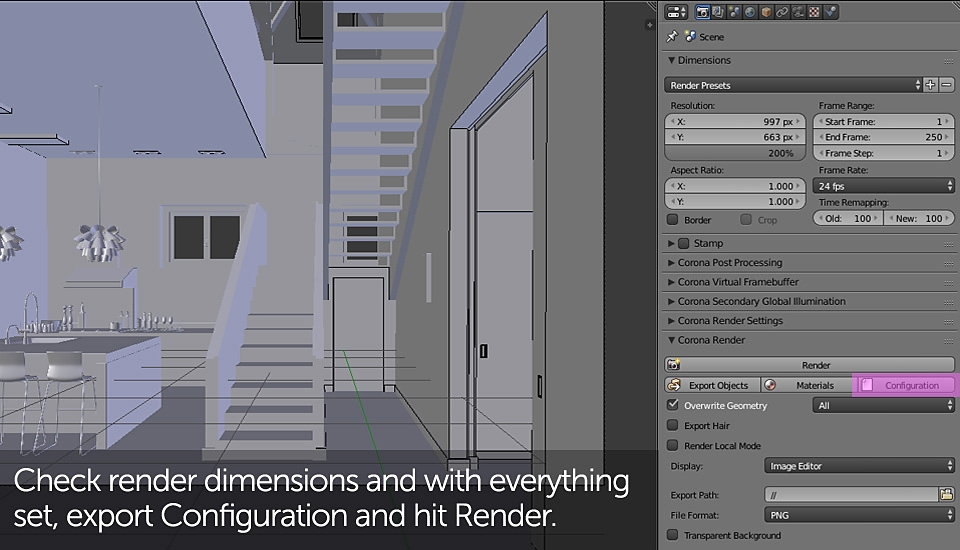
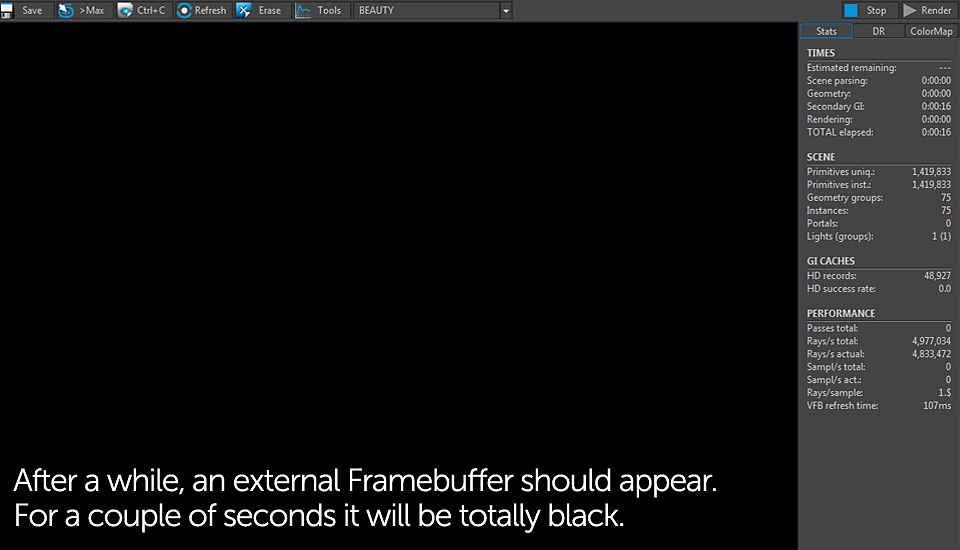
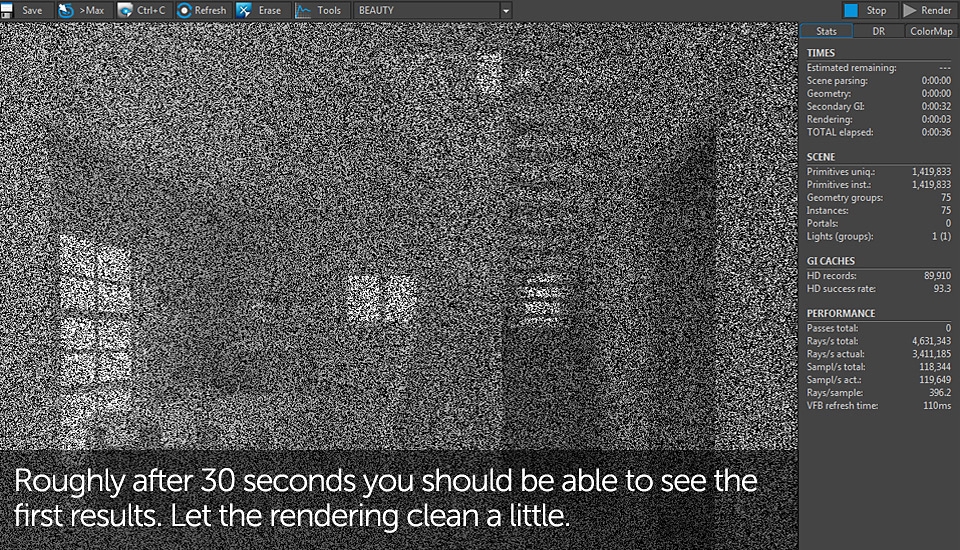
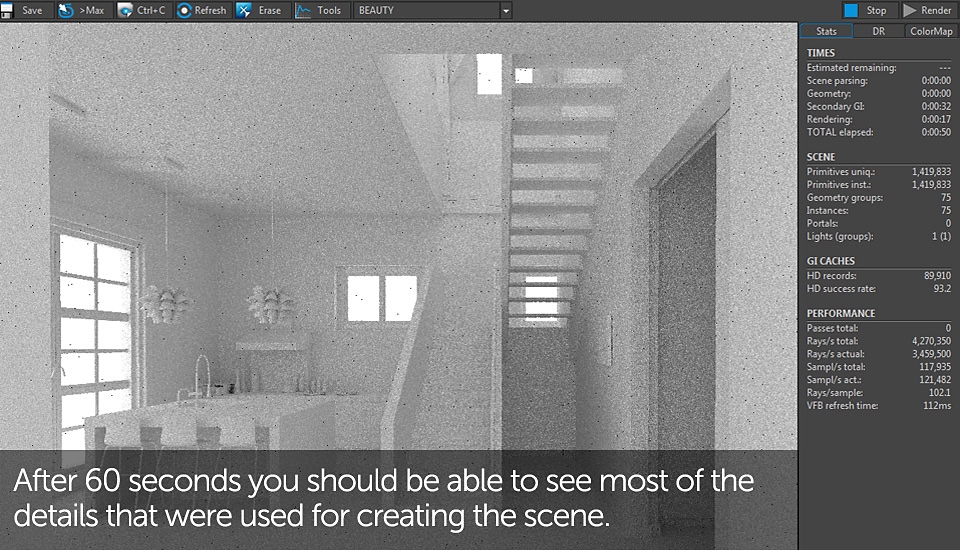
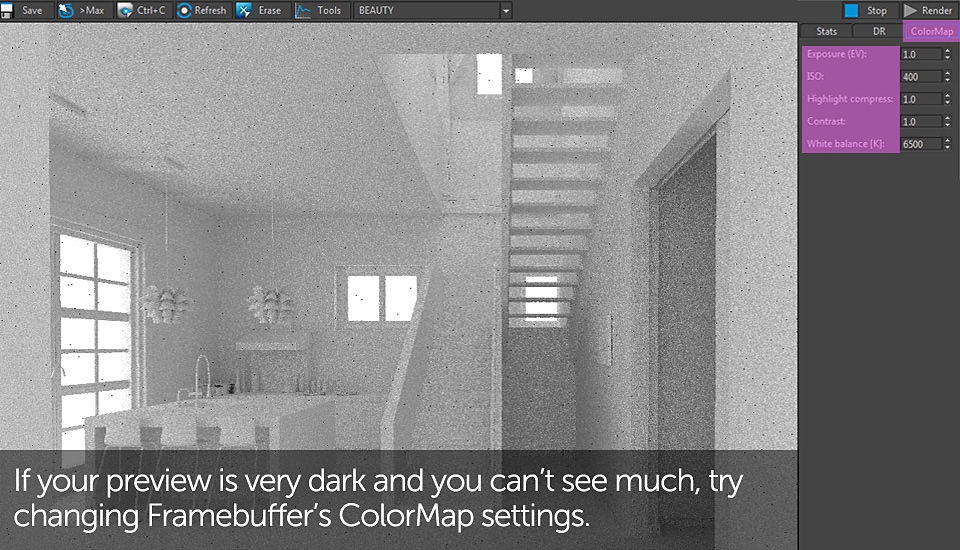
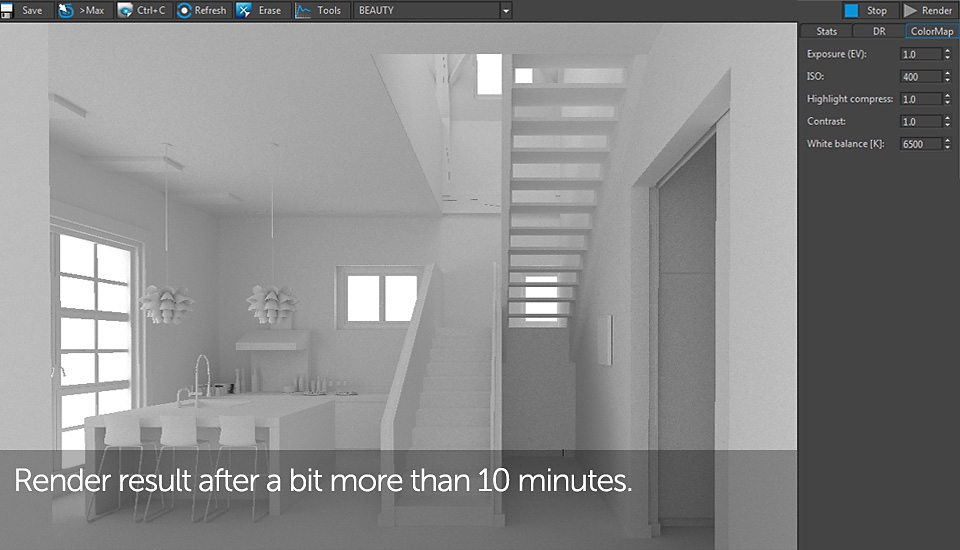
With all shaders deleted (but material slots left empty), we'll now export our interior and prepare some very basic illumination setup to see if it works correctly. Follow the slideshow below and if you're working on your private project, just copy or adapt the settings accordingly. Since we aren't using any materials, the result will be "clay" like test rendering. Please note that all transparent objects will become solid so remember to hide window glass elements. Otherwise no light will be let inside the interior.
This tutorial part might seemed a bit boring and troublesome as we had to roughly cover almost all aspects of Corona with no opportunity to describe them more carefully. If you got a bit confused I suggest just continuing forward and roughly getting through the entire tutorial. With more knowledge on all the aspects you need to know in order to render with Corona and Blender, I'm pretty sure the workflow will become clearer and more understandable.