I've decided to cover rendering settings before moving to materials for two reasons. First - while working with Corona you'll be doing many quick previews for checking shaders, illumination and camera look. For these, understanding rendering settings in Corona is essential. Second - Corona is very simple in terms of render configuration. To be honest, I won't even cover all the settings in detail as this would only complicate things. I personally prefer skipping technical nuances if possible and focusing on the creative part.

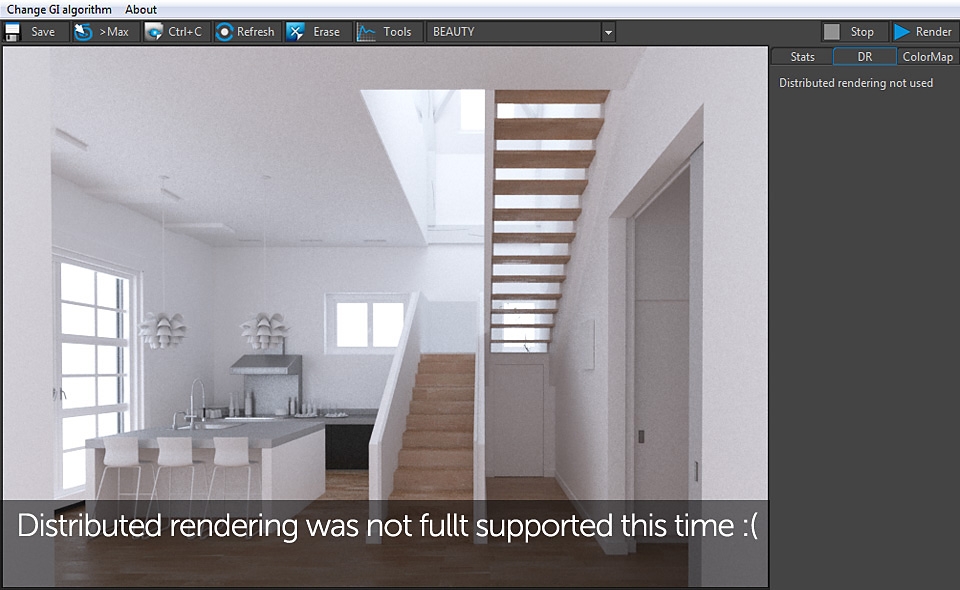
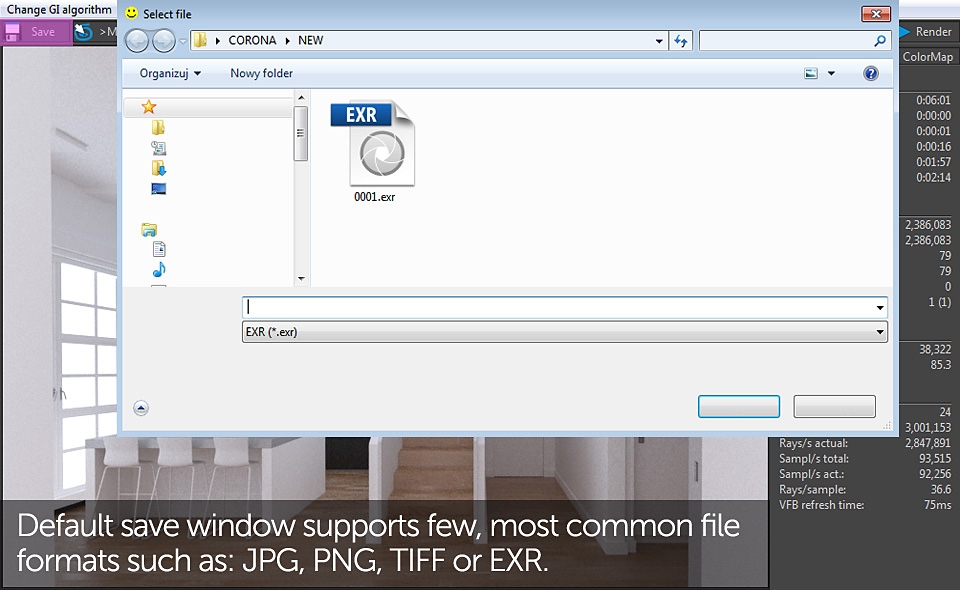
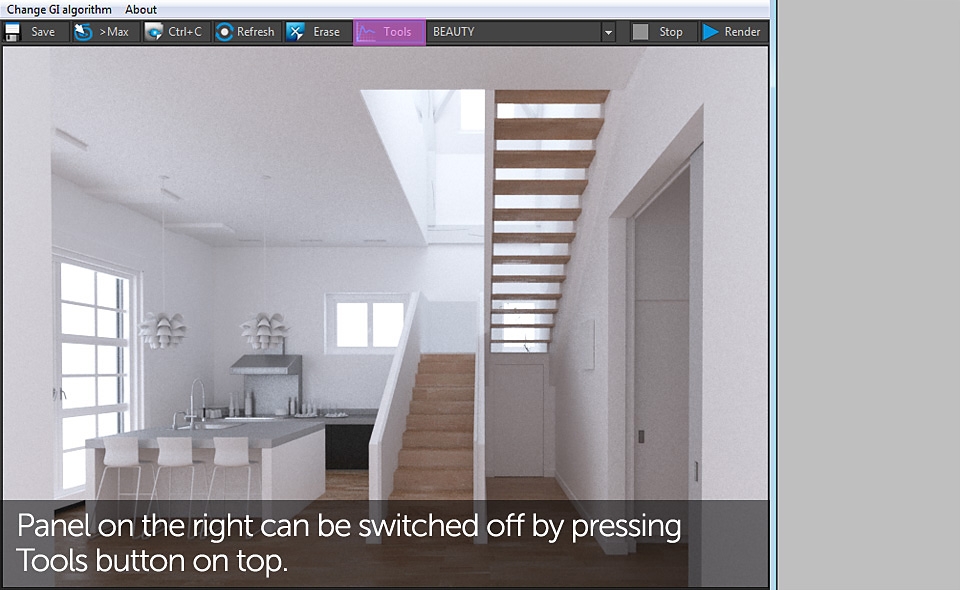
As you've noticed in previous part, after pressing Render button we had an external window popping up. This is the way you have to get used when working with Corona. External Framebuffer has some built in options which are described in the slideshow below:


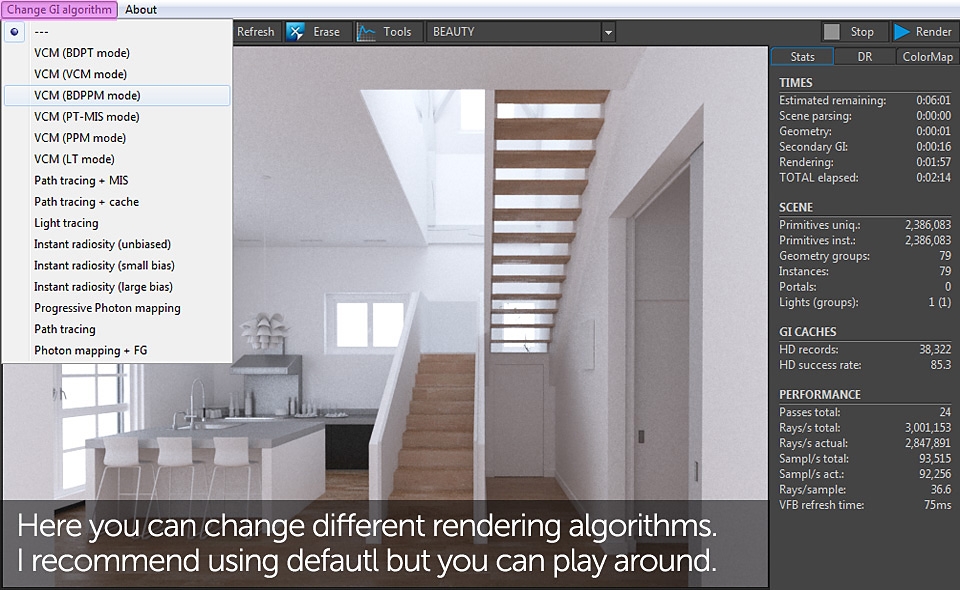


Corona is a mixture of Unbiased and Biased rendering engine. I know some people may hear these terms for the first time and explaining them here would make the whole tutorial unnecessarily confusing. What you only need to understand - Corona uses rendering algorithms allowing to achieve very realistic looking results in very decent amounts of time. What I find special about Corona is the actual render settings configuration which is in case of this tutorial basically none. I was just using very default settings available on the fly after exporter installation. That's something totally different to other most popular Biased engines on the market:. For instance, general V-ray workflow includes setting up the GI calculation methods, configuring image sampler depending on the scene etc. There are some universal settings that can be re-used in many projects, but their result isn't that good. For many people using 3D renderings only as a form of aid in their design process, this is way too complicated to dig through. Thankfully, it works completely different in Corona.
Please check the New Features page for the most recent Corona features (ie. Denoiser).
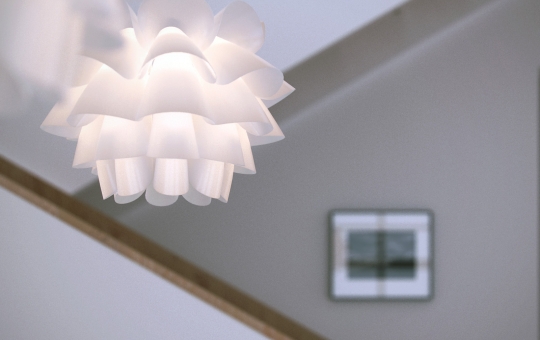
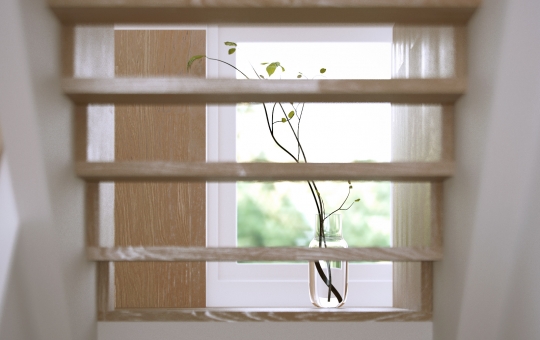
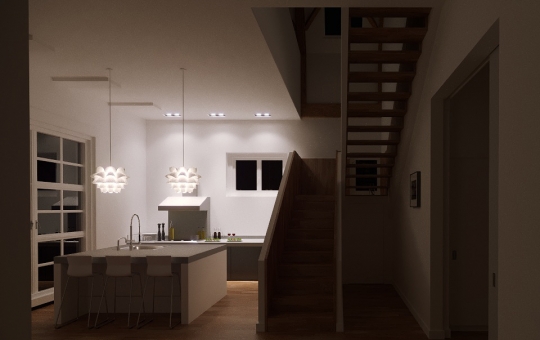
If you're doing interior visualization and just want to focus on creating "beautiful" pictures, sacrificing only a bit of your render times where they would still be very good in comparison to competition, just go through these few slideshows below to roughly understand basic settings:
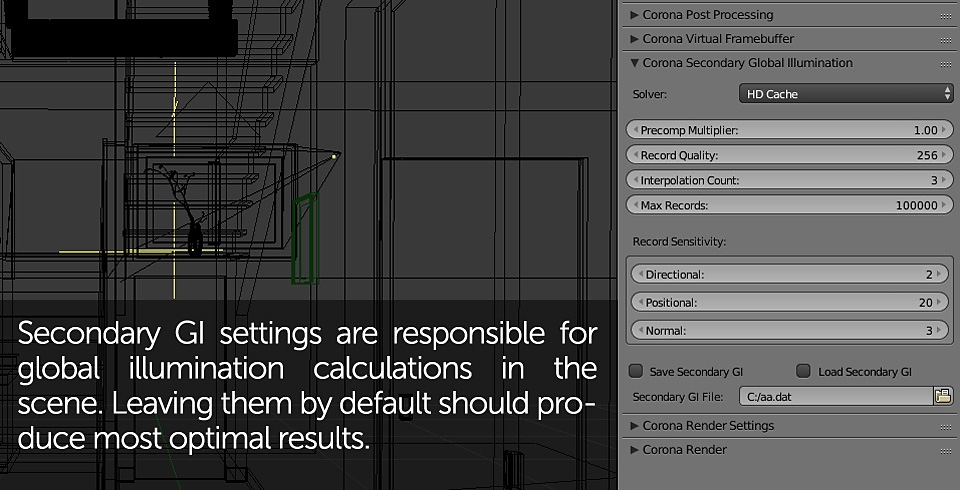

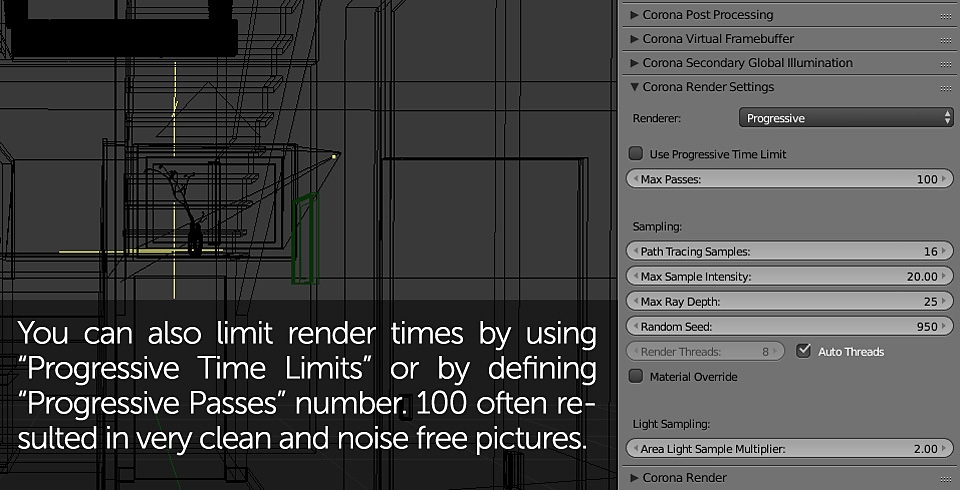
One tip worth sharing here is disabling "Auto Threads" option in Corona Render Settings tab. What it does by default is allowing Corona to use 100% of your CPU resources which may result in significant slowdowns. I usually set Render Threads value to one below the actual CPU cores I have. It doesn't affect render times much and I'm still able to use my PC for other works while Corona renders in the background.
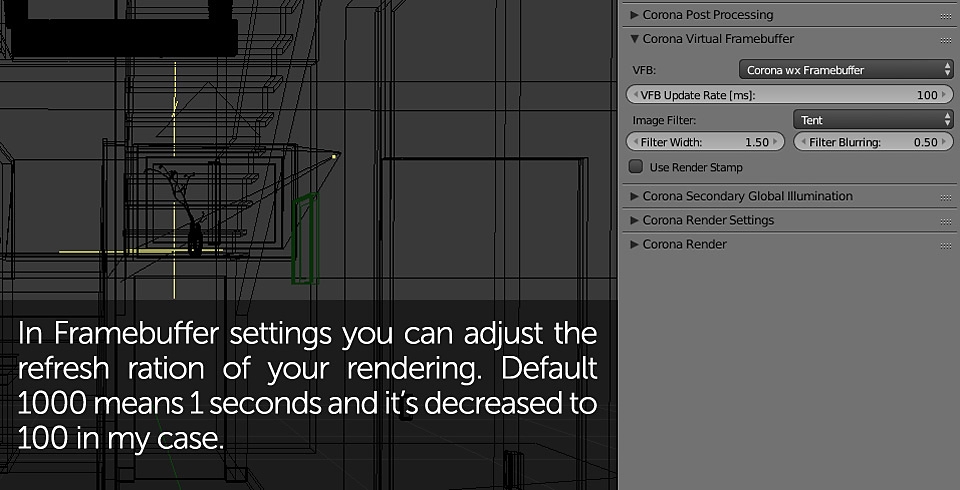
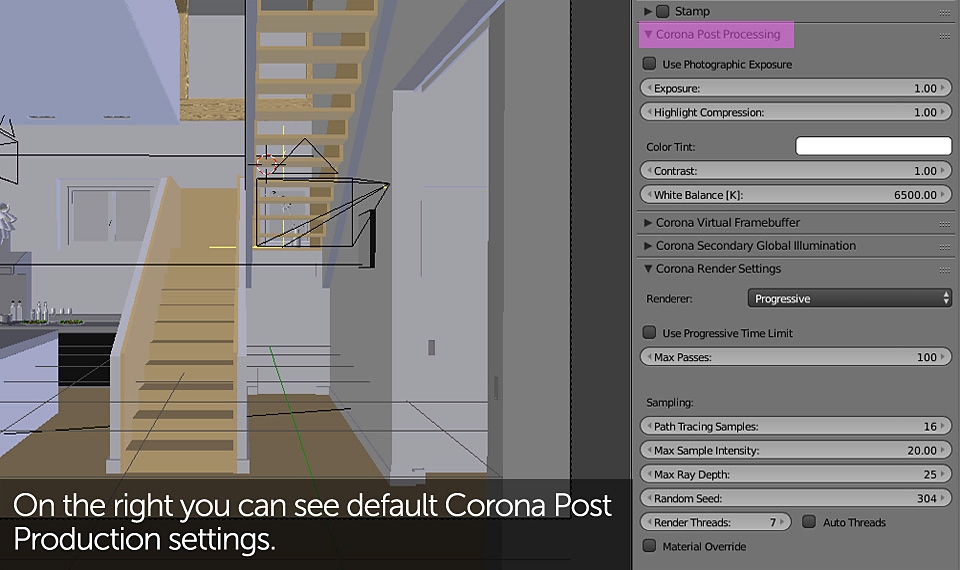
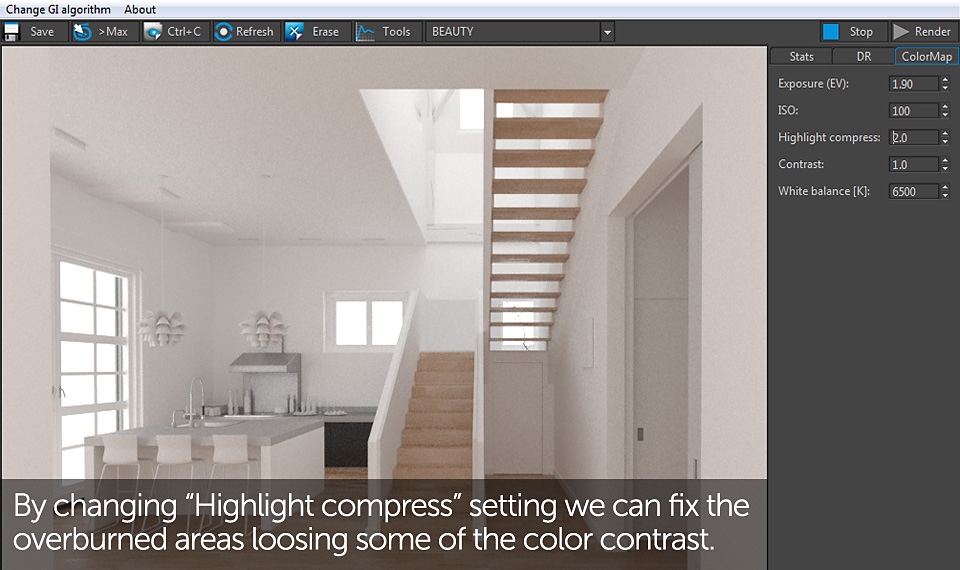
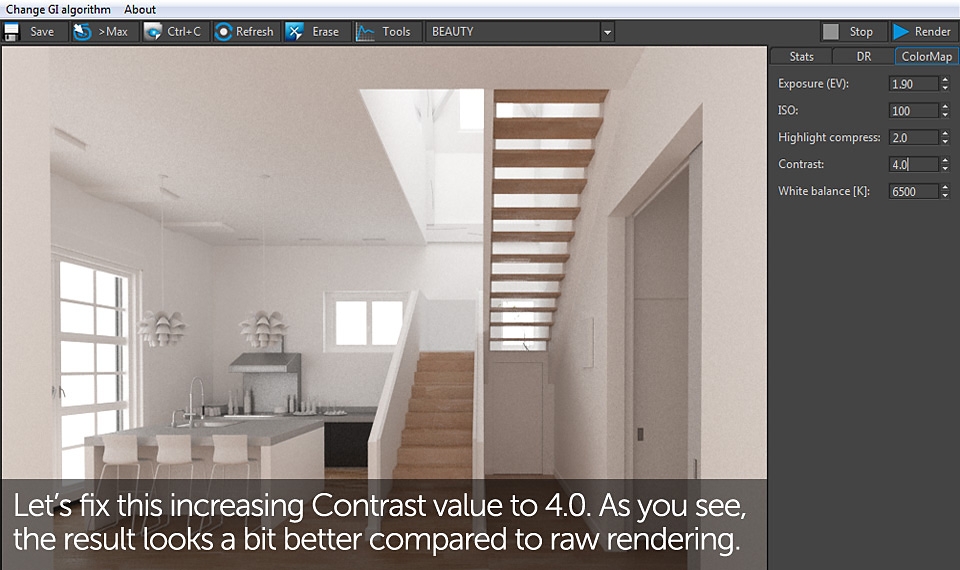
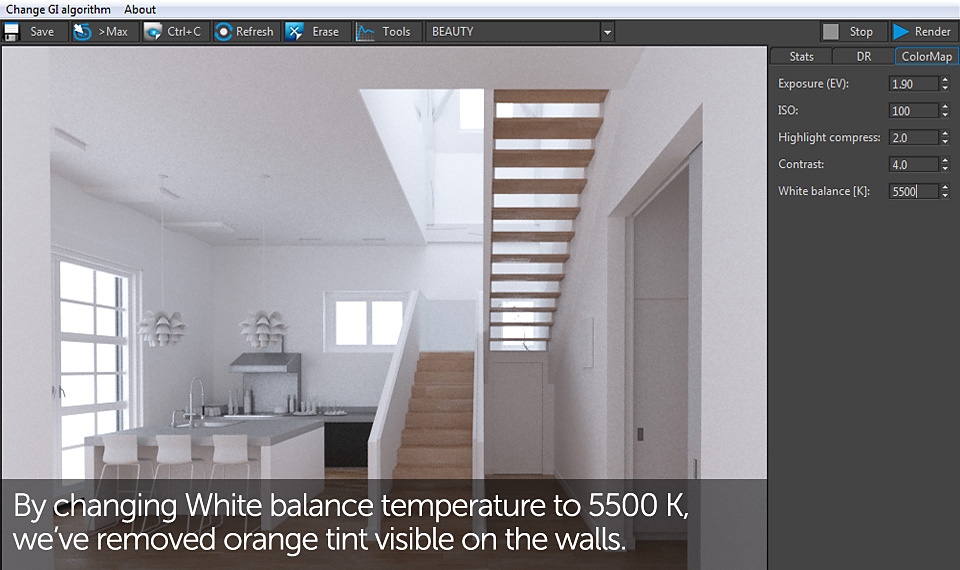
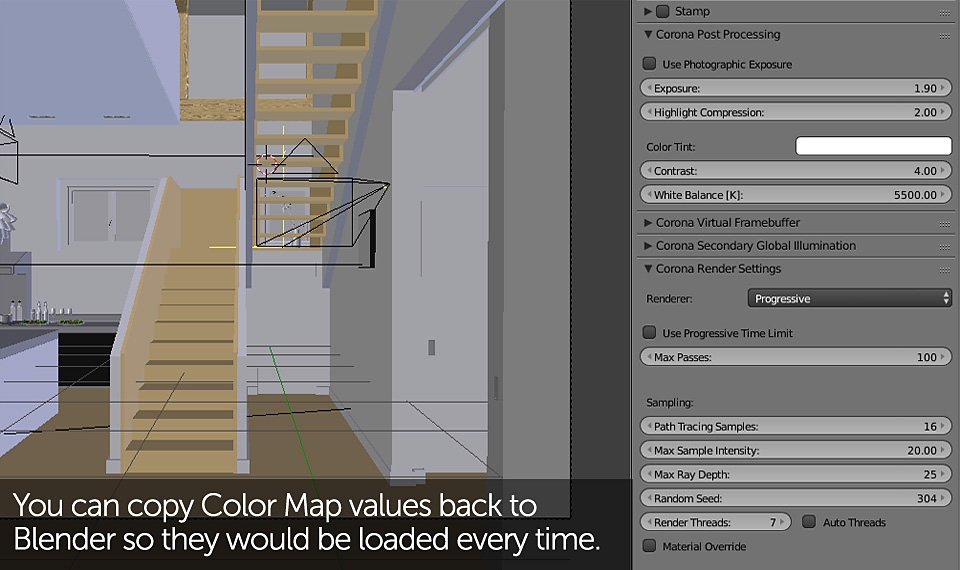
Color Mapping was already mentioned several times. It's nothing complicated but quite important to understand correctly. In general, by using these settings you define the eventual look of your rendering in terms of how bright will it be, how much contrast would be applied, which color values will become fully white and so on. These properties can be defined either by 3D scene camera or Corona Post Processing directly in Framebuffer or rendering settings tab. The way that worked best for me was starting with system defaults and defining the look in Framebuffer. From there I can copy the settings back to Corona Post Processing in Blender. After you prepare your first scene, I would simply recommend playing with the settings for a minute - they're really easy to catch up.
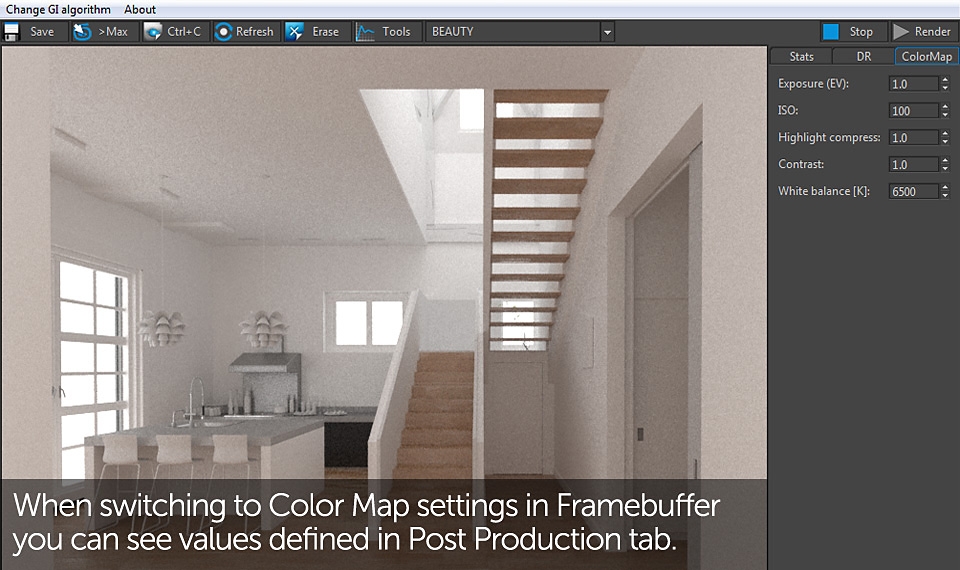
As you've noticed, I wasn't changing the ISO value and the reason for that is having Photographic Exposure switched off. It means that Corona won't use any exposure settings set directly in 3D scene cameras. Why is it so mixed up? For example, you might one day work on a project where it would be necessary to combine rendering with real photography. If you'd have EXIF data of the picture (read more here) this would enable setting up your Blender camera exactly the same as the one used by photographer. There are many benefits of this type of approach: similar looking depth of field, motion blur or ability to match illumination very precisely. That wouldn't be possible to set in Corona Post Processing so if you prefer controlling your render look directly by 3D camera, switch "Photographic Exposure" on.
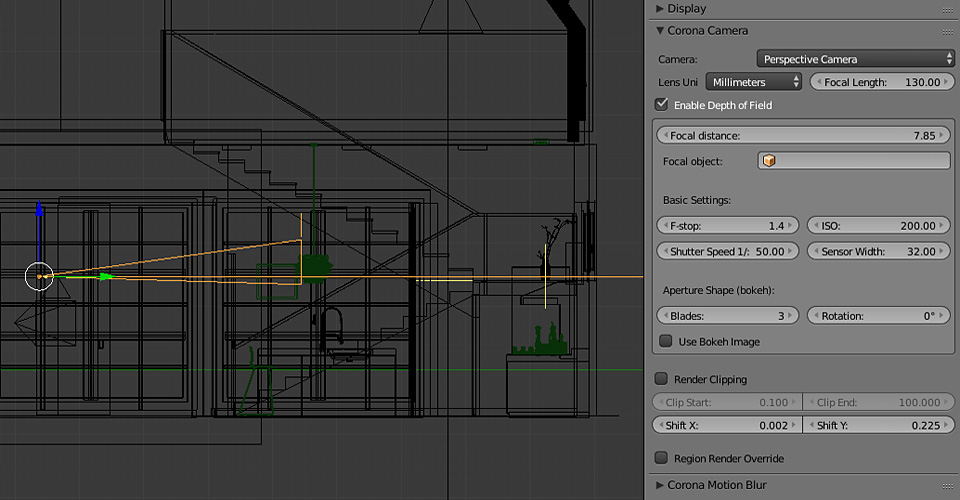
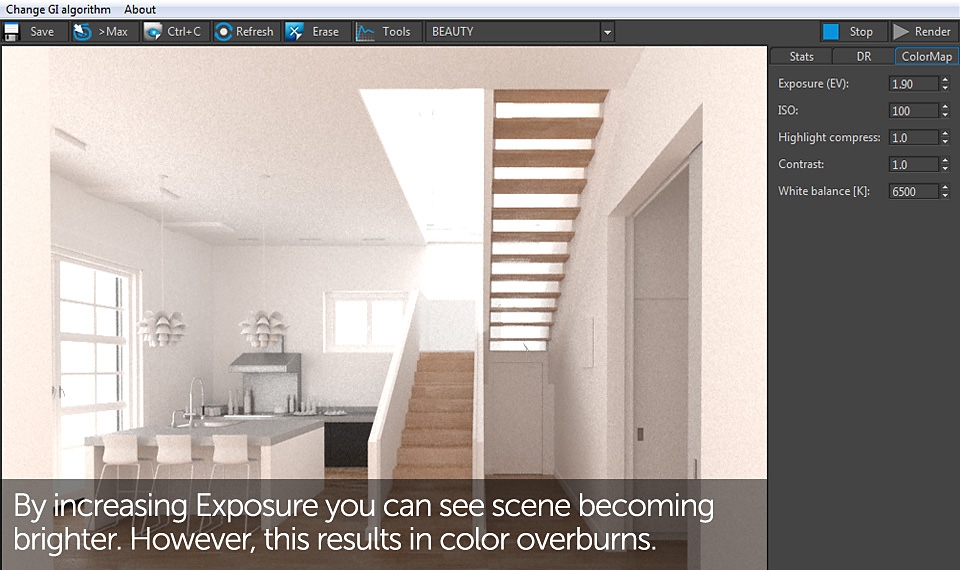
Here's another example. Camera in the picture above has Depth of Field option enabled. In real life exposure and DOF are strictly related where lower F-stop means bigger blur and more light coming through the lens resulting in brighter picture. Brightness can be controlled by Shutter Speed but this will also affect Motion Blur where lower value means less blur visible. To handle these settings easier, we can separate them by disabling "Photographic Exposure. Now you can control all brightness and color related issues directly through Framebuffer or Corona Post Production settings, and all blur values by adjusting the camera.
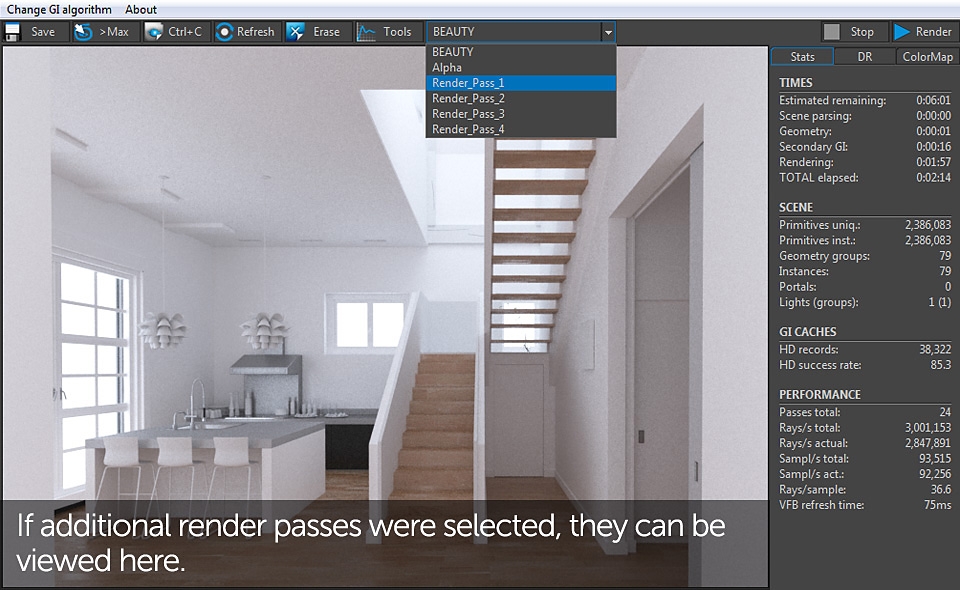
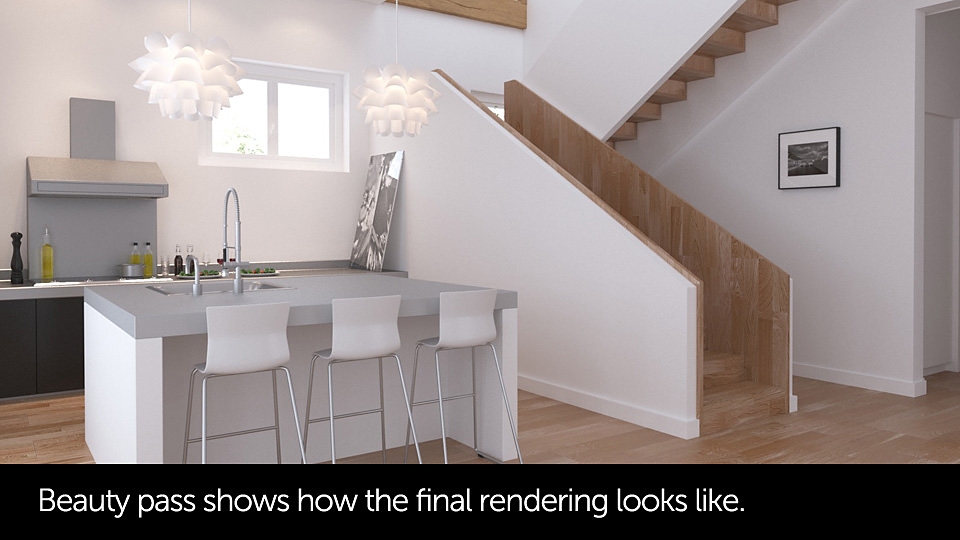
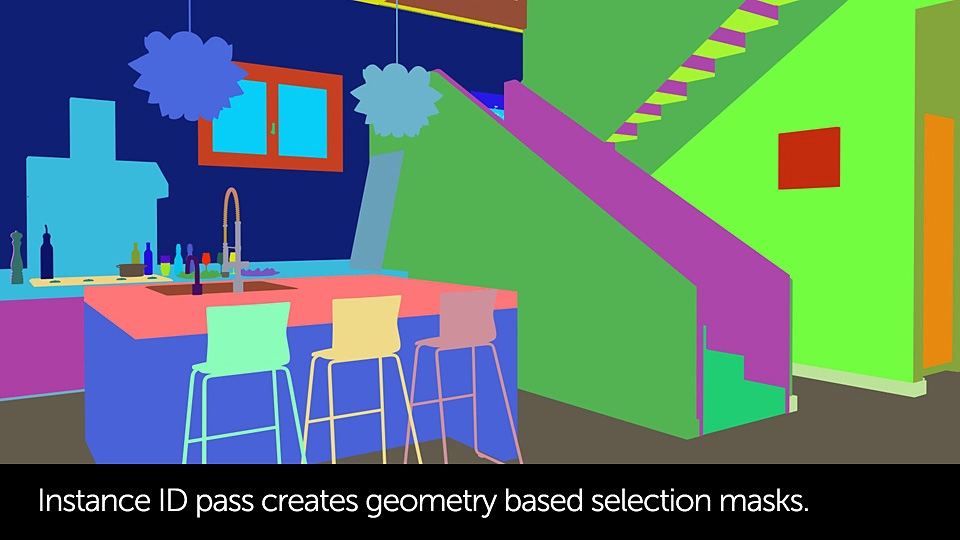
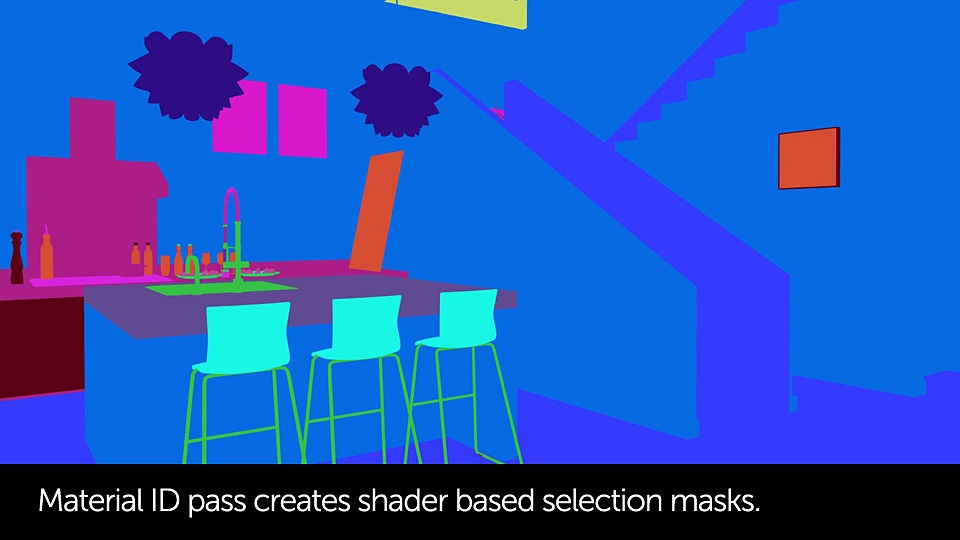
Corona Renderer supports many different render passes which I won't be covering in detail. The ones you should definitely consider using would be Instance and Material ID passes shown in the slides 6 and 7 below.. By using these you can easily create geometry selection masks basing either on the applied shaders or objects themselves. In difference to other popular rendering engines these passes are fully anti-aliased in the same level as the final rendering. This means you'd be able to separate the objects even with camera Depth of Field or Motion Blur applied!
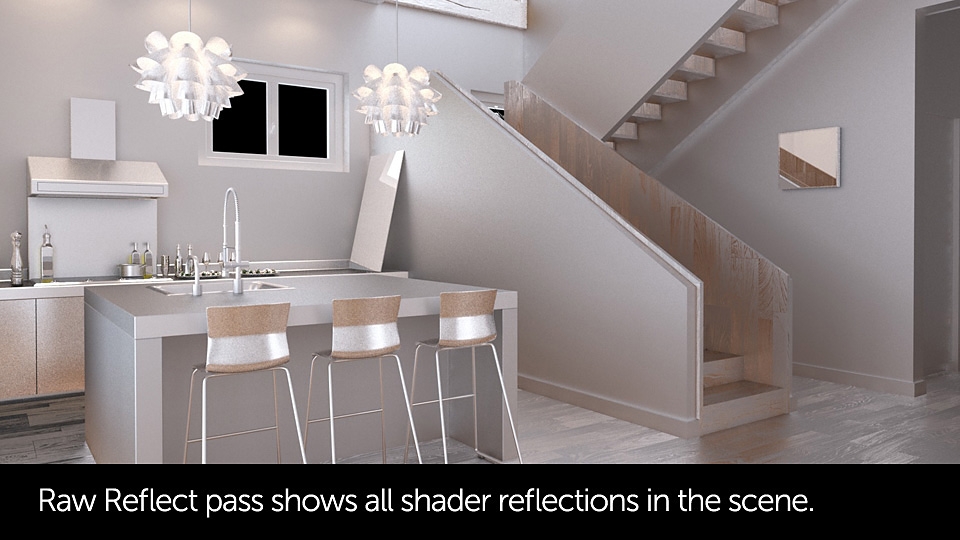
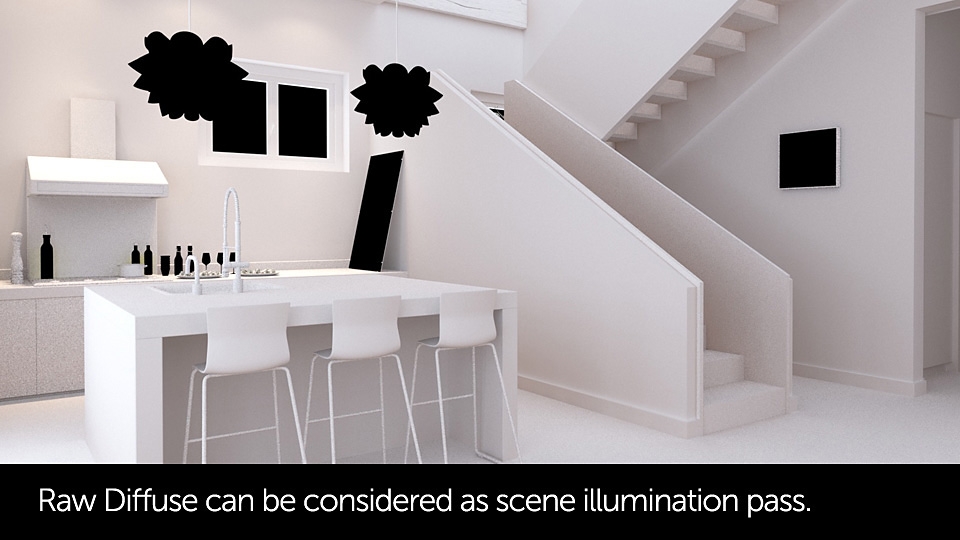
It's also important to know that by using Raw reflection or Raw diffuse passes (slides 3 and 4) you can separate a certain shading property from the final rendering and see precisely how it looks. This can be useful for fine tuning your shaders reflectivity values or defining the scene illumination.
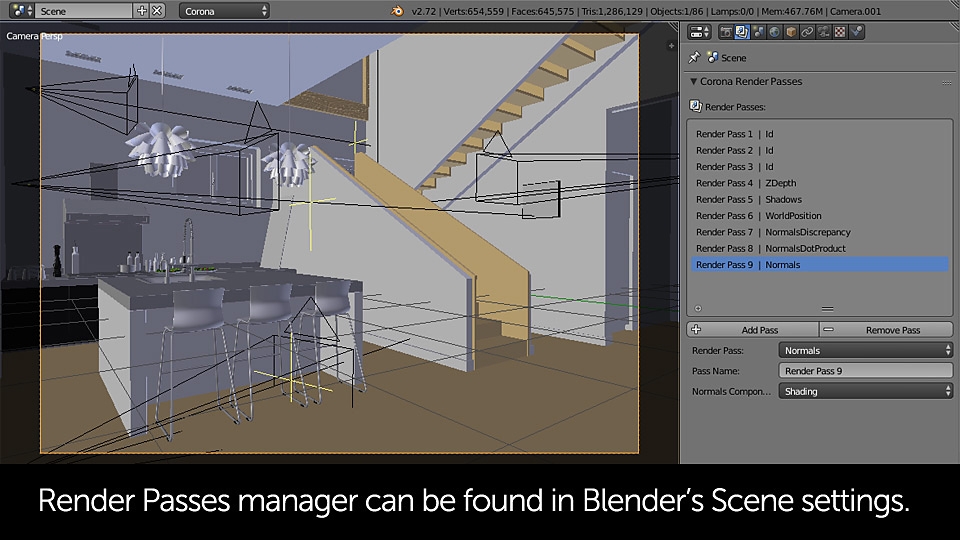

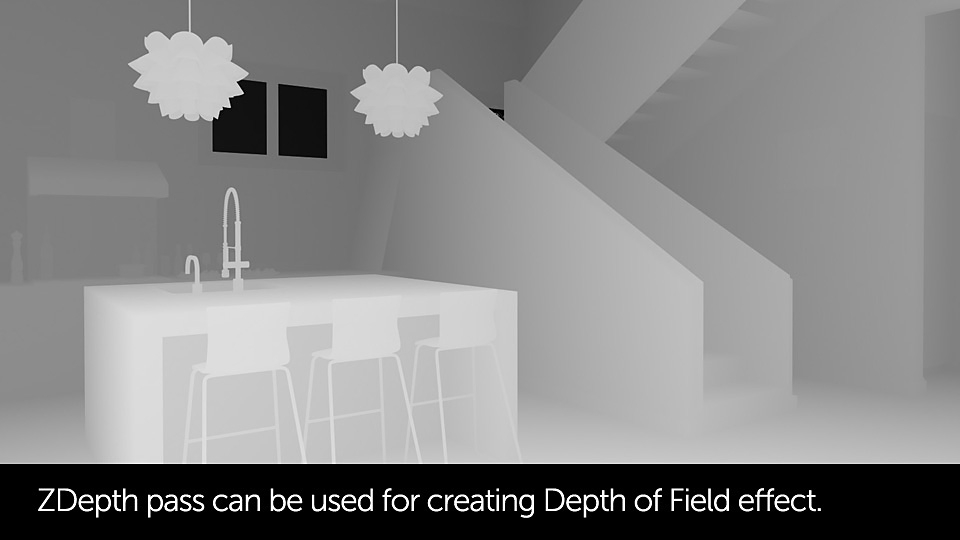
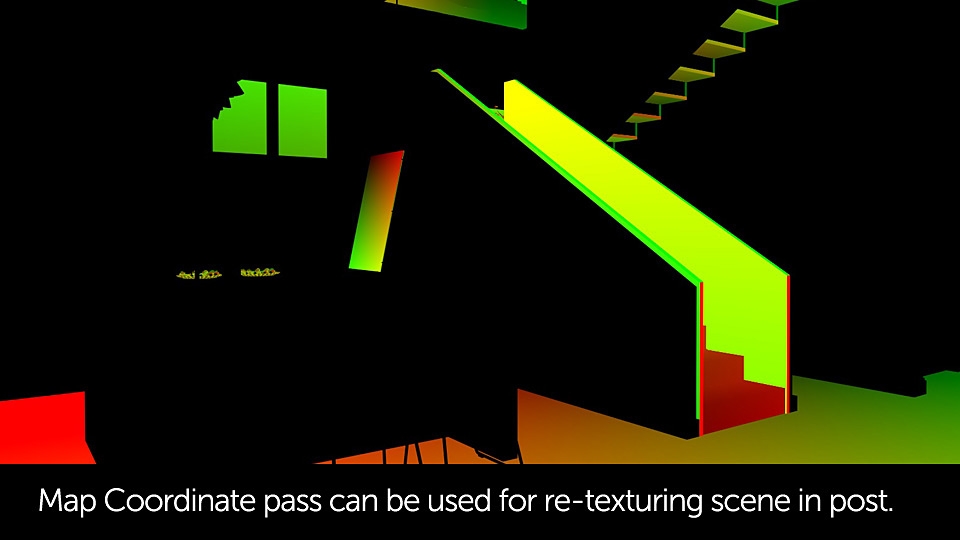
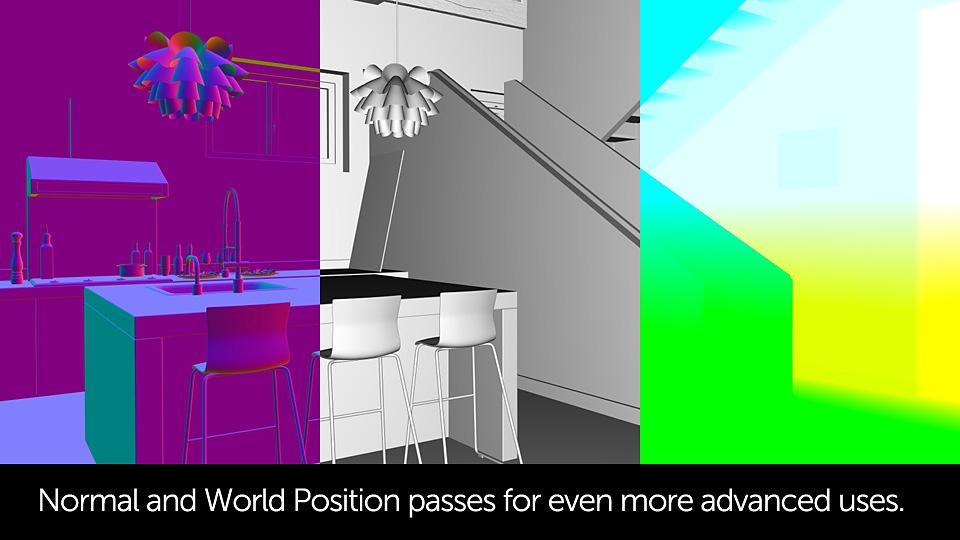
There are some render passes like. Scene Normals, Map Coordination or World Position that can be used for even more advanced adjustments like re-texturing the scene after it's rendered, tweaking its illumination by adding extra light sources etc.
It was the last, technical part of the tutorial and I'm aware that more skilled users might find it a bit boring. However, I'm also pretty sure that many less experienced Blender users needed some things to be explained in detail in order to fully enjoy working with Corona Renderer and Blender.
One last thing I'd like to mention before we move forward - always remember to export your scene / material / geometry before you hit render button. It will be very frustrating when you spend time adjusting the settings and then wonder countless times why none of the changes are visible in the rendering. Make "exporting" things a habit and your work with Corona and Blender will become much more enjoyable