At the time of writing this tutorial, Corona Renderer was still in Alpha stage (but is now in much more advanced stage), allowing you to use it for free. It will eventually become commercial with very flexible licencing, allowing you to choose either a life-time license or monthly subscription. Luckily, according to the official Corona website, some sort of free license will be available all the time.
Corona was originally meant to be developed mainly for Blender but due to GNU GPL license that was not possible. You can read more about it here. Thankfully, developers decided to release a Standalone version together with script integrating it with Blender. For more "raw" information on the topic, visit this forum thread on Blender Artists.

Corona Standalone has been developed for the past few years and is now available in a very stable version. New features are constantly added and you can always download the most recent build (PC and Mac) from the following Dropbox directory. Both Blender Addon and Corona Standalone files can be also find under in the official development site. Feel free leaving your feedback or reporting any bugs there. As for the full Corona to Blender documentation, please refer to the Blender To Corona Wiki page.
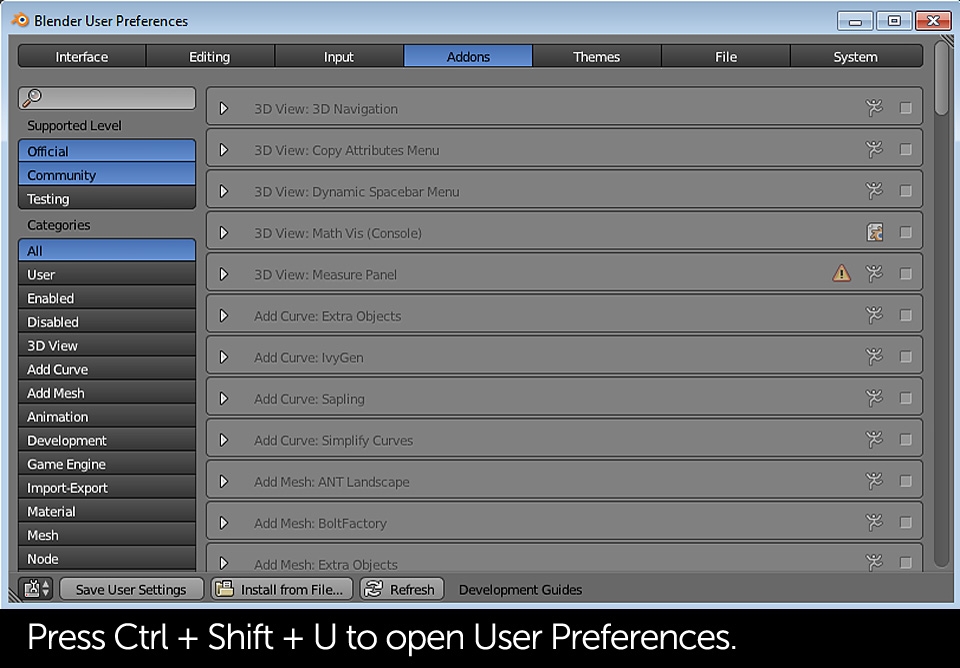
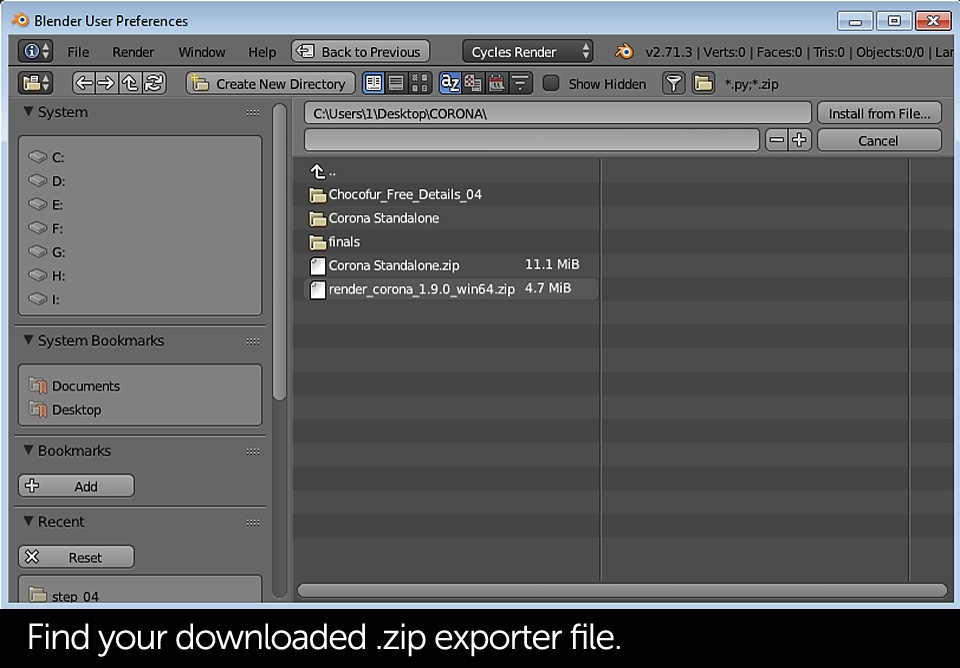
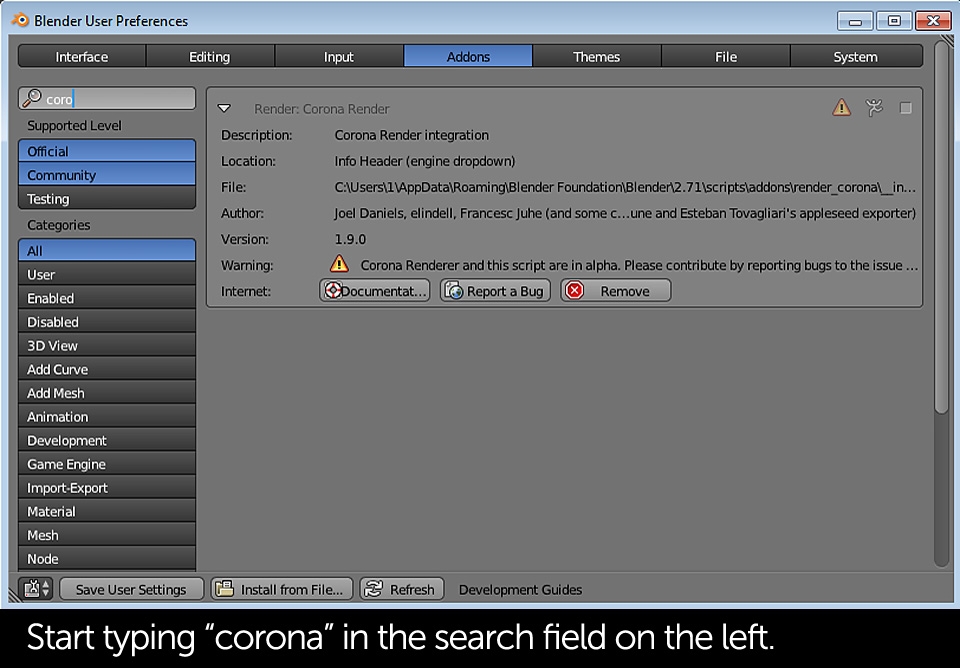
After downloading and unzipping the latest Corona Standalone you just need to install and quickly configure the Blender Addon. If you're not sure how to do that, just follow the steps below:

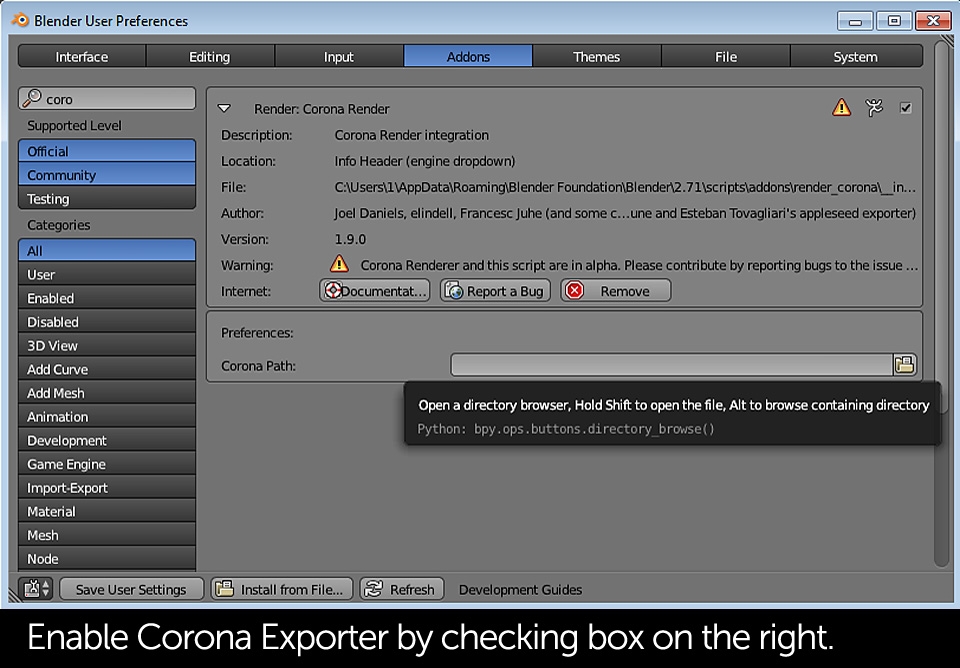
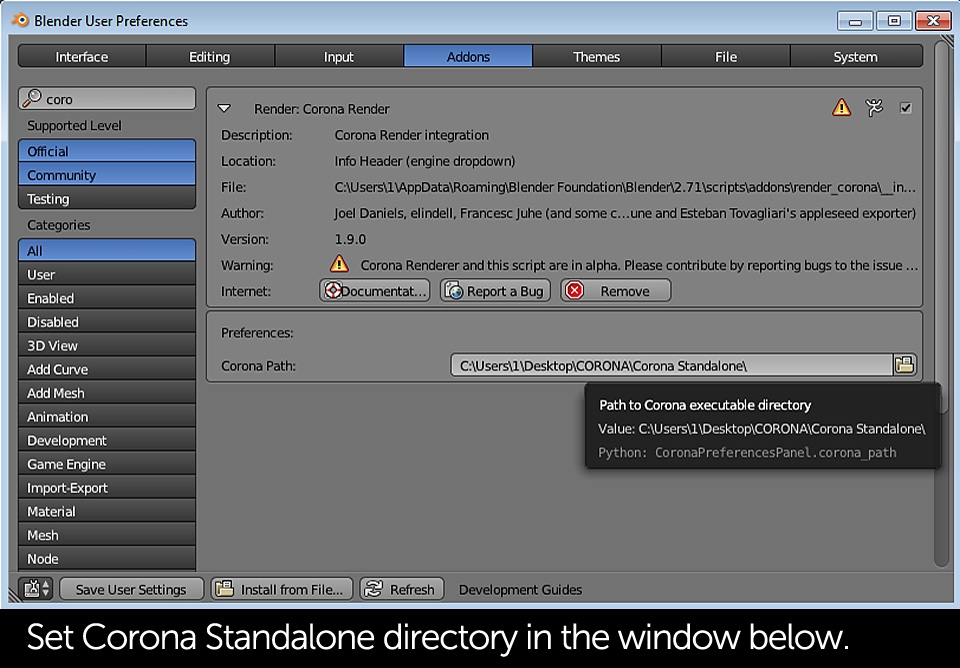
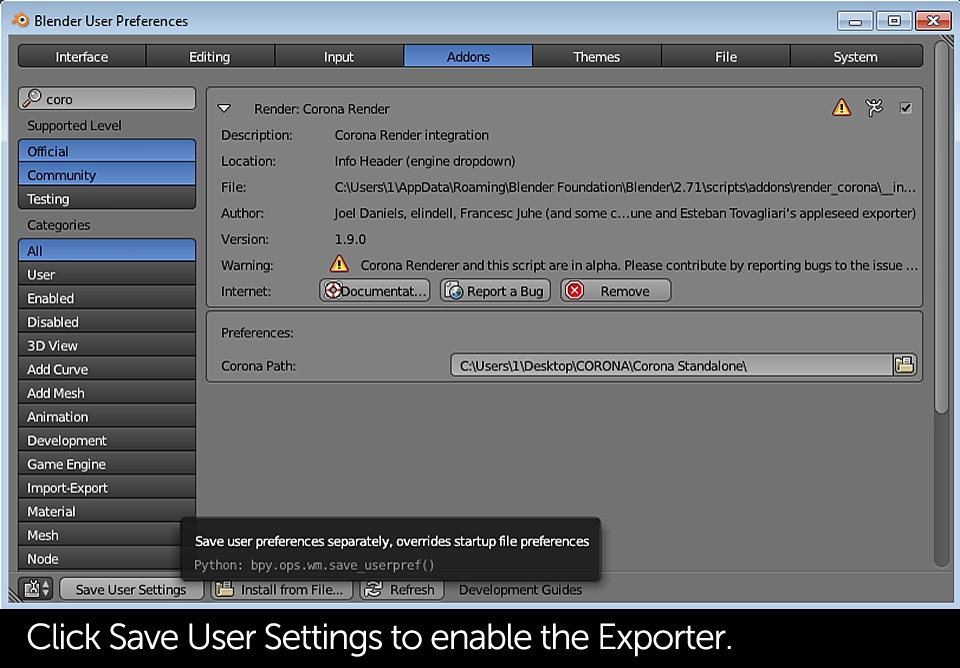


By clicking "Save User Settings" you'll enable Corona Renderer on Blender startup. Otherwise it will be only available during single Blender session and you'll need to enable and configure it again after restart.
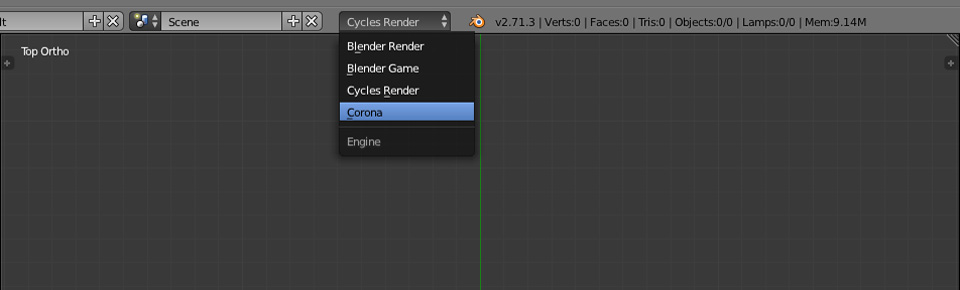
If you've followed the previous slideshow carefully, the Addon should be now installed. Check if Corona is listed in the rendering engines tab:
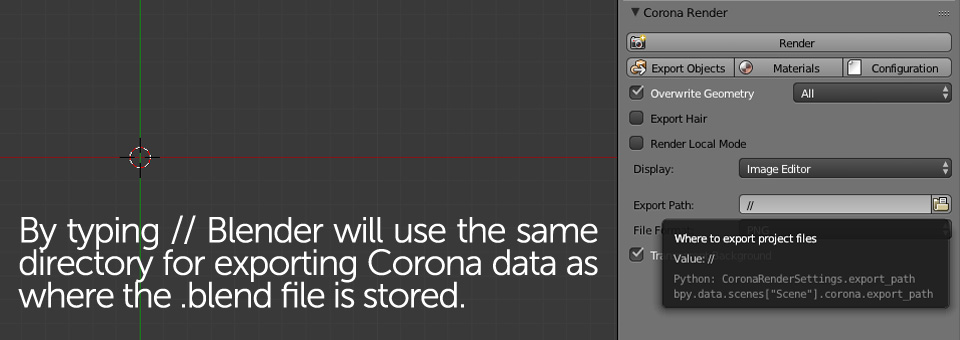
After choosing Corona as primary rendering engine you'll notice new settings tab appearing in the Properties window. Find Corona Render on the very bottom of the list - you should see Render button and some other options that will be covered later. What you need to focus on is the Export Path field. Whenever you start a new project in Blender and Corona, type "//" in there so all the scene files and materials would be stored in your main project folder. Of course you can set any other path if you wish. It's OK as long as there's any path defined.
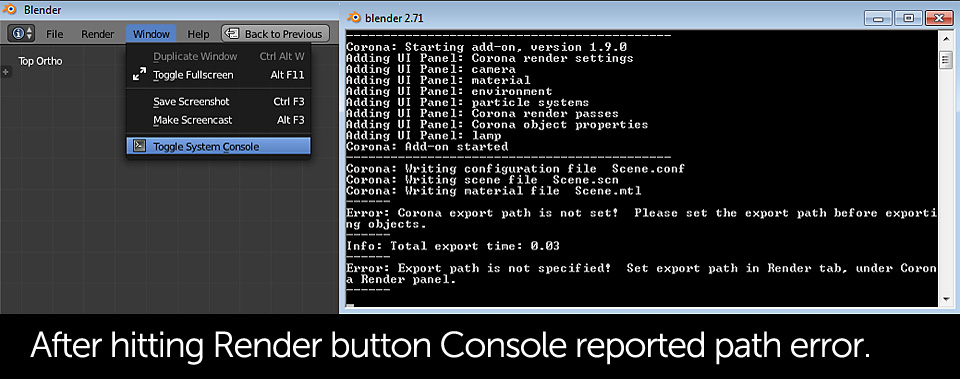
Before we move to the actual rendering, there's one last thing worth mentioning - Console Window. When working with external rendering engines or addons in Blender, it's good to know what is happening in the background... as sometimes some things don't actually work the way we would expect. If there's any missing file or other issue causing errors, you should be able to check it in the Console.
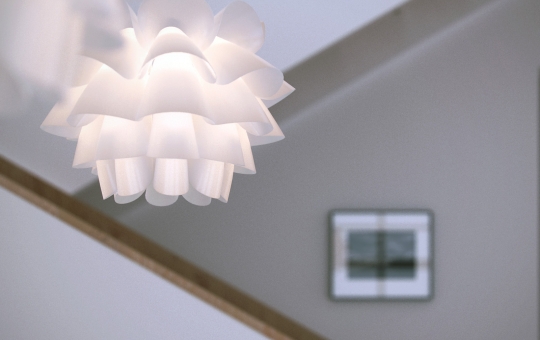
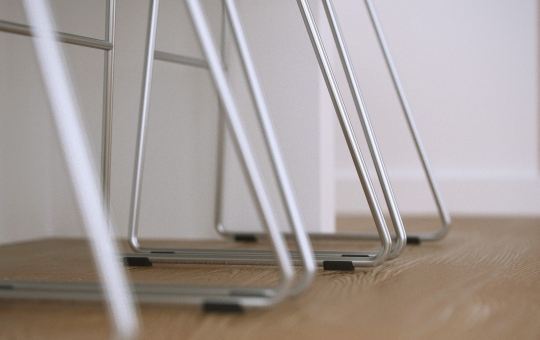
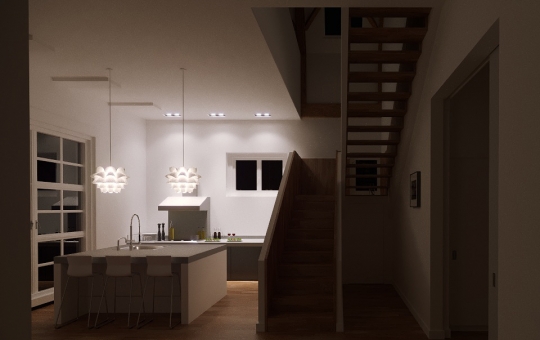
 You can download the entire 3D scene below:
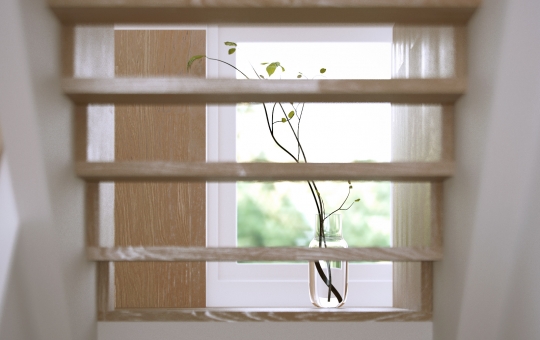