
Great to see you in another chapter of the Blender 2.80 Absolute Beginners Course! You must know I'm really, genuinely proud of you if you're following the course from the first video!
At this point you should feel much more comfortable when opening Blender and playing around in 3D viewport. We'll now move to more advanced stuff and learn how to modify and edit objects on a different level! You'll learn what the Verticles, Edges and Faces are, how to expand a simple geometry to a new shapes, what's the difference between deleting stuff in Obejct and Edit Modes and much, much more!
We'll end this chapter by creating your first, REAL 3D scene! By saing that I mean - you'll know how to create your own objects, apply basic colors to them and create a final image out of it. So, enough talking, let's just jump into it!!
11/12/2018 News
Chapter 02: Basic Operations
In this chapter, we'll be getting much deeper into the interface and learning additional tools. You will create your first-ever 3D scene, completely from scratch, and then render and save it as an image!
In this video I'll introduce you to the Edit Mode - possibly the most often used "mode" in Blender. This is where most of the magic is happening - at least when creating 3D models. I'll guide you through the elemental levels of geometry (Verticles, Edges, Faces) and show you how to utilize the Transformation Tools in that new mode. You will also learn how changes applied in Edit Mode influence the Object's origin points and how we can use that to our advantage!
● Tab Key → Switches between Object and Edit Modes
● 1 Key → Vertex selection in Edit Mode
● 2 Key → Edge selection in Edit Mode
● 3 Key → Face selection in Edit Mode
● O Key → Activates the Proportional Editing tool
In Video 11 I've only scratched the surface on the Proportional Editing Tool (the one activated by the O Key). This tool becomes very handy especially when working on the organic models (such as 3D plants, characters, creatures etc). We can use Proportional Editing in Object Mode as well but I'll be covering that tool in detail later.
In this part you'll learn your first Edit Mode tool! Extrude Tool is one of the most commonly used options when working on the Objects in Edit Mode. It allows you to expand the object's surface and create new geometry elements. We'll be just playing around with it but later in this chapter, I'll show you the full potential this simple tool has!
● E Key → Activate Extrude Tool in Edit Mode
● P Key → Separate Meshes in Edit Mode
As you've learned from Video 12 - keeping multiple Meshes within a singe Object is not a bad thing! You just need to always think which tool works the best for the effect you want to achieve. When separating the Meshes in Edit Mode - you can also do this based on the Materials assigned to the Object. I'll be talking more on that in the upcoming chapters!
As you have seen in the previous part, it is possible to create multiple Meshes in Edit Mode, to store them in a singe Object. But Blender also allows us to Join multiple Objects into a singe one! More than that, we can even join the base geometry points (Verticles and Edges) in the Edit Mode using the Filling Tool. Checkout the next video to learn about all of that!
● Ctrl + J Key → Joins selected Objects (in Object Mode)
● F Key → Fills Faces / connets Edges and Verticles in Edit Mode
You should be already familiar with the Object Mode Delete Tool. However, the way X Key works in Edit Mode is quite different - and you'll know all the differences from the next video!
● X Key → activates Delete Tool in Edit Mode (also a simplified version of the tool in Object Mode)
● Alt + M Key → activates Merge tool in Edit Mode
As you have seen, deleting is not the only way we can remove stuff in the Edit Mode. Merging Verticles is a very useful technique and we'll be getting back to it many times in the future. What's also worth mentioning - Remove Doubles Tool can be also used for checking if your Meshes don't have any loose ends, causing the bugs in Object Mode (especially with Smooth Shading applied). But that's for another chapter!
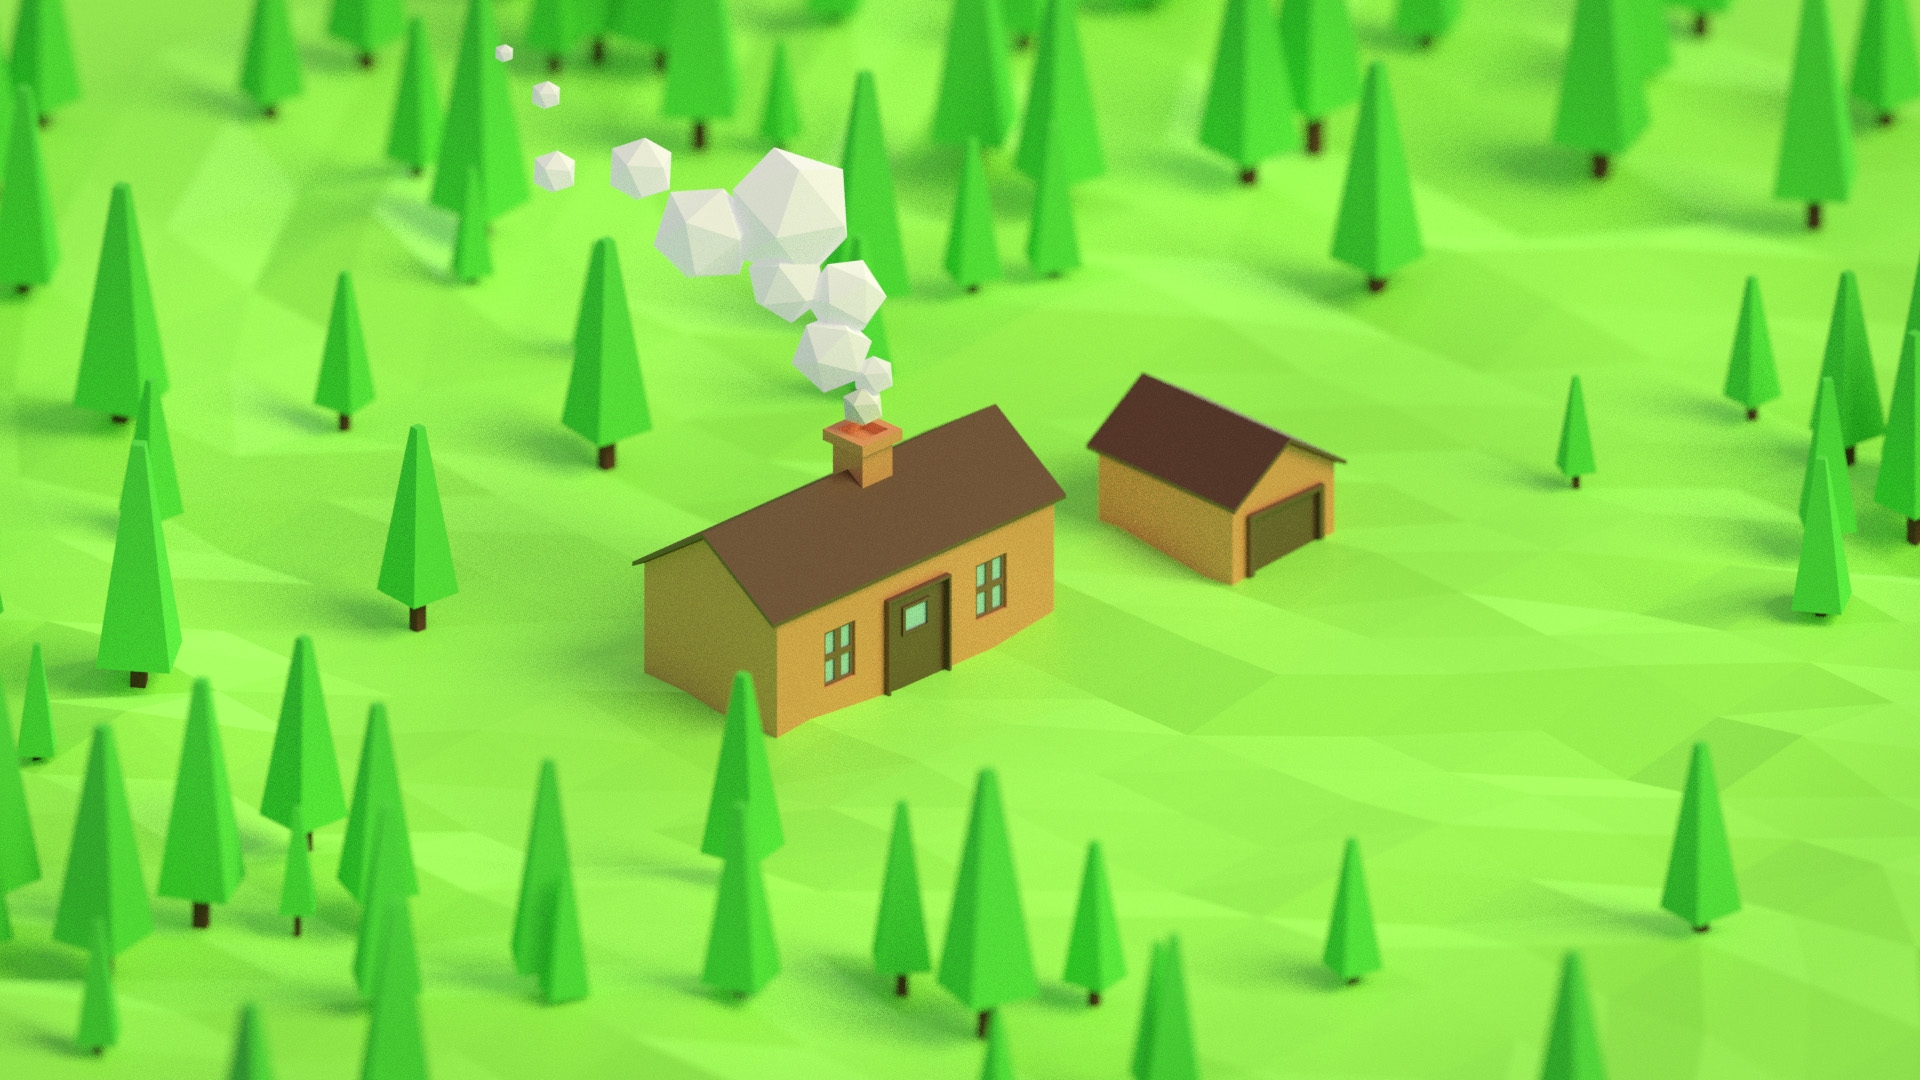
A final video for this chapter and a point where you'll create the first, genuine 3D artwork. In this part I'll guide you through the entire 3D house creation process. Next, I'll show you how to deform it using the Edit Mode for creating the cartoony look. We'll later move to creating the 3D environment, simple materials, illumination and little touches like the 3D boat! A 3D scene like that is a great test of all your Blender skills and a first step to creating more and more advanced stuff!
Keep Blending, I'm really rooting for you!
● F Key → When pressed multiple times, automatically creates new faces along the edges
● Shift + C Key → Moves the 3D Cursor to 3D Scene's center and zooms the viewport camera to all visible objects.
By the end of the above video, you could see how much boost is given to your creativity as soon as you get comfortable with the fundamentals of Blender's Object and Edit Modes. You're now fully equipped to create your own 3D scenes and I'd like to encourage you to experiment.
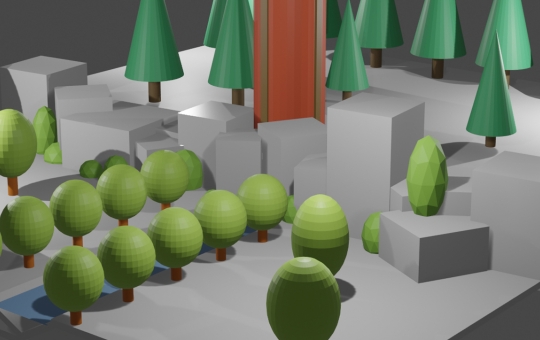
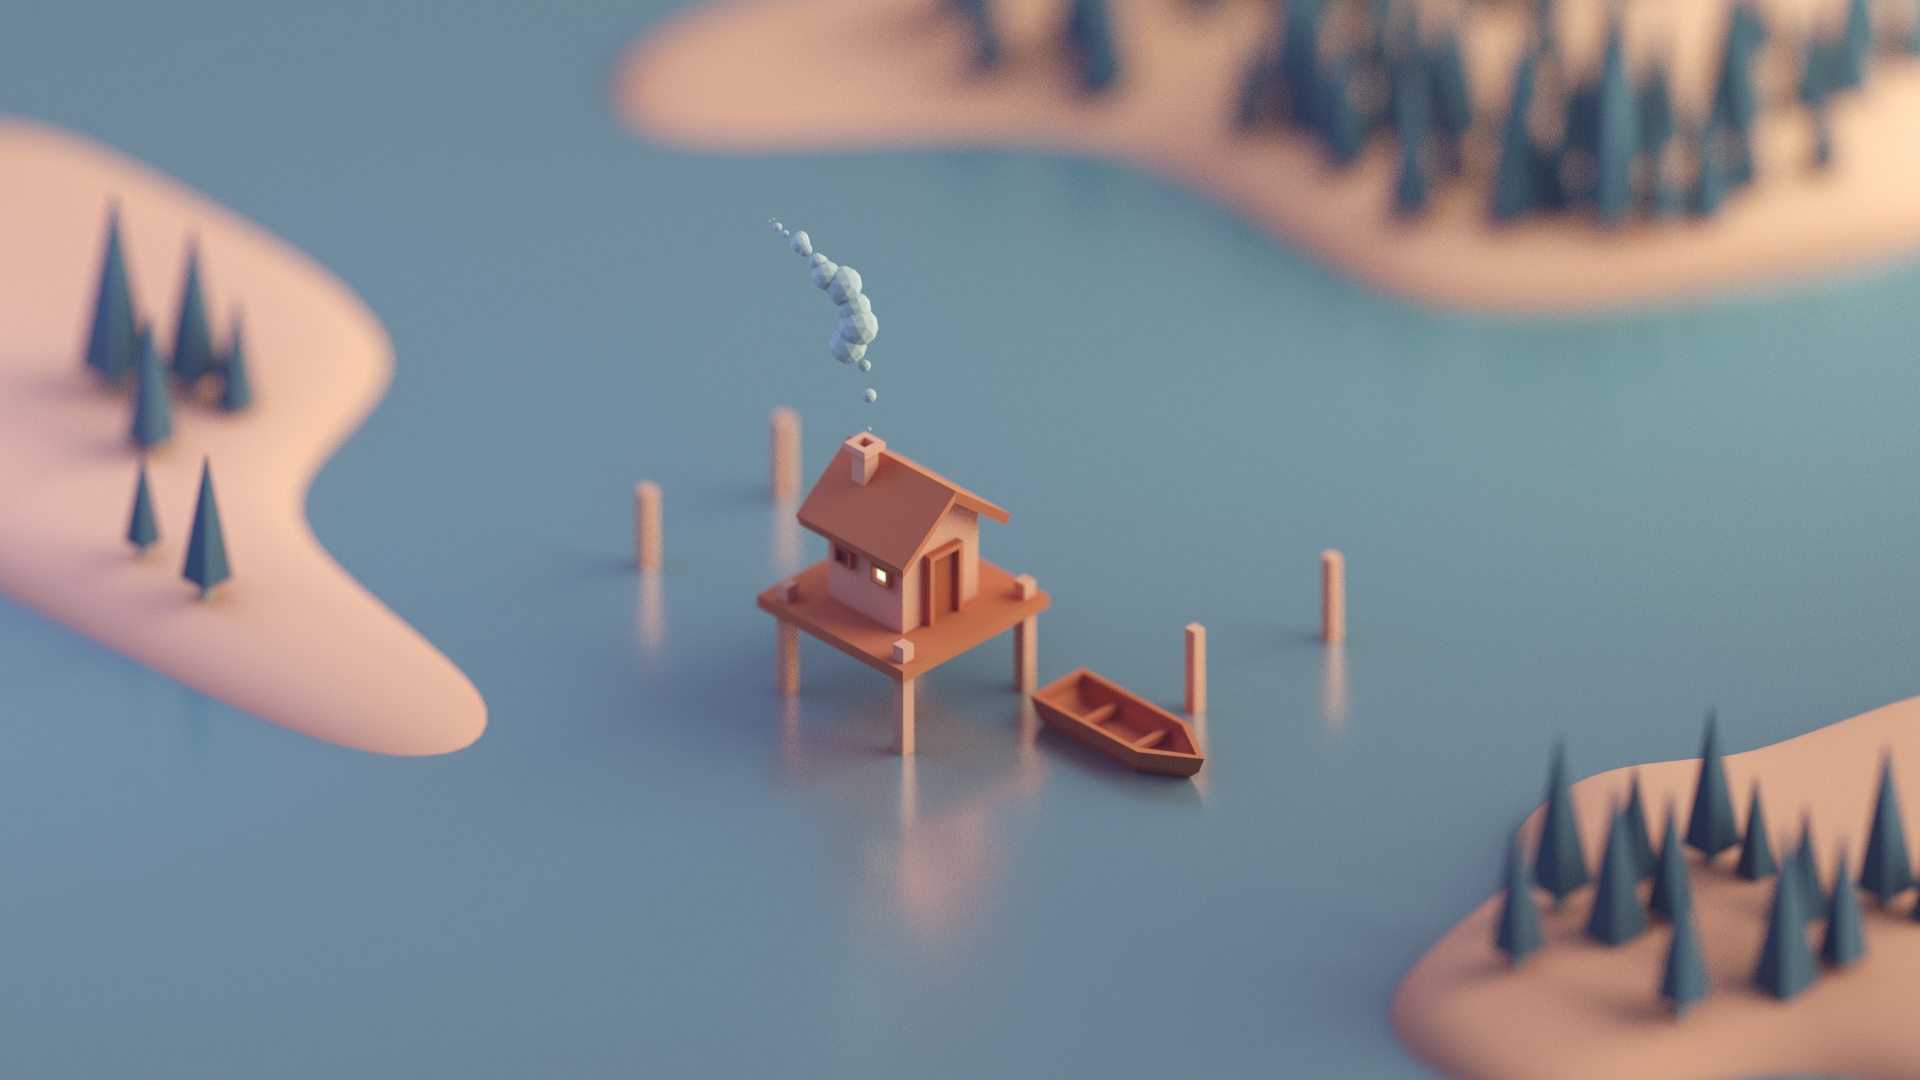
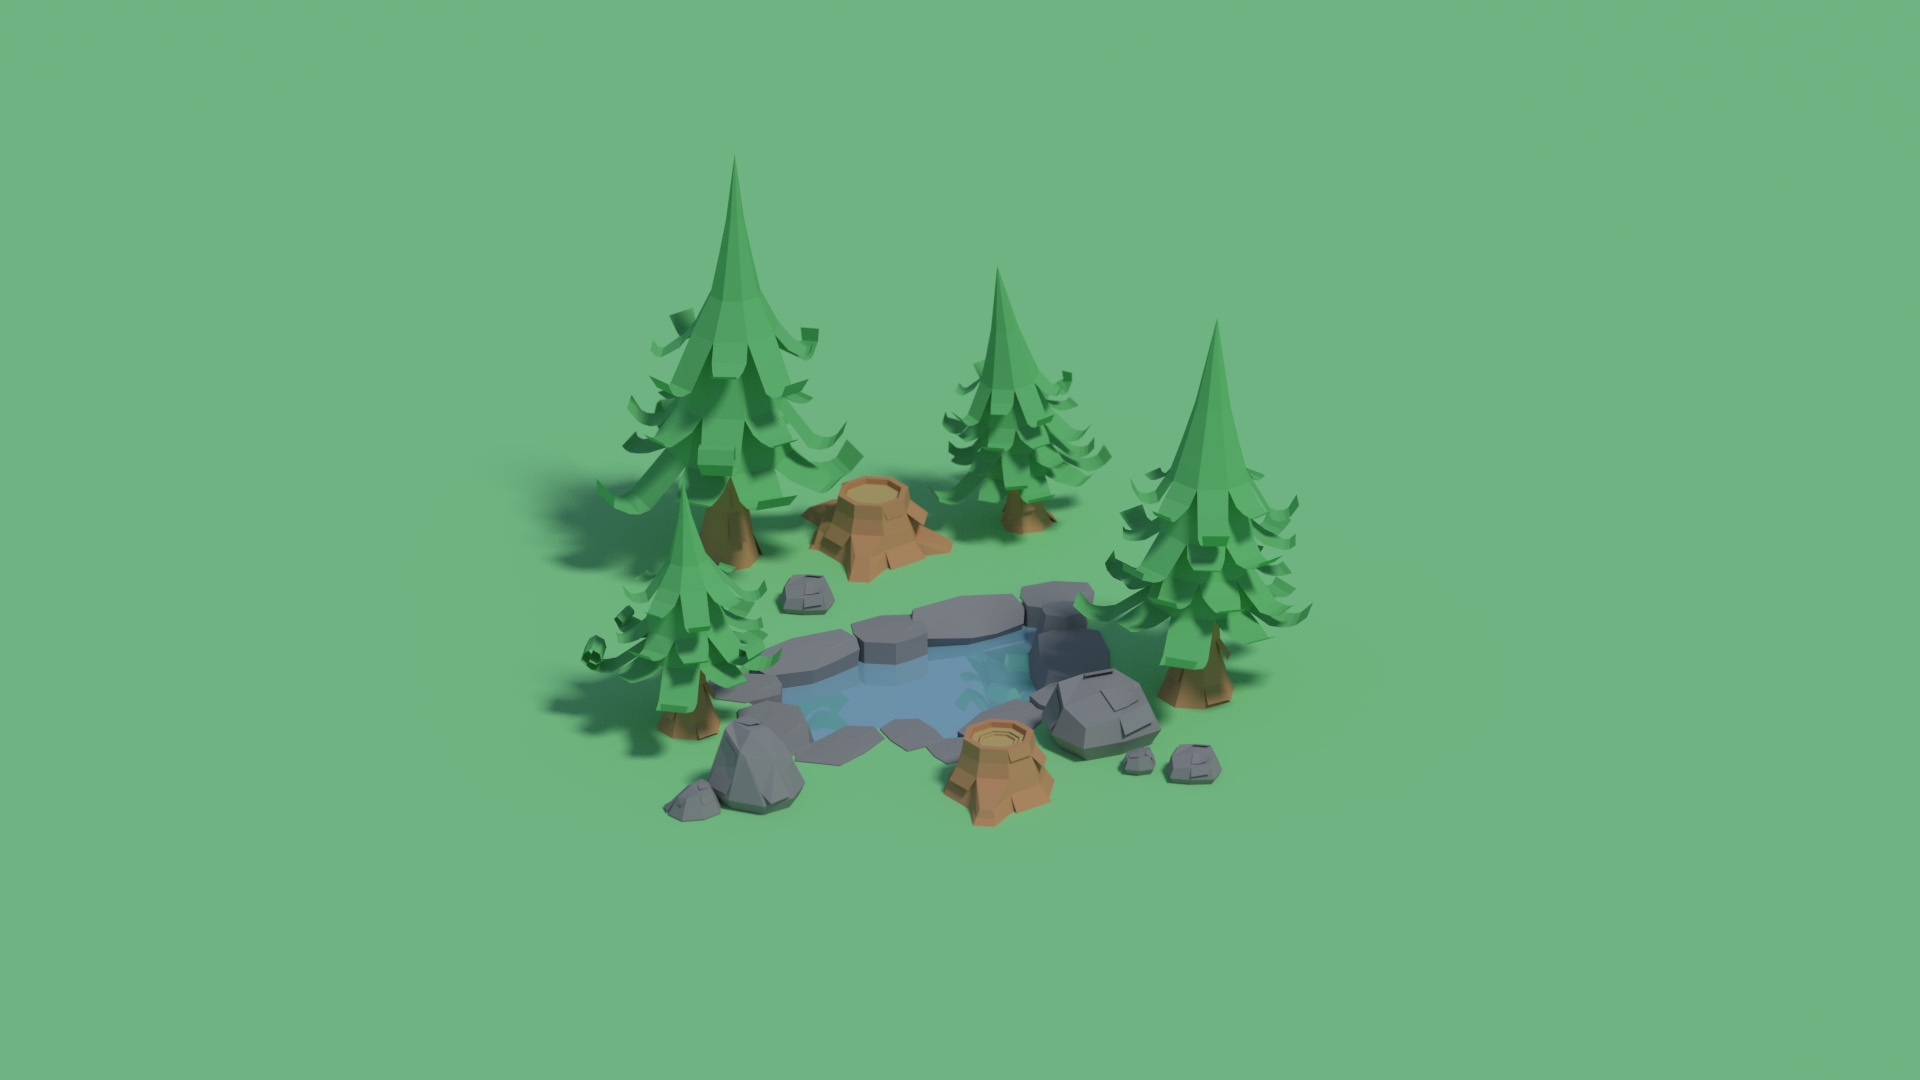
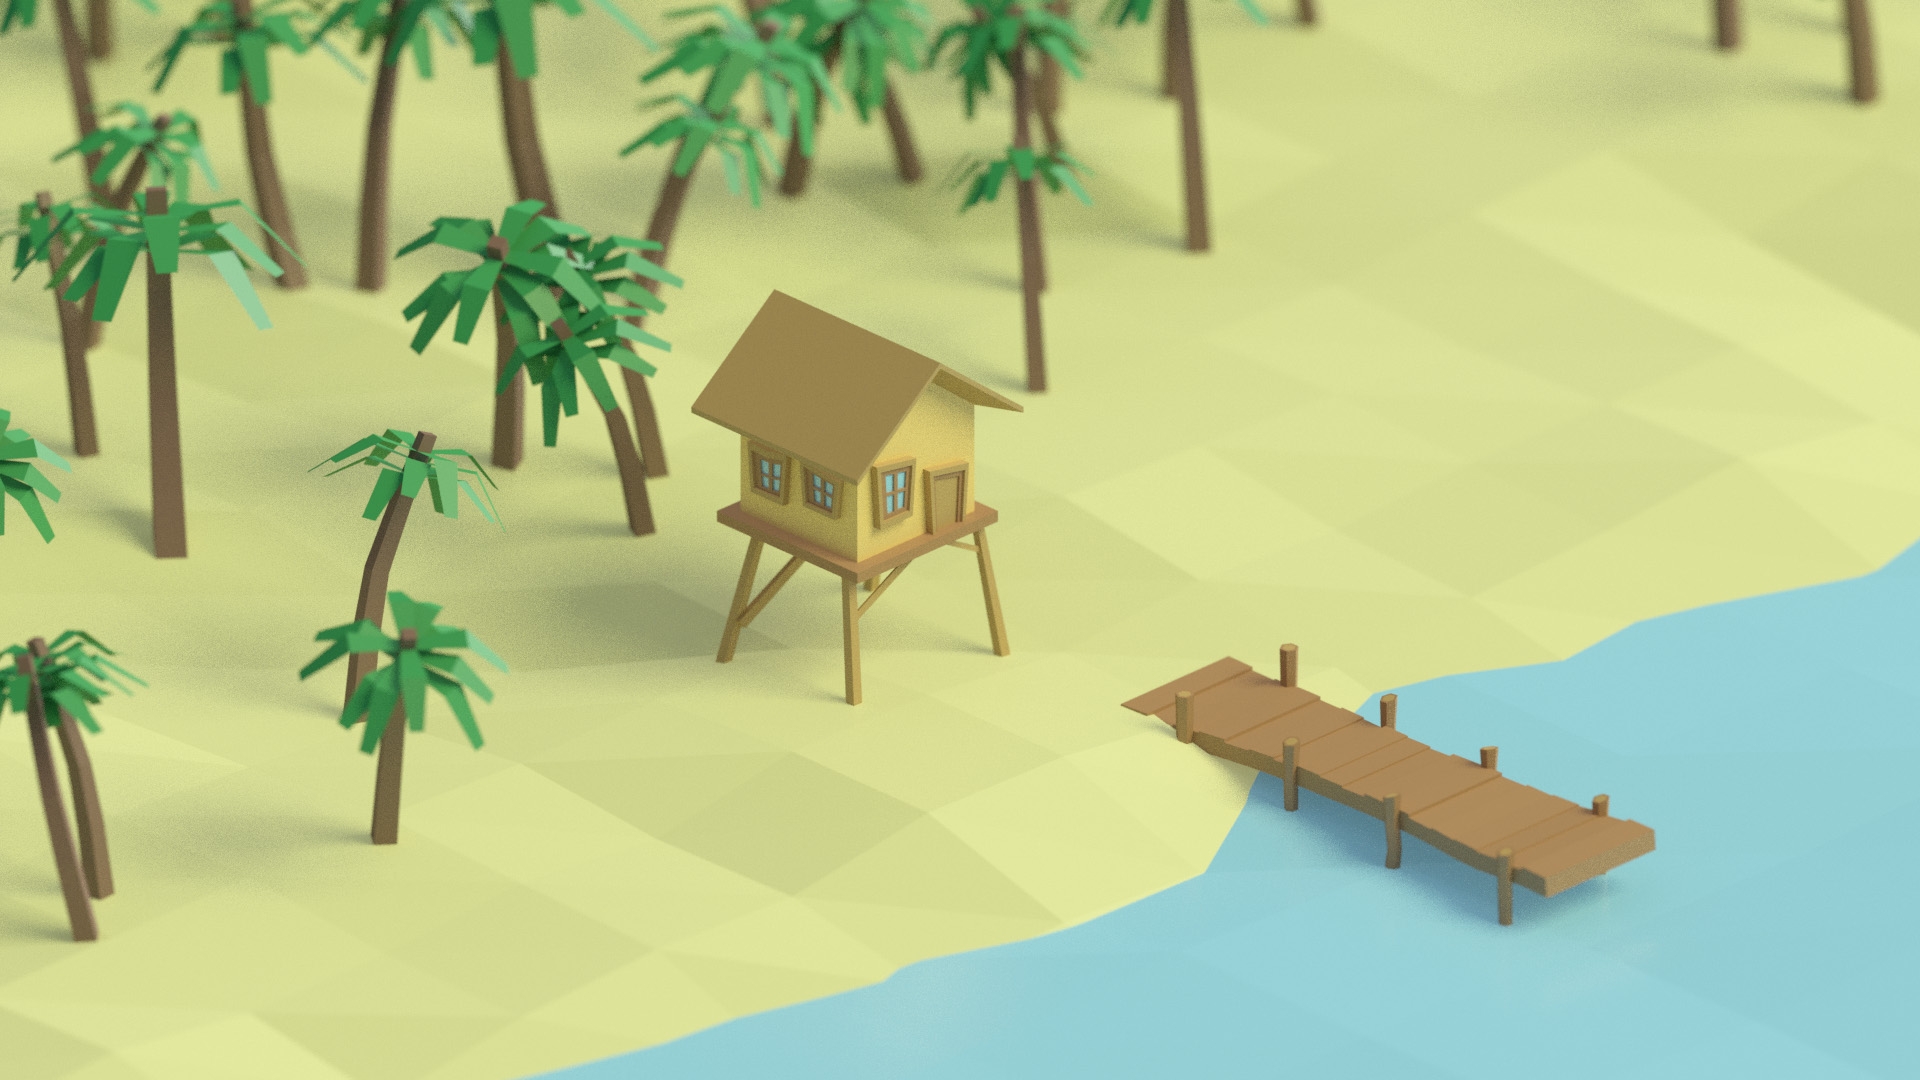
A good way of practising what you've just learned might be re-creating someone else's work. Below are some cool examples from Mohamed Chahin, who was a big inspiration to us when creating this part of the Course!


This is the part of the Course, where you could have a break and should definitely try creating something yourself! You can see some interesting inspirations above but what about building something up from the scrath? Try looking around and thinking how some of the daily use objects could be simplified and re-created in 3D. Perhaps a chair, a table? Maybe an over-simplified car? In the upcoming chapters of the Course we'll be digging more into the Edit Mode and trying to create more and more complex, yet still beautiful 3D scenes in Blender.
I look forward to seeing you in the next part!