Hey, glad you made it this far! You should be really proud, the worst part of learing Blender is now behind you. In the following videos we'll be getting deeper into understanding the interface and learing more and more essential operations.
You may wonder - why do we learn stuff aside of the practical use, let's create something! Well, learning Blender is similar to playing guitar or any other musical instrument - at first you're just able to produce single sounds and tones... Then you move to very, very basic melodies. Next step is adding more and more sounds, until these simple melodies become the music. By the end of this course part you'll be actually equipped enough to actually create your first 3D scene and rendering!
Let's not wait any further and just jump into it!

06/12/2018 News
Chapter 01: Essentials
In this chapter, I'll be teaching you how to install Blender 2.8, manage the interface and learn the very basic operations such as moving, rotating, and scaling the objects.
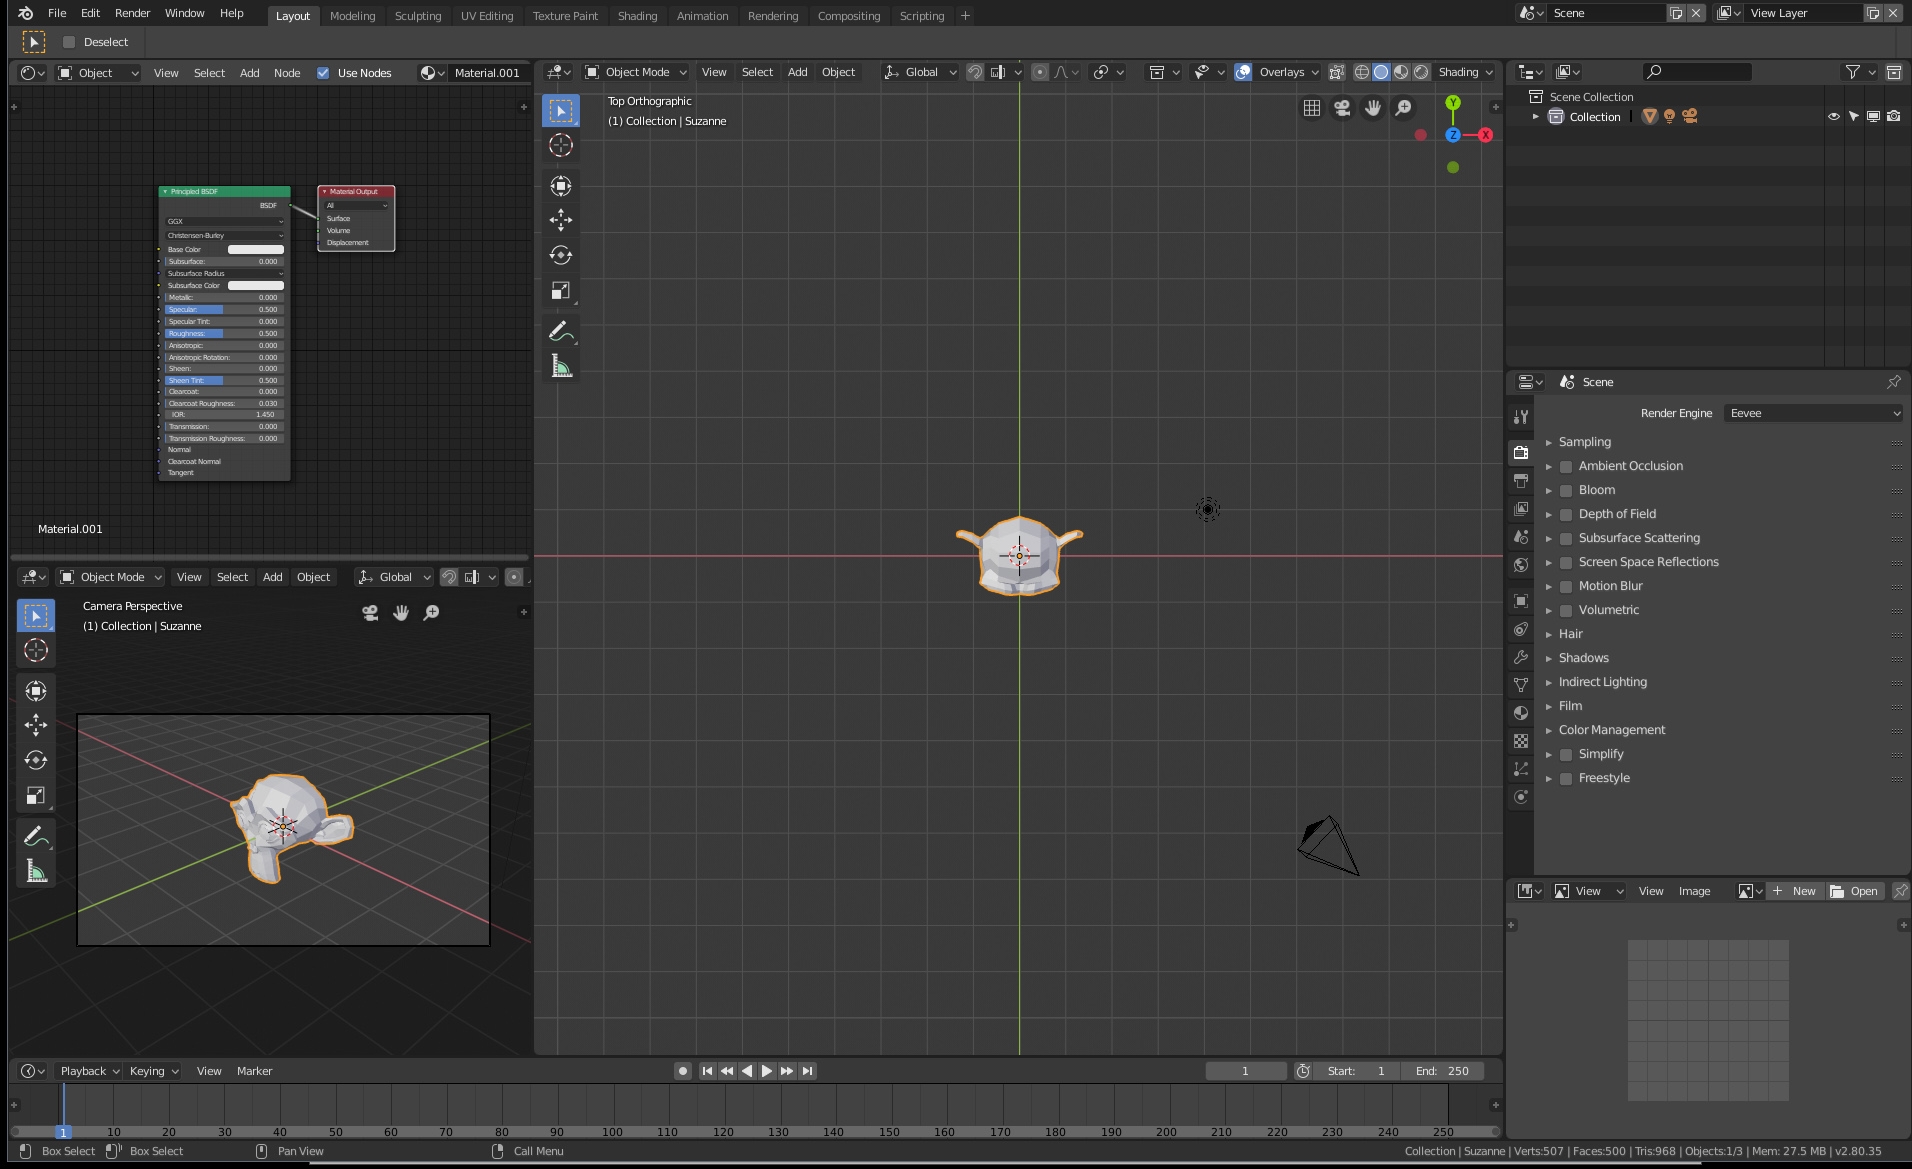
We've already scratched the surface of Blender 2.8 interface but let's dive deeper! One of the most unique Blender features is the possibility of adjusting it the way you want. There are no limitations to how many 3D viewports you can have. It is even possible to use Blender as video editing, scripting or motion tracking tool! All these features are built into it but for now, we'll focus on what Blender does the best, and that's 3D modeling and rendering :-)
● Ctrl + Space → full screen mode for the selected workspace
● Ctrl + Alt + Space → full screen "minimalistic" mode for the selected workspace
● Ctrl + Alt + Q Key → splits the 3D viewport to 4 views (perspective, top, front, right)
Once you get fully comfortable with Blender's interface, take some time and try re-arranging the workspace layout to your needs. Everyone has its own preferences, for example I'm always keeping the Shaders and UV editors together with two 3D viewports as the default layout. It's just the way I work most productively!
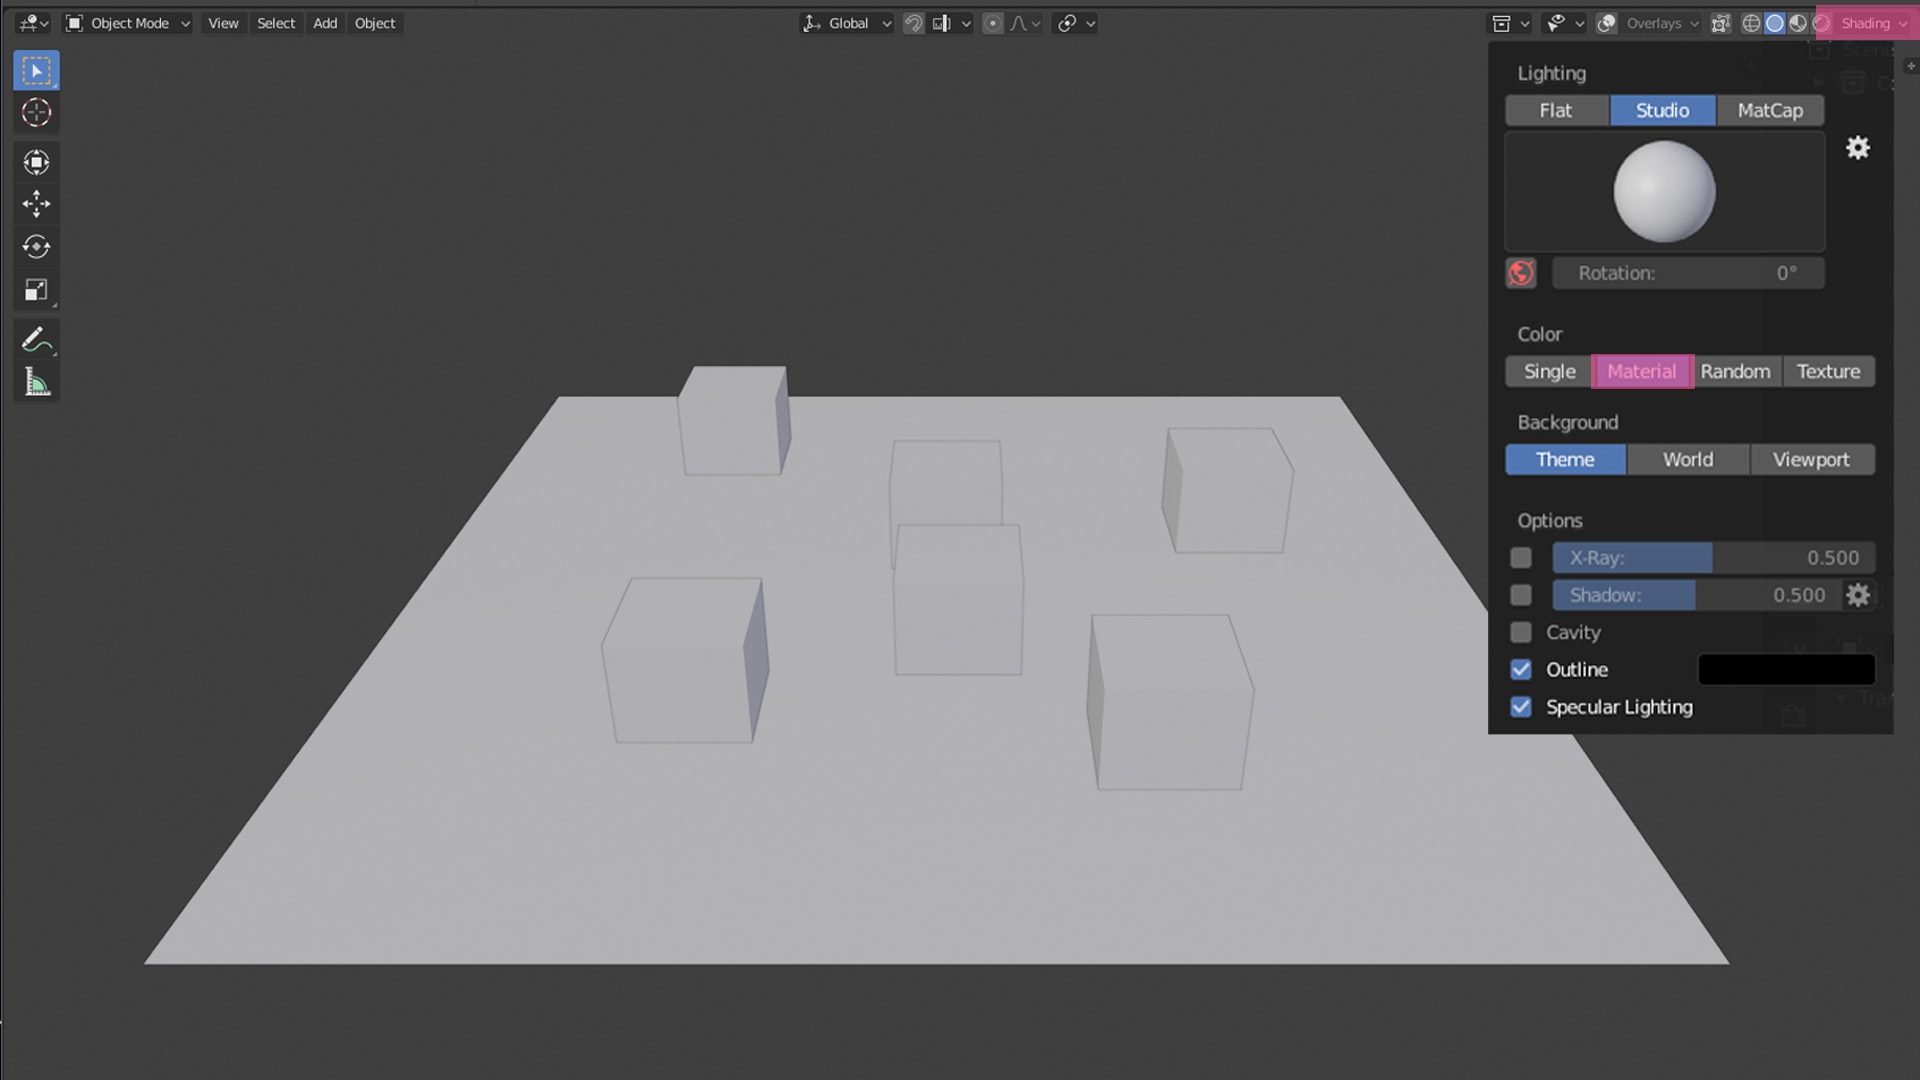
Finally things will become more entertaining here! Blender 2.8 offers multiple ways things can be displayed in the 3D viewport and each of them has it's purpose. In this tutorial we'll mostly focus on the Rendered Shading mode as it's the most enjoyable to play around with, but the others will come very handy in the future!
● Z Key → launches Pie Menu for choosing Shading Modes
● Z Key + Alt → enables the "X ray" for some Shading Modes
● Z Key + Shift → enables Wireframe Shading Mode instantly
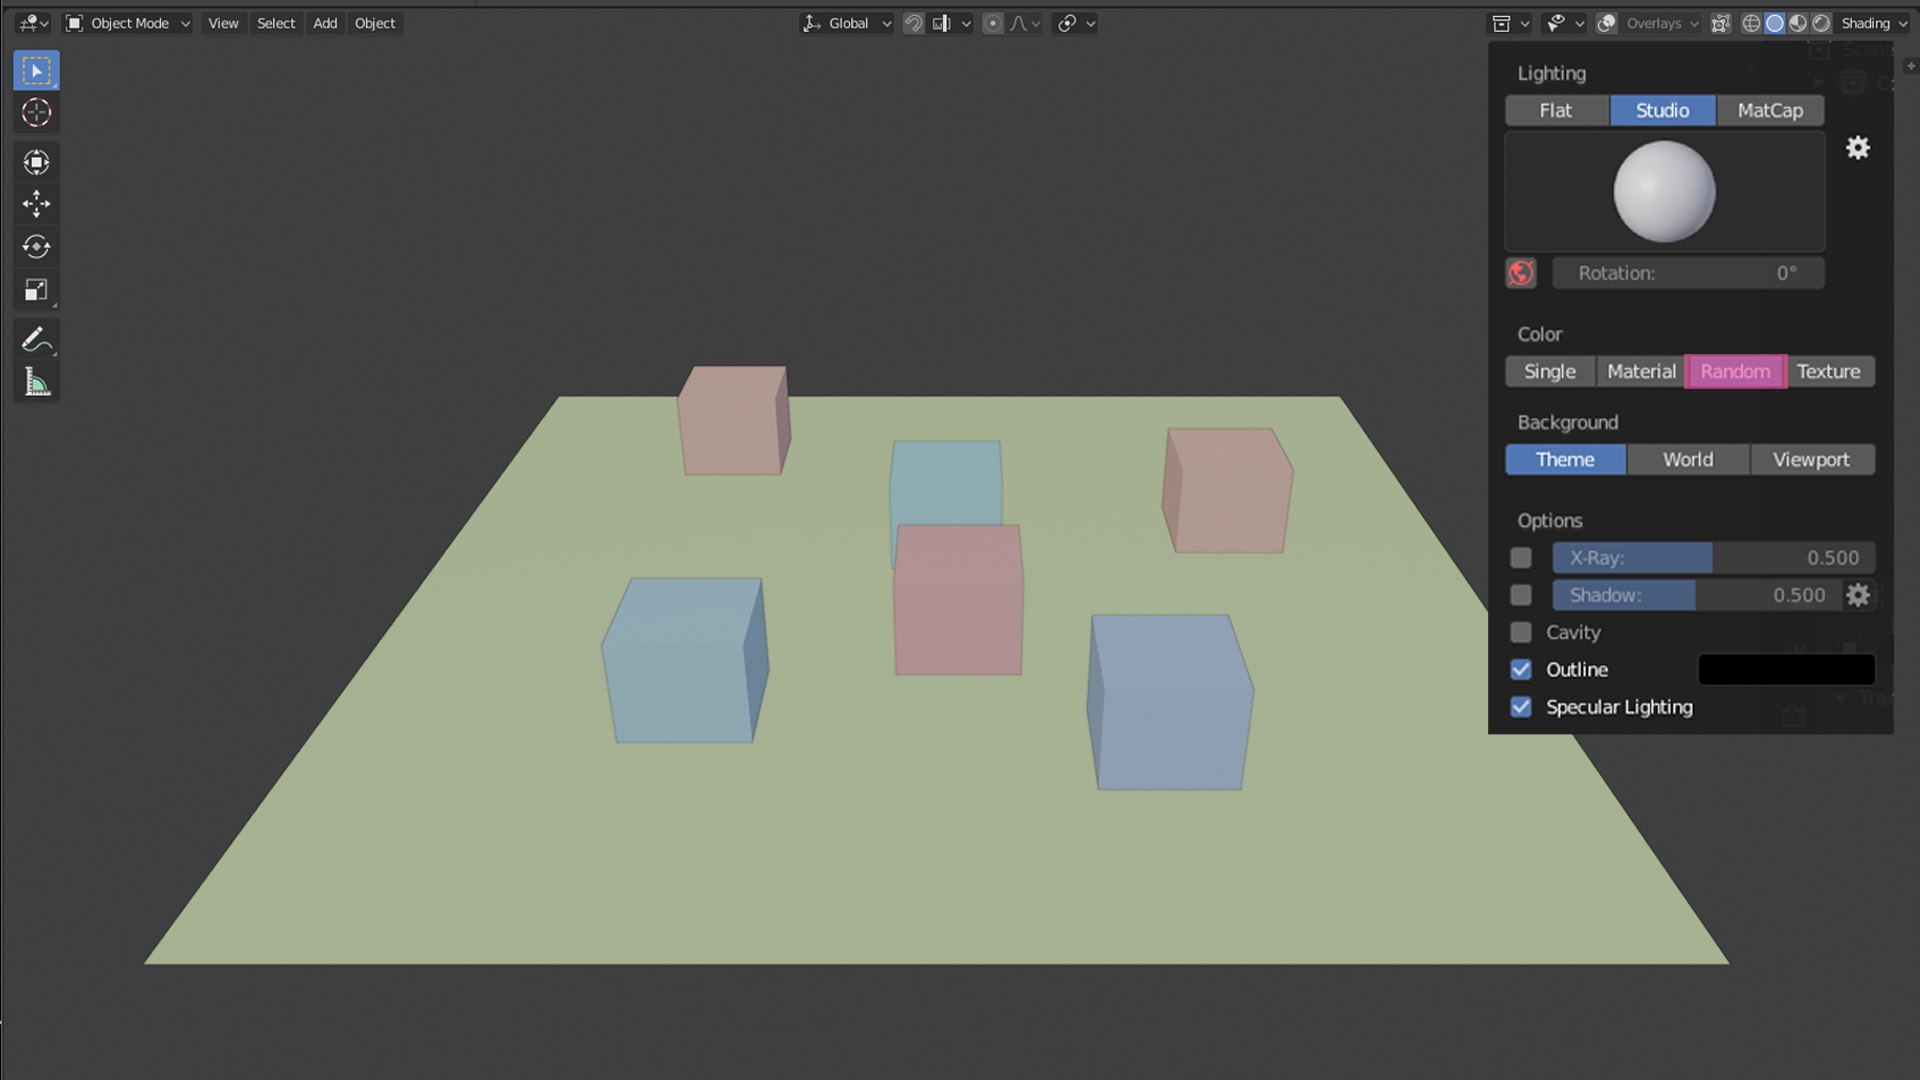


Blender 2.8 not only has multiple Shading modes but also three different rendering engines! Depending on which one you decide to work with, the Shading modes will also work differently. As for now, we'll only focus on the defaults, but I encourage you to play around with the settings yourself!
This part and the next tutorial parts will be a bit more theoretical but still very important! Understanding the 3D Pivot Point concept as well as the Transformation Orientations is essential if you want to avoid many frustrations when working with Blender.
● . Key → launches Pie Menu for choosing Pivot Points
● , Key → launches Pie Menu for choosing Transformation Orientation
3D Crsor next to the configurable work areas is another unique feature of Blender that makes it different to other 3D applications. In this tutorial part you'll learn what is 3D Cursor, what it actually doeas and how you can use it to speed up your work! There are many ways youc can utilize this great tool but we'll learn one step at a time :-)
● Shift + S Key → launches Pie Menu for 3D Cursor and Selection Snapping
Let's say you want to put a cube exactly in the center of another object. What you need to do is the following:
● 1. Snap the 3D Curson on the object you want the Cube to be centered to.
● 2. Select the Cube
● 3. Snap the Cube to 3D Cursor!
This method will be useful when, for exaple, you're creating the siple Cylinder + Cone "Pine Trees" form Video 04 (and Video 10 too actually). In order to center the Cone ove the Cylinder you just need to follow the 3 step process described above!
What we'll discuss in this tutorial might have already happened to you by mistake while working in Blender. Did some of the objects you've created mysteriously disappeared? You thought they were deleted but pressing Ctrl + Z doesn't seem to help? The answer is - your objects probably got hidden by pressing the H key! Check out how to use this shortcut to your advantage and make working with Blender even more enjoyable.
● H Key → hide selected objects
● H Key + Alt → unhide all selected objects
● H Key + Shift→ hide everything except selected objects
● / Key → local view (isolates the selected objects and zooms it, press / again to exit this mode)
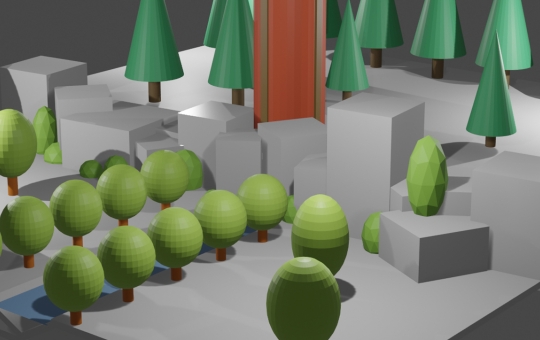
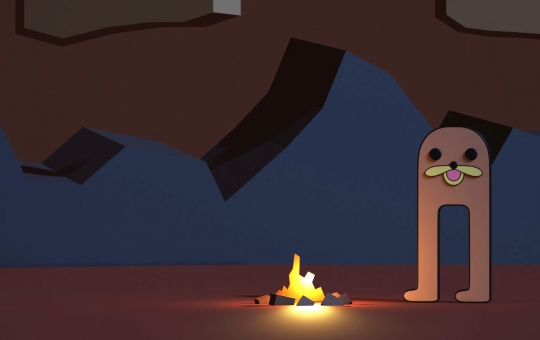
Yes! If you've trully, consistently reached to this tutorial part, you can proudly think of yourself as someone, who's not an absolute beginner to Blender anymore! I really mean it, you've learned the tools that will allow you creating the very first 3D scene and rendering! Now, I know it's not gonna look like a video game or the recent blockbuster from Hollywood but hey, you're only into Blender for couple of hours! Isn't that great you've learned a new skill that will allow you to express your creativity in very original way? Enough talking, let's just jump into the video and do it!
● Shift + R Key → Repeat the last applied operation
So we're here... Almost 3 hours of my broken English and hopefully, you - the reader, practising and playing around with Blender in your spare time. At this point you're no longer an absolute beginner to Blender - you've just created your first 3D scene, modeled it from the scratch, illuminated and rendered. This is an achievement! Take some time and celebrate :-) In the next video we'll be finally getting to more juicy stuff - you'll learn how to create your own 3D objects instead of just combining the basic shapes in a limited (yet funny) way.
I look forward to seeing you in the next part!