Packshot renderings usually don't require any high-end hardware setup unless your producing ultra close-up shots with displacement maps, complex shaders and +10k textures. For most of the chocofur renderings I was using either a GTX 560 Ti with 2GB of ram RAM or GTX Titan. Unfortunately I can't tell you much about CPU rendering in Cycles because I almost never use it, however I'm pretty sure that rendering setups described in previous parts will still work very well.
To be honest there's absolutely nothing special in my rendering setup. I know people who would prefer splitting the render elements to different passes (shadow + model + background for instance) and then combine them in Photoshop, but for me it seemed way too time consuming when you have over 200 models to do... In my opinion, as long as you're not doing packshot animation, it's really way faster to fine tune your image in a 2d application than spend time combining render passes.
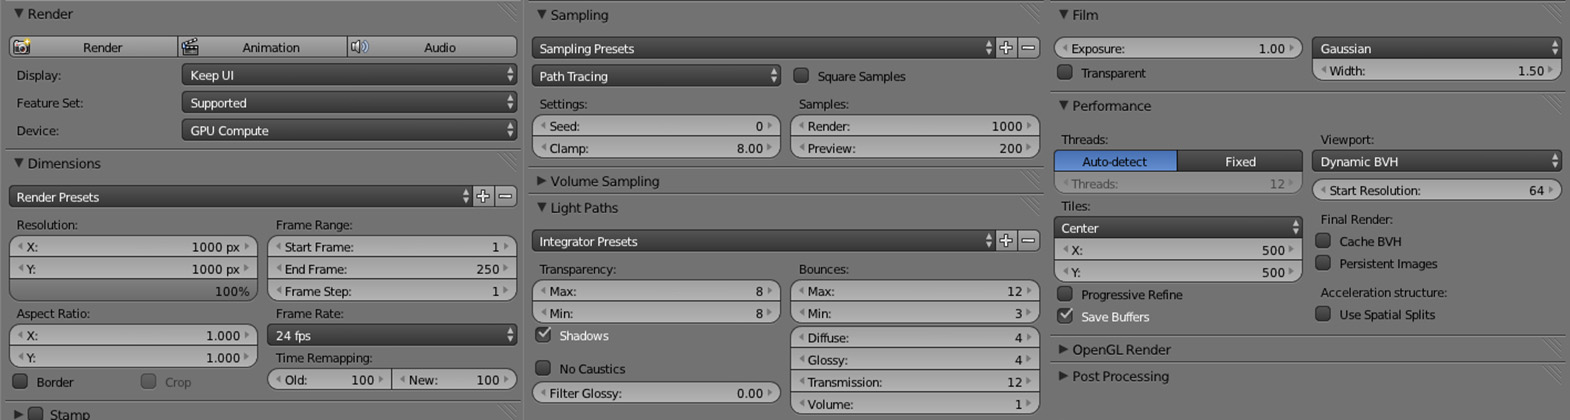
Above is the rendering setup I use almost every time. The only thing worth noticing here would be the "Clamp" parameter as you can use it for preventing fireflies and reducing noise in some cases. However, keep in mind that low "Clamp" values would make your rendering look unnaturally gray and desaturated. I found I would get strange rendering results when using many spot lamps and setting "Clamp" value below 7.0 or 8.0.
The same goes with rendering and environment setup, the faster and easier - the better. I always work with default Color Management settings and use the built in Curves tool to fine tune maybe only 1 in 30 renderings. With good shaders and properly tuned environments it's really not necessary to change anything. The same goes with with texture input gamma etc - I barely ever had to change anything.
The thing worth noticing is the output file format. For interior renderings and client based projects I always use OpenEXR as it allows me to tune the lighting later in Post Production (this will be also described in detail here). However, with hundreds of pictures to go it would really take ages to convert each file from 32 to 8 or 16 bits. What I did instead was to use the 8 bit PNG format (for compression free images) and in some cases 16 bit PNG as they gave me a bit more freedom with fine tuning white or very bright shaders.
To save time in post, I try getting the most satisfying result from the pure renderings as possible, keeping the render times reasonable. As I personally love Blender being an Open Source tool, I must honestly admit I hate Gimp and do all of my 2D based tasks in Photoshop (forgive me Gimp fans but I really tried switching several times...). As the chocofur renderings should correspond to how the model really looks in Cycles environment, I tried minimizing the post to some basic curves, levels and color corrections.
I'm not posting any "magical" Photoshop post-production screenshots here as there were only a few situations where I actually had to correct the renderings when preparing the last chocofur model release. I know it may be hard for some to believe but I suggest downloading the studio files available for free after logging in and comparing the pictures with render results.
Below is a quick comparison of some earlier chocofur renderings that actually needed some retouching, due to the Bent Mesh setup. As you can see, my biggest concern was getting the uniform light in the background - luckily this problem doesn't occur with the Plane Mesh method I use now.


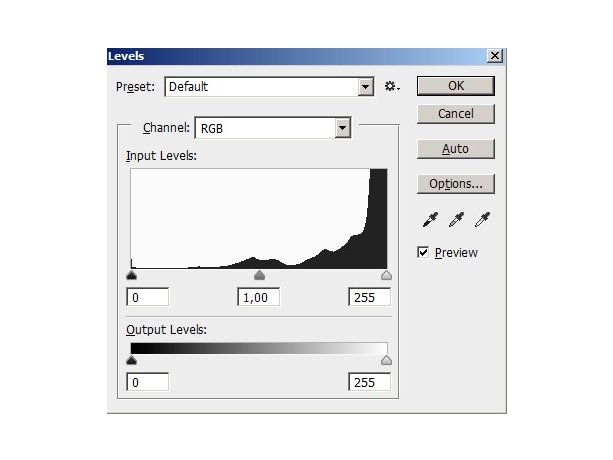
As you can see above, sometimes it may be necessary to make the background perfectly white manually. I usually start with the Photoshop levels tool as it allows you to clamp all the white - gray tones very quickly. The background should be 100% white (255R, 255G, 255B) so I suggest cutting all the "grey" shades up to 220 or more. This may result in removing some of the shadows but you can avoid this by creating a mask and painting out the tonal areas you'd like to preserve.
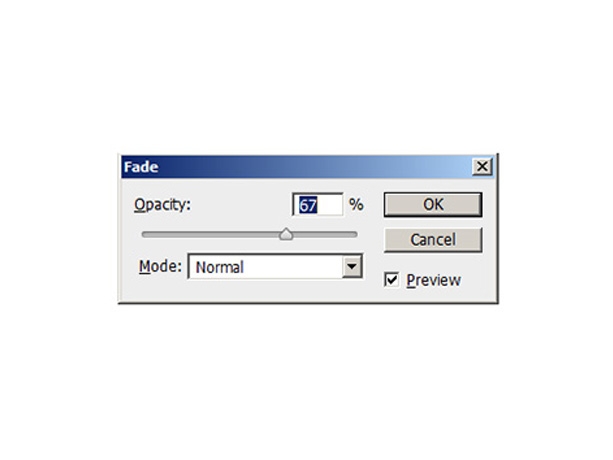
The final touch I usually apply is using the simple, soft, white brush with 100% opacity and painting out all the picture edges just in case there are still some gray tones visible.


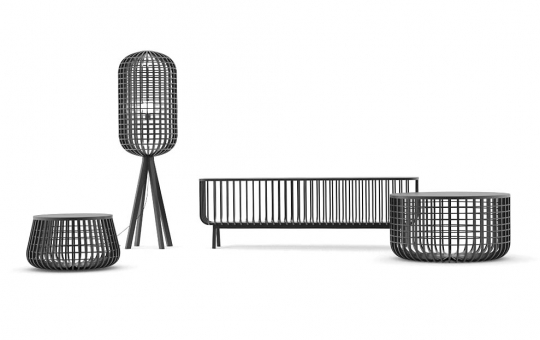
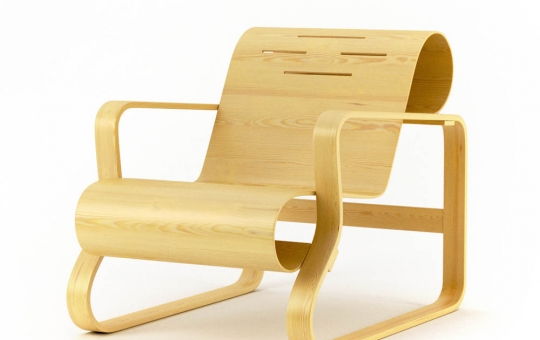
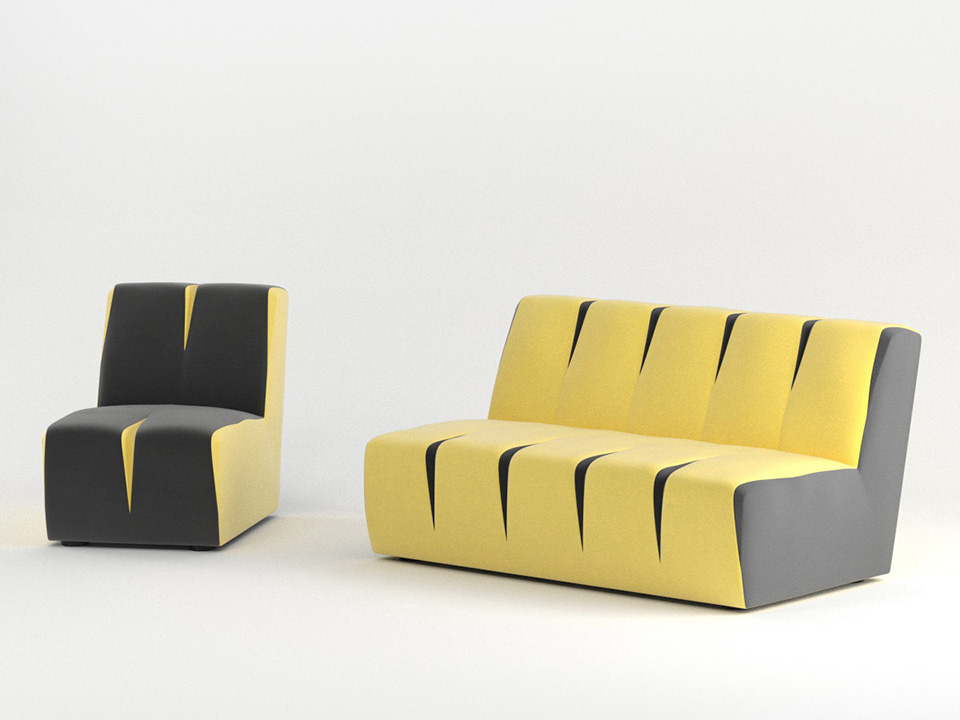
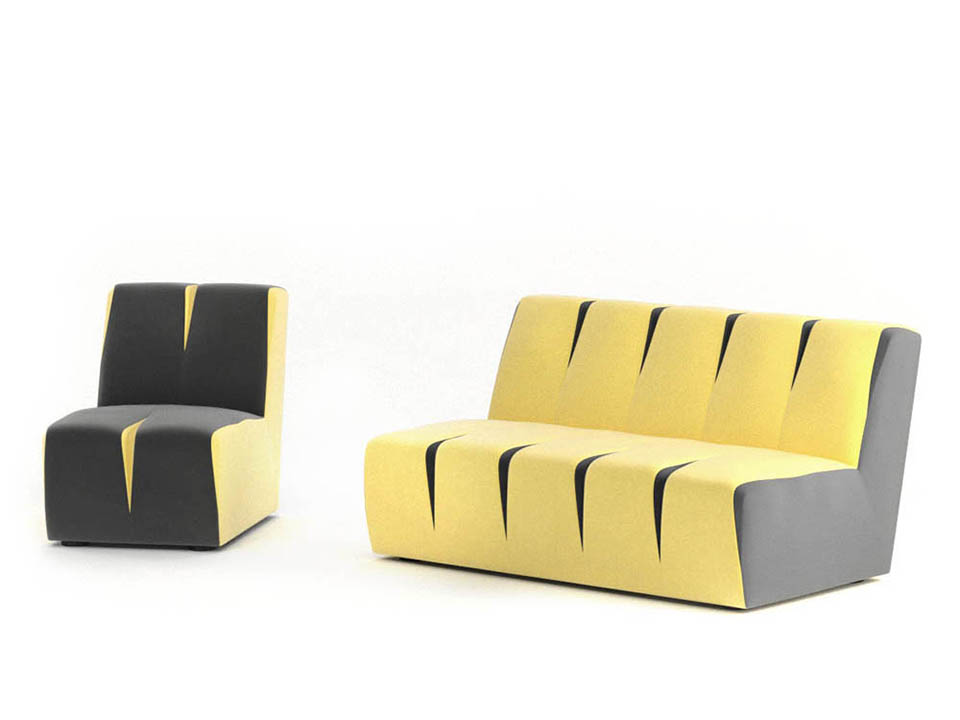
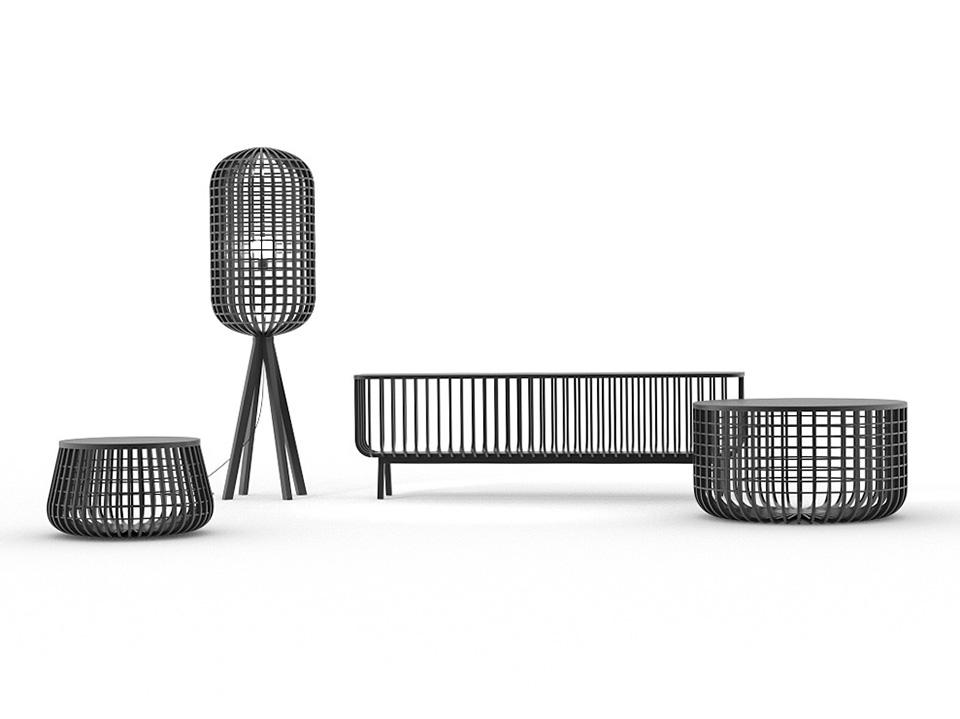
And that's it! By now you've probably noticed there aren't many secrets behind creating good looking packshot renderings, especially with Blender and its amazing rendering engine. An Important thing I didn't mention is that success is about practice and observation. Get a furniture catalog or browse design related websites to find some cool inspirations on what other people do to present their products. White background packshots are pretty common, but there are also other cool examples of furniture or electric appliance presentation. I really hope this tutorial inspires you to make your own experiments and produce better and better Blender renderings every day :-)